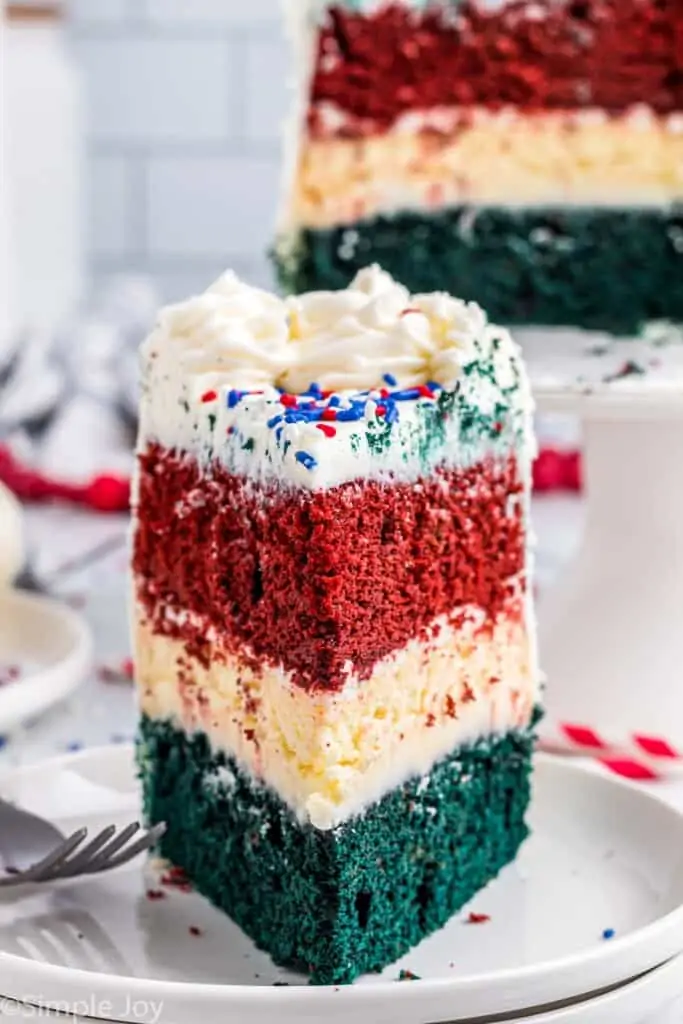
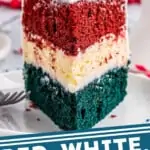
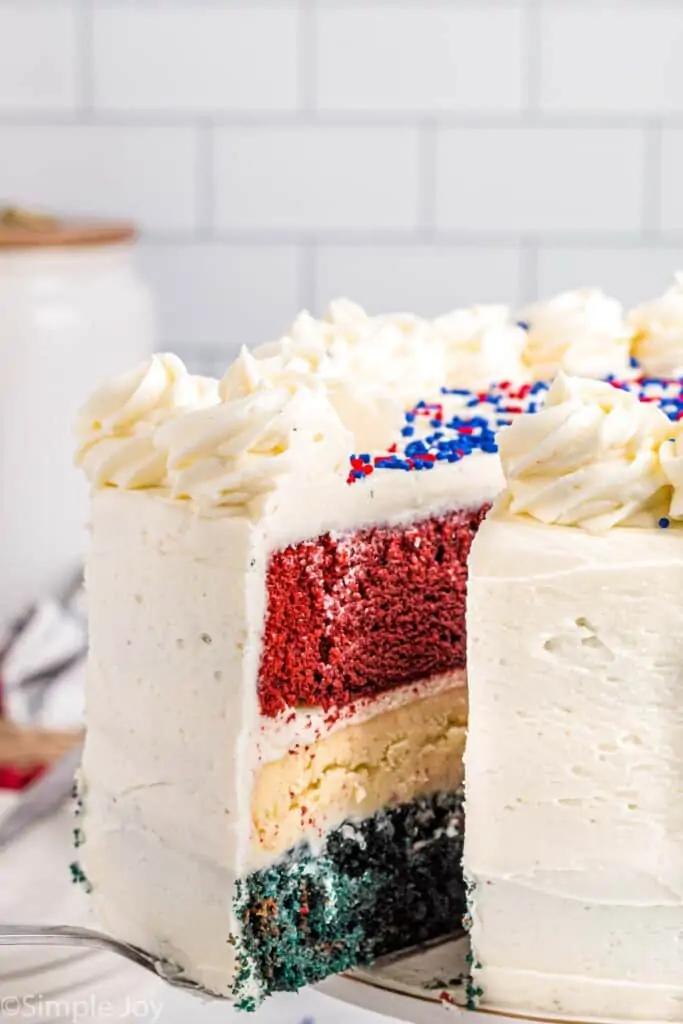
This Red, White, & Blue Cake is not just a huge show stopper, it is amazingly delicious! The cake is two layers of red velvet cake – one red and one blue – that sandwich an amazing cheesecake layer. It is all covered in the my delicious vanilla buttercream frosting!
This is the perfect cake to celebrate Memorial Day and The Fourth of July!
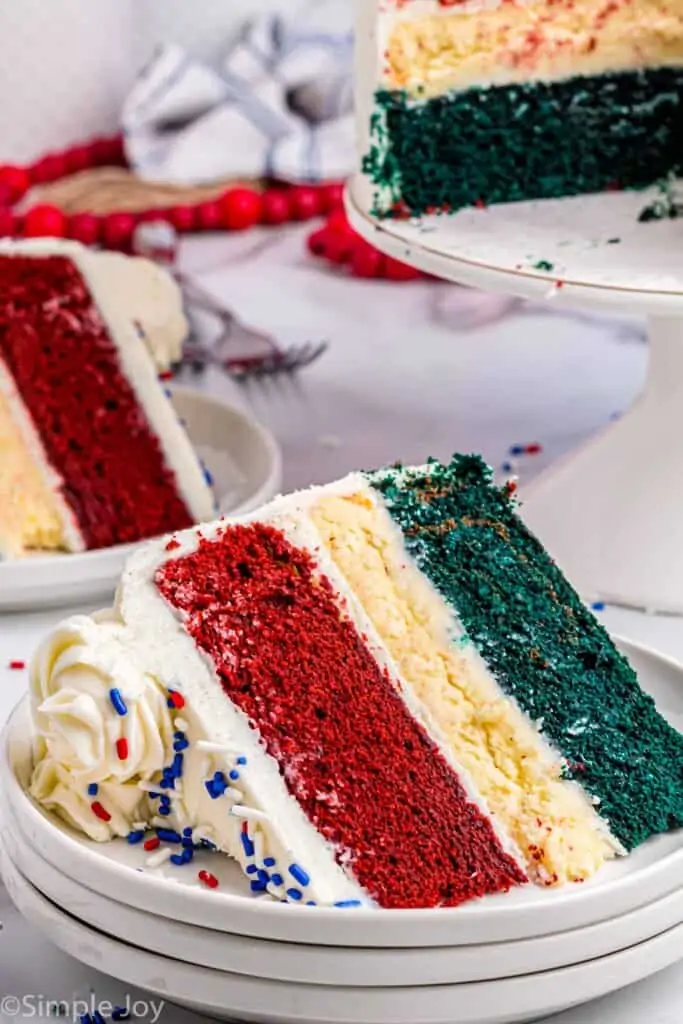
If you guys are nervous to make a layer cake, you have come to the right place. Layer cakes look so intimidating and time consuming, but this cake is delicious, pretty, and the perfect way to celebrate the Fourth of July.
My easy to follow instructions will make you feel like a cake pro by the time you are done with this Red, White, and Blue Cake. Besides, putting a layer of cheesecake in the middle of a cake is basically the best idea ever.
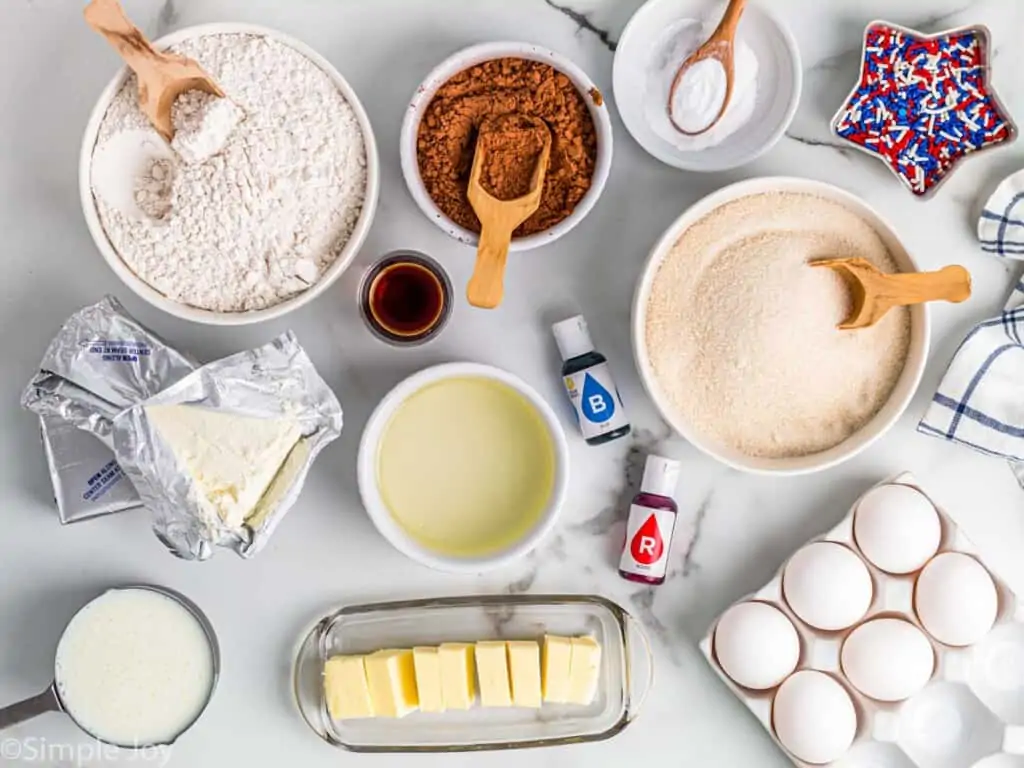
How to Make a Red, White, and Blue Cake
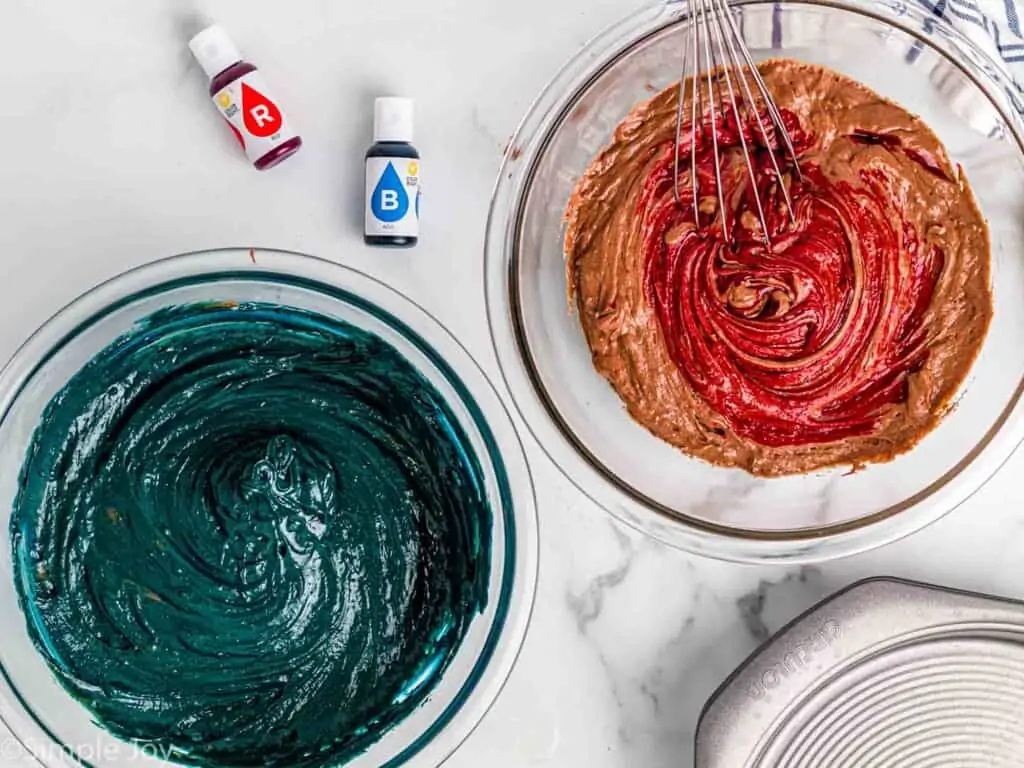
- Make the batter for the blue and red velvet cakes. When you are done making the batter, divide it into two. Color one with blue food coloring and the other with red. Bake them and allow them to cool.
- Make the batter for the cheesecake. Bake it and allow it to cool completely.
- Make the frosting. For this recipe we are using a double batch of my vanilla buttercream frosting.
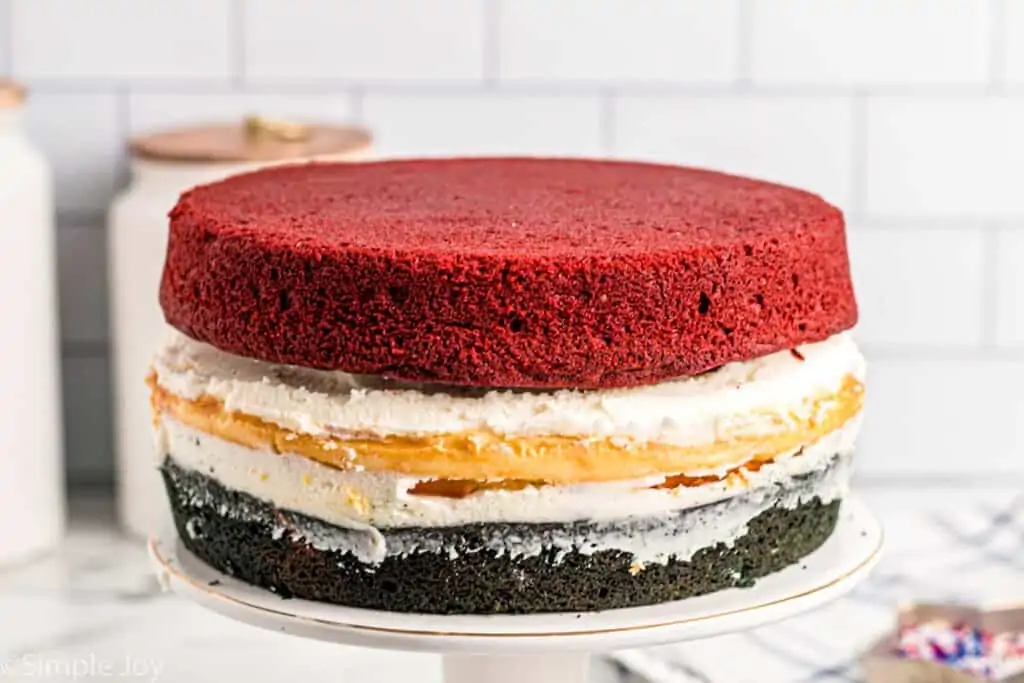
- Assemble the cake. Cut any dome off the top of the blue and red velvet cakes. Add vanilla frosting between the layers.
- Give the cake a crumb coat. Because of the colorful nature of this cake, you will want to do a thin layer of vanilla frosting over the whole thing before you give it a thicker layer.
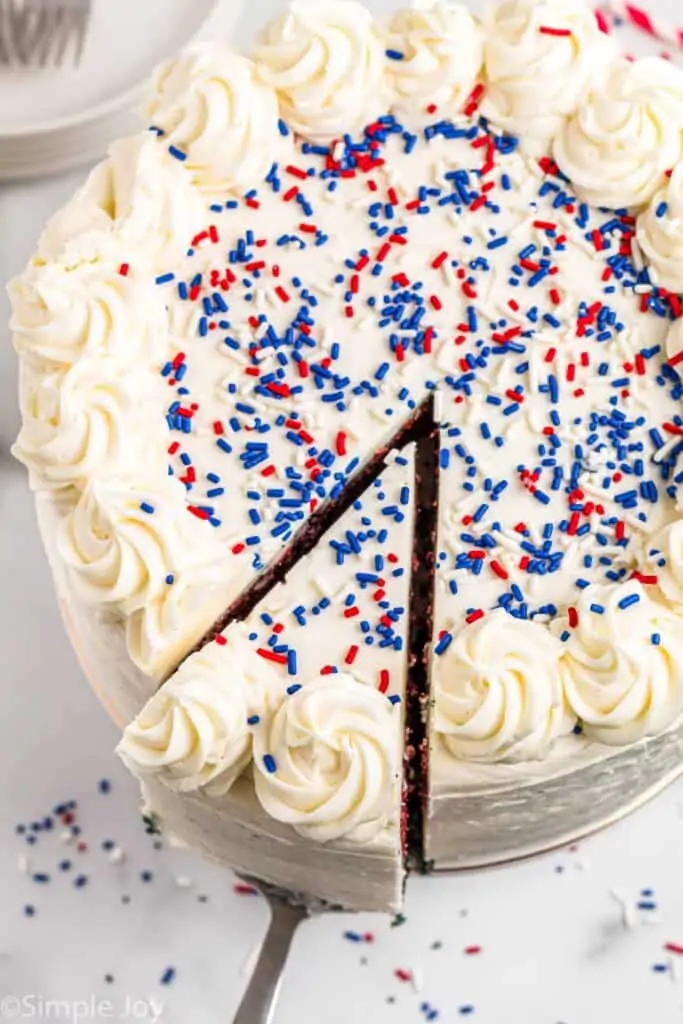
- Decorate the cake. Pipe frosting onto the top of the cake and add red and blue sprinkles.
Tips for the Blue and Red Velvet Cake
As I mentioned, baking a cake doesn’t have to be intimidating. There are a few helpful tips that will make these cakes come out perfectly.
- Measure the flour correctly. When baking, I like to remind readers that flour should be scooped from the container you keep it in, and into a dry measuring cup. Then level off the measuring cup with the straight edge of a spatula.
- Use fresh baking soda. If baking soda is too old, it won’t react with your ingredients and the cake won’t work. You can test it by dropping a little in vinegar. It should bubble immediately.
- Use room temperature butter. The butter will feel cold to the touch, but you should be able to dent it easily with your finger.
- Do not skimp on beating the butter and sugar together. Beating sugar into butter gives it a light and airy quality. You don’t want to go light on this step.
Tips for the Cheesecake Layer
I don’t want cheesecake to scare you either! Here are a few tips for that layer.
- Use a springform pan. I’ve never tried to make a cheesecake without a springform pan and I don’t plan on it. If you don’t have one, invest, they are great!
- Use name brand cream cheese. I will use store brand for lots of ingredients, but not cream cheese. I always buy Philadelphia Cream Cheese because it really performs the best in cheesecakes.
- Use room temperature cream cheese and eggs. It will be next to impossible to make a smooth batter if they aren’t room temperature.
- Do not overbeat the batter. It will form air pockets in your cheesecake and make it cook less evenly and be less pretty when you cut into the layered cake.
- We are not using a water bath. The water bath method for cheesecakes is great. But the main reason for it is so that the cheesecake does not crack. Since this is the middle part of a layered cake, that doesn’t matter here, and in my opinion is not worth the extra step.
Tips for the Frosting
- Use room temperature butter. Just like with the cake, your butter should be cold to the touch but easy to dent with your finger. If it is too soft, it will be too hard to frost with.
- Pour the powdered sugar into the measuring cup. This will prevent it from packing and that way you won’t end up using too much.
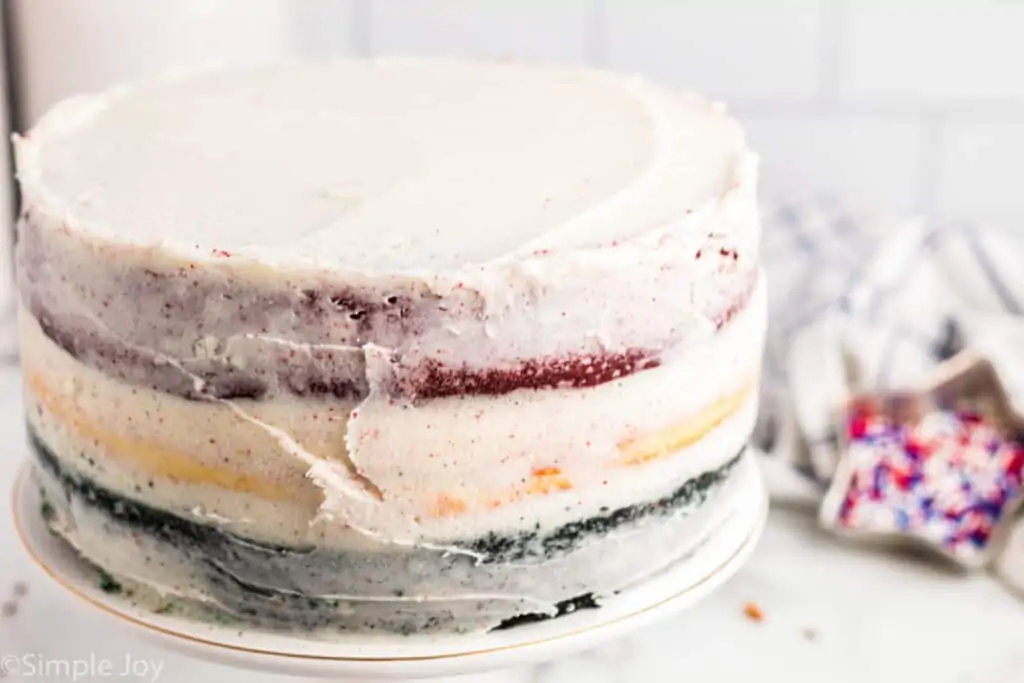
Assembling the Red, White, and Blue Cake
We are using a double recipe of my Vanilla Buttercream. So you will have plenty of frosting to work with.
- Create a flat surface. On the Blue and Red Velvet cake, you will need to cut off the top dome so that it sits flat.
- Add a small amount of frosting to the cake stand or cake circle. This will keep the cake from sliding off as you decorate it.
- Trim the cake. If the cheesecake layer hangs out over the edge of the blue velvet layer, you will need to do a little trimming to create a flush edge.
- Give it a crumb coat. Because you are working with a really colorful cake, this is a great cake to use a crumb coat on. Frost it with a very thin layer of frosting. Let that frosting completely harden – this will take between a half hour and an hour.
- Frost the cake with an off set spatula.
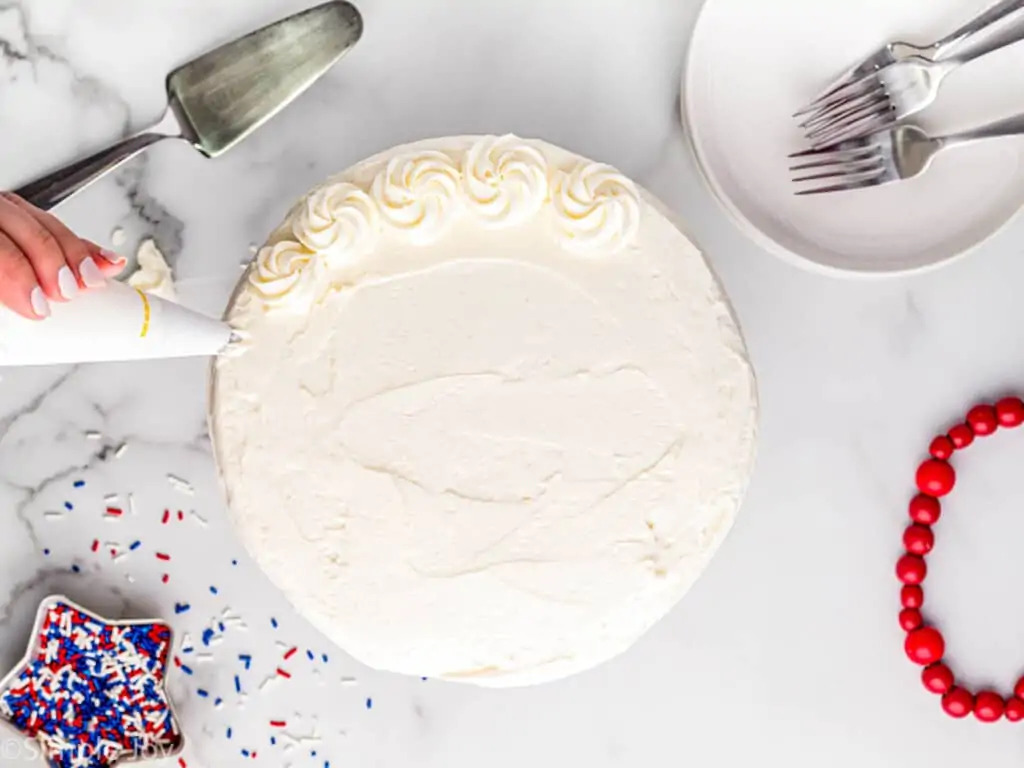
- Decorate the cake. Now pipe swirls onto the top and decorate with sprinkles. The vanilla frosting hardens pretty quickly, so if you want to add sprinkles, do so quickly.
Storing
This layer cake does need to be stored in the refrigerator because of the cheesecake layer. An easy way to store it would be to press plastic wrap onto the cut sides of cake and then put it in the refrigerator. That will keep the cut side from drying out. The vanilla frosting will keep the rest of the cake moist.
This cake can be stored in the refrigerator for 3 to 4 days. As with all leftovers, use your best judgement when it comes to storing.
FAQ
Yes! If you wanted to color the outside red white and blue also and get really fancy this frosting does a great job of holding color.
For best flavor, I would suggest making this cake 1 to 2 days before serving.
Freezing the cheesecake layer makes it easier to handle and assemble the cake. I assure you that it thaws quickly and makes for an amazing layer.
Fourth of July Desserts
If you are looking for other Fourth of July desserts, here are some great ideas that will be perfect all summer long.
If you try this amazing cake, leave me a comment and let me know what you think!
Red, White, and Blue Cake
Ingredients
Blue and Red Velvet Cake
- 2 1/2 cups all purpose flour
- 1/2 cup unsweetened cocoa powder
- 1 teaspoon baking soda
- 1/2 teaspoon salt
- 1/2 cup unsalted butter room temperature (see note)
- 2 cups granulated sugar
- 4 eggs room temperature
- 1 cup buttermilk room temperature
- 1/2 cup vegetable oil
- 1 tablespoon white vinegar
- 2 teaspoons vanilla extract
- 1 1/2 tablespoons blue food coloring
- 1 tablespoon red food coloring
Cheesecake
- 16 ounces cream cheese room temperature
- 2/3 cup granulated sugar
- 2 teaspoons vanilla extract
- 2 eggs room temperature
Frosting
- 1 cup unsalted butter room temperature
- 10 cups powdered sugar
- 4 teaspoons vanilla extract
- 1/2 cup milk
Instructions
Blue and Red Velvet Cake
- Preheat the oven to 350 degrees. Prepare 2 nine inch cake pans by lining the bottom with a circle of parcment paper and spraying the sides with cooking spray.
- In a large bowl, mix together the flour, cocoa powder, baking soda and salt. Set aside.
- Beat together the butter and sugar, until light and fluffy. About five minutes. Beat in one egg at a time. Then and the vanilla, buttermilk, oil and vinegar until just combined. Be careful not to over mix.
- With the mixer on low speed, slowly add the flour/cocoa mixture a 1/2 cup at a time until just combined.
- Divide the cake batter into two bowls evenly. Mix the blue food coloring into one bowl and the red food coloring into the other bowl. Pour the batter into the pans and bake for 25 to 30 minutes until a toothpick inserted in the middle of the pan comes out with just a few crumbs.
- Allow cakes to cool in their pans for about a half hour before transferring to a cool rack. Once completely cool, store in an airtight container until the cake is ready to assemble.
Cheesecake
- Preheat the oven to 350 degrees.
- Beat the brick of cream cheese until it is smooth. Scrape down the sides, and beat for another 30 seconds. Beat in the sugar, then the vanilla, and then the egg.
- Spray a 9 inch springform pan with cooking spray. Cut a circle piece of parchment paper and place at the bottom of the pan.
- Pour the batter and cook for 30 minutes. Turn off the oven and let the cheesecake rest for an hour. Remove from the oven and allow the cheesecake to cool completely. Cover the entire pan with plastic wrap and freeze overnight.
Frosting
- In a large bowl or in the bowl of a stand mixer with the whisk attachment, beat the butter until it is light and fluffy.
- Add in a few cups of powdered sugar. Add in the milk and vanilla. Scrape down the sides and add in the remaining powdered sugar.
Assemble the Cake
- With a searated knife, level the blue and red layers. Put a small dollop of frosting the cake stand. Add the blue layer. Put frosting in a half cup measuring cup and add to the top of the blue layer.
- Remove the cheesecake from the freezer. Take it out of the spring form pan and peel off the parchment paper. Put it on top of the blue layer. Trim the top so it is level and the sides so it is flush with the blue layer (if necessary). Spread on a half cup of frosting.
- Add the red layer. Add a half cup of frosting to the top of the cake and about 3/4 cup of frosting to the sides to make a thin crumb coat. Allow the crumb coat to fully dry, about an hour.
- Once the crumb coat is dry, add the remaining frosting to the cake with a large angled spatula, carefully and evenly spreading it on. There should be enough left over to add some piping to the bottom and top of the cake. Quickly add some red, white, and blue sprinkles.
- Serve the cake immediately or refrigerate the cake and serve within two days.
Notes






Mir says
So THIS is what you did with that awesome buttercream! Well played, Lisa. Stay excited about the multicolored cake. Anyone who doesn’t feel instantly happy looking at this is just jaded and sad. It’s super!
Thanks Mir! The one downside to using the buttercream for this cake was that I took 8,000 pictures of it trying to get the right one and each time I photographed it, a little more buttercream “ended up” getting eaten. :o
Laura 0|PetiteAllergyTreats says
Gorgeous! And LOVE the cheese cake layer. Such fun cake for the upcoming holiday! And a little food dye doesn’t hurt once in awhile ;-)
Thanks Laura!
Dorothy @ Crazy for Crust says
It’s SO gorgeous!! Oh my gosh I wish I had a slice right now.
Thank you Dorothy!
Julianne @ Beyond Frosting says
Cheesecake with cake and more cake? Sign me up!!
Thanks Julianne!
Jocelyn @BruCrew Life says
This is absolutely stunning!!!! I love the hidden surprise of the colored layers…and cheesecake!!! Holy cow!
Thanks Jocelyn!!
Cheryl Newton says
This would be perfect for the 4th of July. But I have a question: how much vanilla in the cake layers? Thanks!
Good catch Cheryl! I just KNEW I was going to miss something in this recipe, there are so many pieces to it. 2 tsps. Updating now. Thank you for catching it!
Cathy@LemonTreeDwelling says
This looks AMAZING, Lisa! Annnnnd since we always celebrate the 4th together…….(hint hint) :)
tanya says
I WANT THIS CAKE!!! That is all. I’ve never had a cheesecake cake but but your pictures are making crave cake!
kentuckylady717 says
This is a pretty cake, but way too much trouble for me to make :) I need easy simple recipes like your beer bread :)
I bet if you made these and sold them you would get rich :) I sure would buy one….
I am a new follower and just checked out your recipes and you have some great ones here…..
I am looking for a real good Pecan bar recipe…..I love any kind of bar cookies…..
Thanks for following along! And thankfully I have plenty of both kinds of recipes, the detailed and the super easy :)
Rachel C Jarvis says
Why is it necessary to freeze the cheesecake layer? Seems like it would be hard to slice.
It helps in putting the cake together. In the time between adding the crumb coat and frosting the cake, the cheesecake layer is thawed plenty and will be fine for slicing.