This guide on how to measure flour will ensure that each of your baking recipes turns out fantastic regardless of whether or not you own a kitchen scale.
Whenever I have a reader tell me that a recipe did not turn out correctly, my first question is always: How did you measure the flour? That is usually followed up wit these two: Did you scoop it straight from the container you keep it in with the measuring cup? What type of measuring cup did you use?
Scooping flour directly from the container you store it in can pack the flour. This can result in as much as 25% more flour than the recipe calls for. Additionally, if you use a glass measuring cup (which are intended for liquid) you will most definitely get an inaccurate amount.
The most accurate way to measure your flour is with a kitchen scale. However, I know many home cooks don’t own kitchen scales. This post will ensure your flour is measured as though you had one.
Why Measuring Flour Correctly is Important
Since baking is a chemical reaction, using an incorrect ratio of ingredients can throw off the end result. Adding too much or too little flour can truly ruin a recipe. Too much can lead to a dry and dense baked item, for example, a cookie that won’t spread. While using a food scale is the most accurate way to get the correct amount, following these simple steps will ensure you get the accurate amount of flour by using measuring cups.
How to Properly Measure Flour
Here are the simple yet important steps for properly measuring flour. While I always like to make sure I have the correct amount of flour, it is absolutely essential when it comes to baked goods like cookies, cakes, and breads.
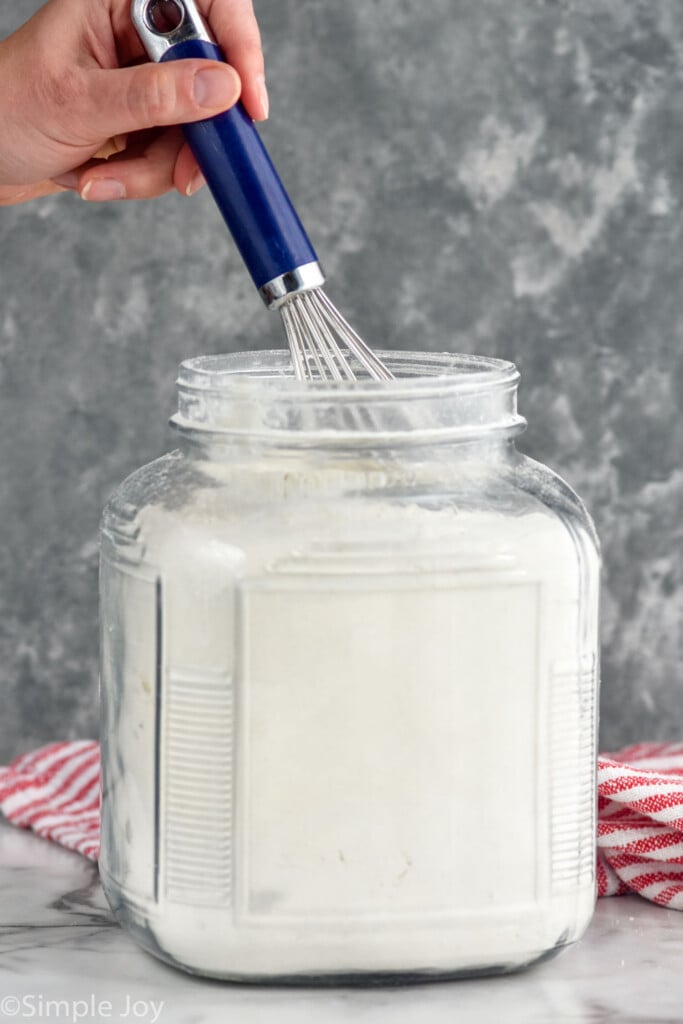
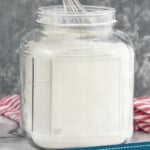
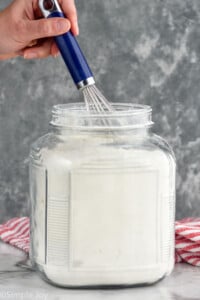
- Whisk the flour. Start by whisking the flour in the container or bag it is stored in. Since flour settles and compacts as it sits, this helps fluff it up.
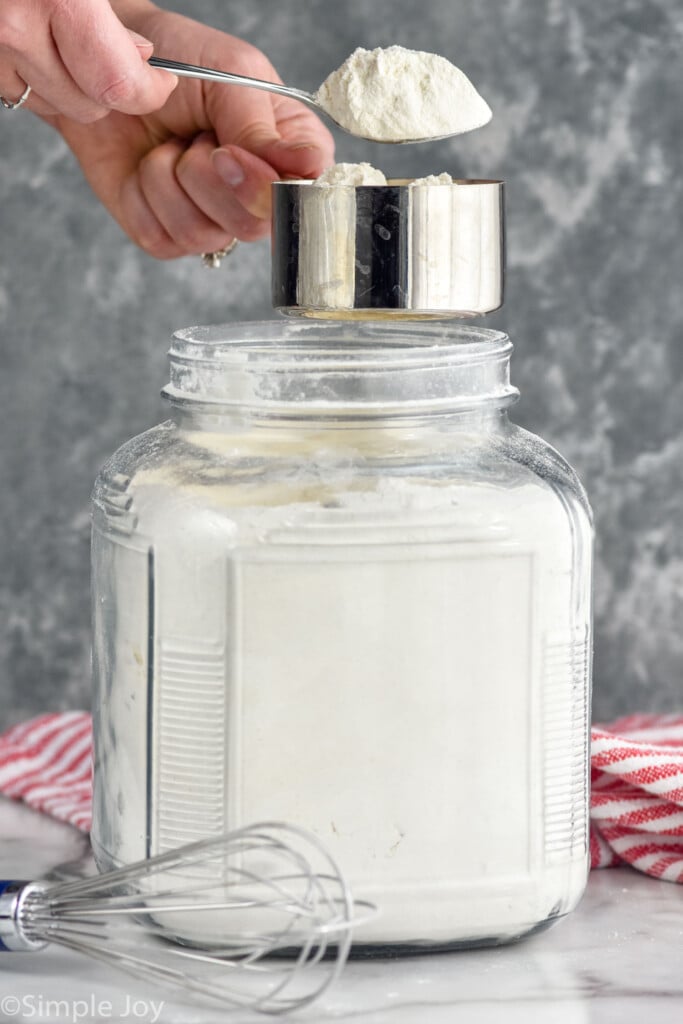
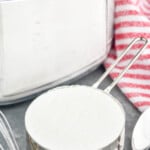
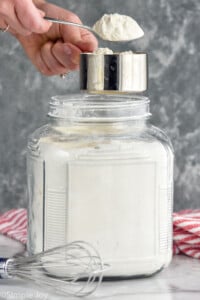
- Scoop the flour with a spoon. Use a spoon to scoop the fluffed flour from its container into a dry measuring cup until it is overfilled, allowing the excess flour to mound on top without pressing it down. I like to hold the cup over the container of flour so that any excess that drops goes right back into the container.
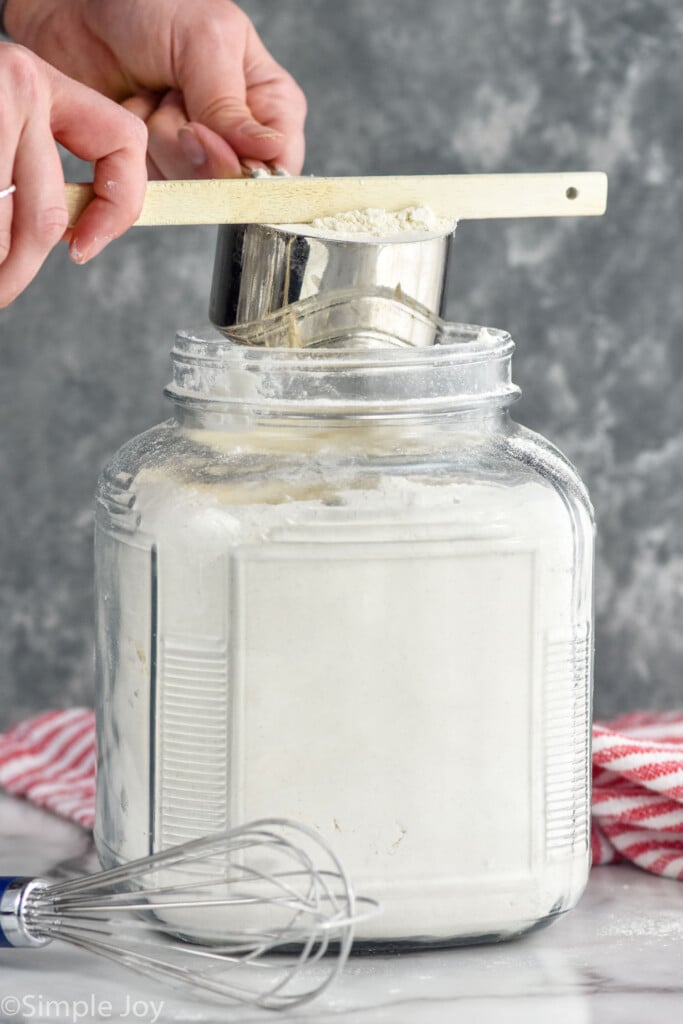
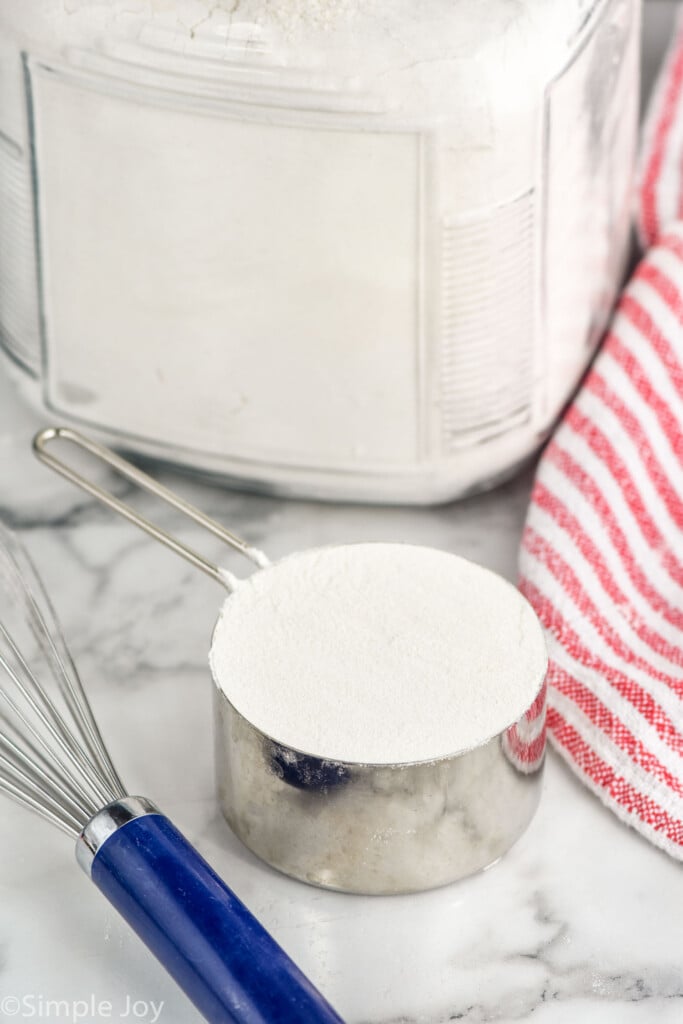
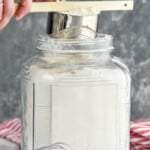
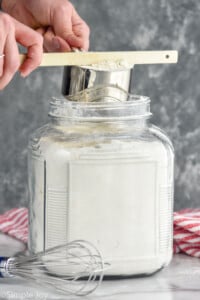
- Level it off. Take a flat-edged utensil, like the back of a knife or a spatula, and level off the excess flour by sweeping it across the top of the measuring cup. (See the photo at the top of the post.) Make sure the surface is even without packing the flour down.
- Repeat as needed. Repeat these steps if your recipe calls for multiple cups of flour. Always measure each cup separately to maintain accuracy.
Tips and Tricks
- Avoid scooping: Do not scoop the flour directly from the bag or container using the measuring cup. This can lead to compacted flour, which will result in more than you need.
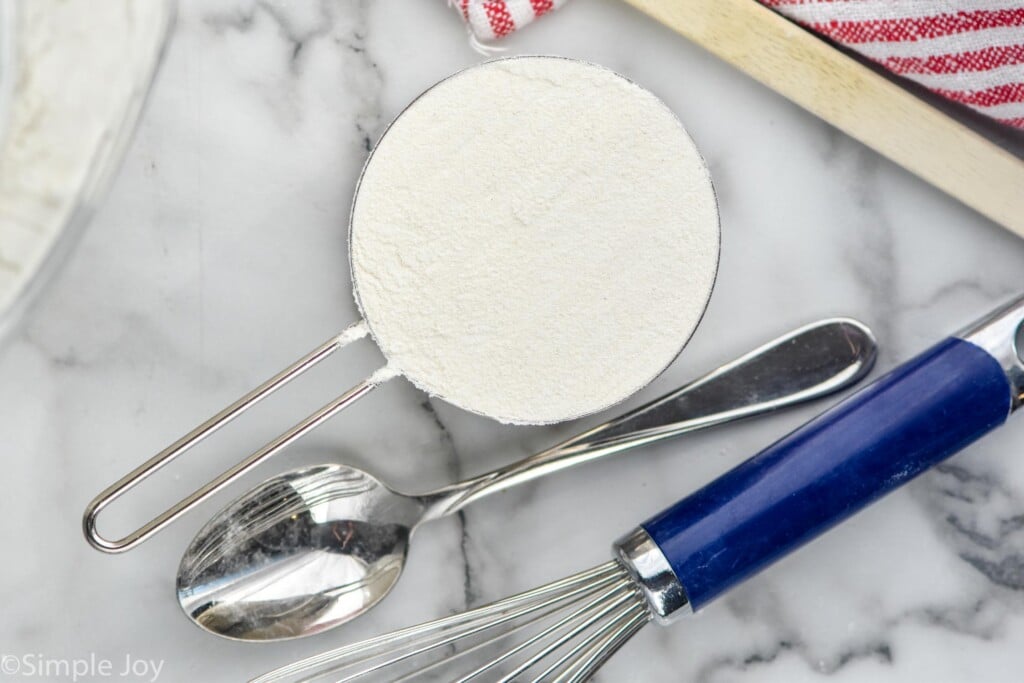
- Use dry measuring cups: Make sure you are using dry measuring cups specifically designed for dry ingredients like flour. Liquid measuring cups have a different shape and can lead to inaccurate measurements.
- Don’t pack it: Some ingredients, like brown sugar, should be packed into the measuring cups. Flour is not one of them. Don’t press it down.
- Sift if Necessary: If your recipe calls for sifted flour, sift it after measuring. Sifting helps break up any clumps and adds air, contributing to a lighter texture in your baked goods.
Using a Kitchen Scale
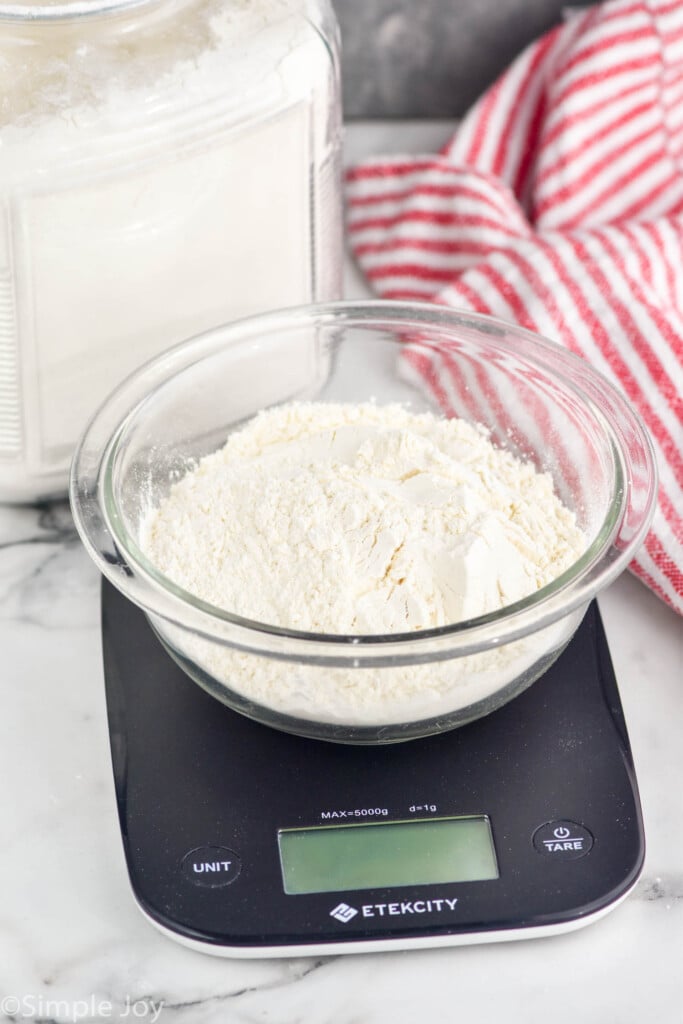
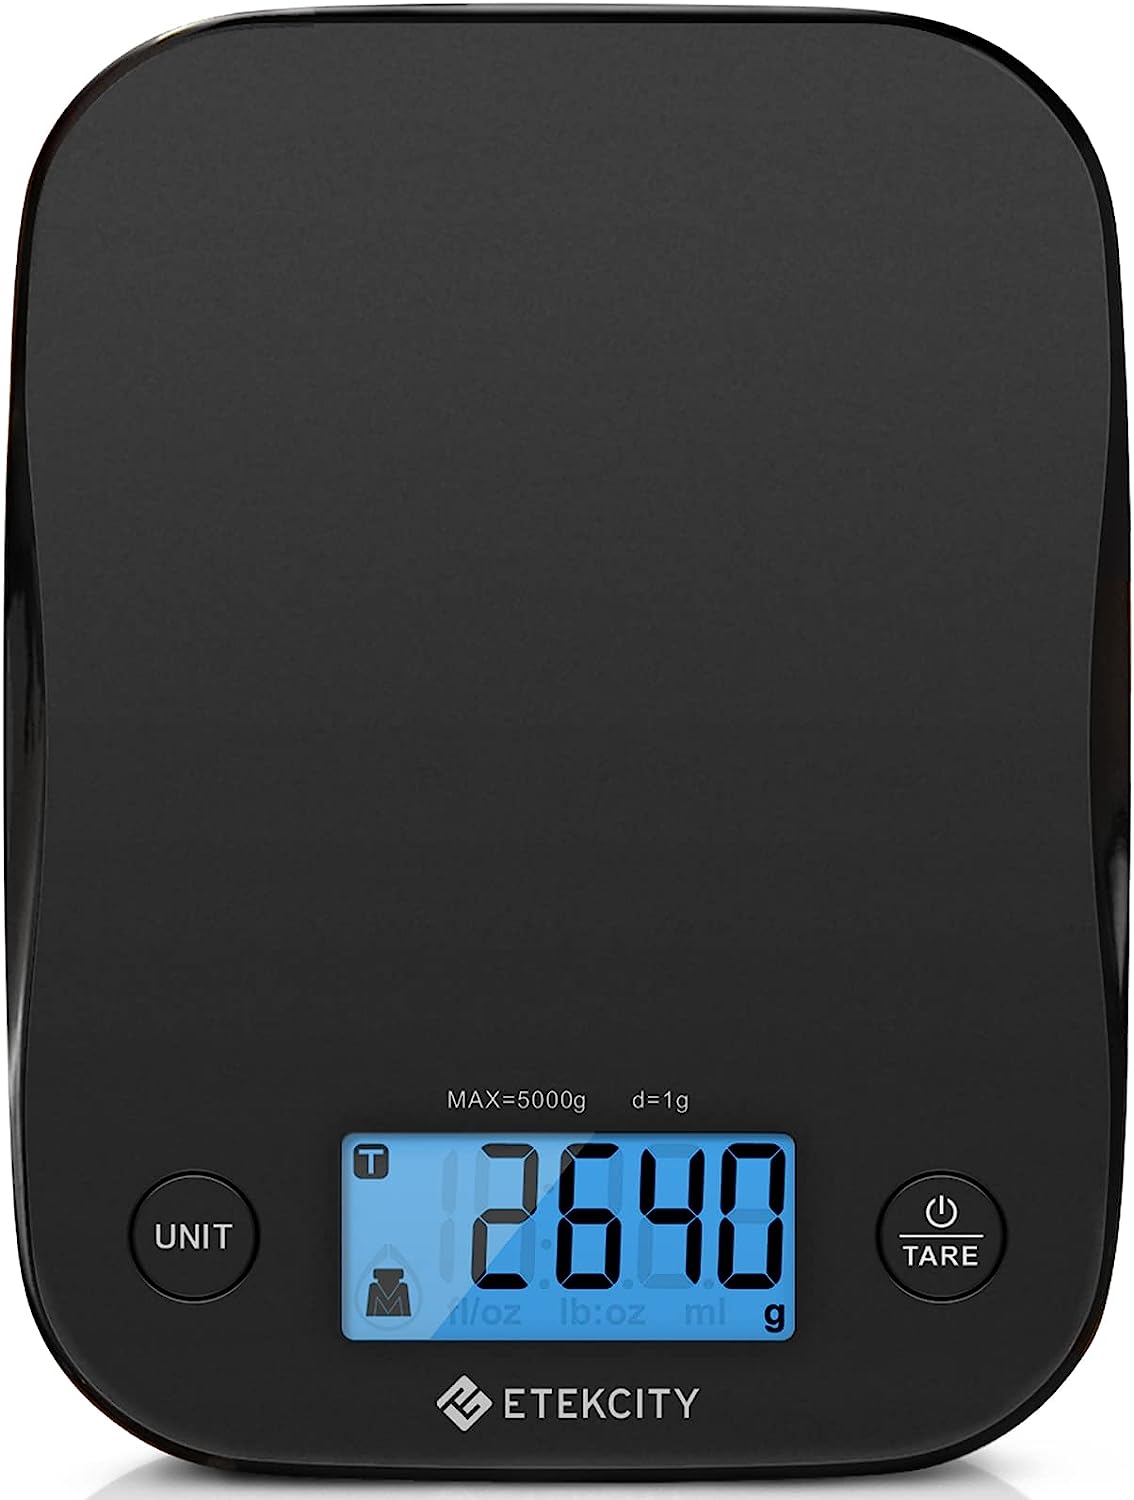
As mentioned above, a kitchen scale is the most accurate way to measure flour. If you have one, you can just scoop the flour using whatever you like into a bowl. There is no need to whisk it first. Keep in mind that for an accurate measurement, you will wan to place the bowl on the scale after turning it on, and then hit TARE so you are only measuring the flour and not the weight of the bowl.
Kitchen Scale
How to Store Flour
Transfer your flour from its original packaging to an airtight container with a tight-fitting lid. Airtight containers prevent exposure to air and moisture, keeping your flour fresh. When stored in an airtight container, flour can be kept in your pantry for up to six months.
Store your flour in a cool, dark place and label your container with the type of flour and the date of purchase so you know when it may be time to replace it with fresh flour.
Delicious Baking Recipes
Want to make something delicious to try out this method for how to measure flour? Here are a few ideas:
If you use these steps to measure flour for your next recipe, leave a comment and let me know. I love hearing from you!
How to Measure Flour
Equipment
- 1 whisk
- 1 dry measuring cup
Materials
- flour
Instructions
- Whisk the flour in the container it is stored in.
- Using a spoon, scoop the flour into a dry measuring cup. Be careful not to pack the flour.
- Using the flat edge of a spatula, level off the flour.







Bill K says
Using a scale is great but how much does a cup of flour weigh
In the recipes on my site I always give the measurements in grams in addition to cups. One cup of flour weights 120 grams.
Terry says
I use King Arthur flour. I have for years now. I’ve weighed my ingredients since I started using their flour and a lot of their recipes. I bought a Williams Sonoma scale, also a long time ago. King Arthur says a nickel should weigh 5 grams in order to be calibrated correctly. I was pleased when my nickel weighed 5 grams. I’ve got a few different measuring cup sets. I’ve scooped out, then weighed my flour to see which is accurate. I have 1 set that weighs out accurately, according to KA standards (120g for AP flour). Sometimes, for nostalgia sake, I just use those. Especially when I’m making the chocolate chip cookies I’ve made since I was 12. That’s a long time…ha
Richard Sciolto says
How many oz’s does one cup of flour weigh?
120 grams or 4.25 ounces
Maggie G says
I love getting recipes from you
I’m so glad to hear that, Maggie!