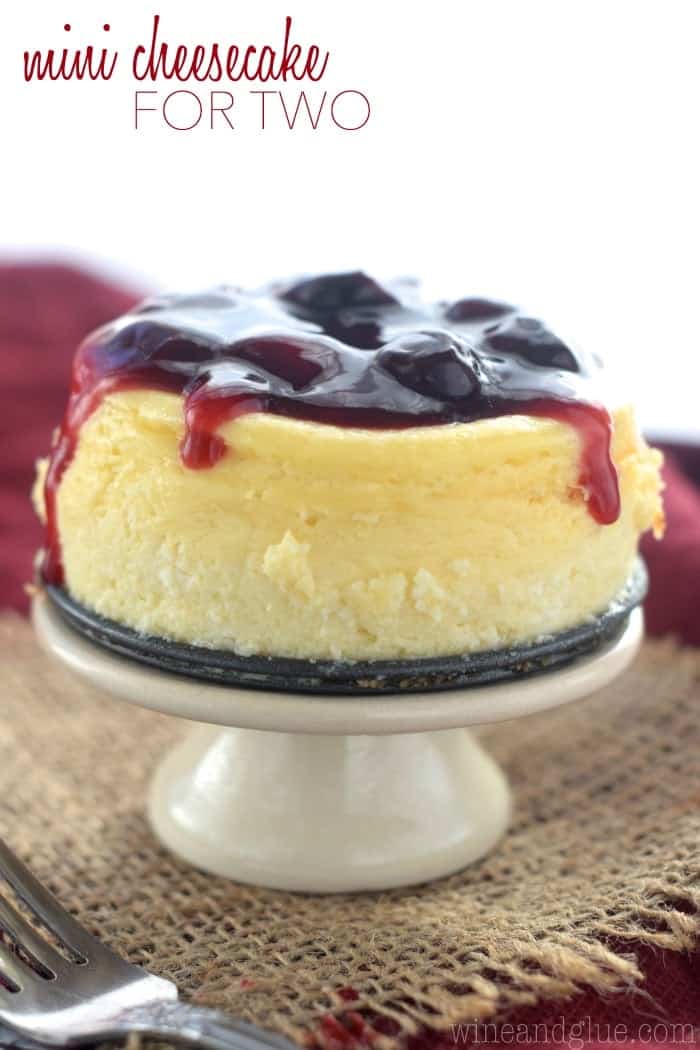
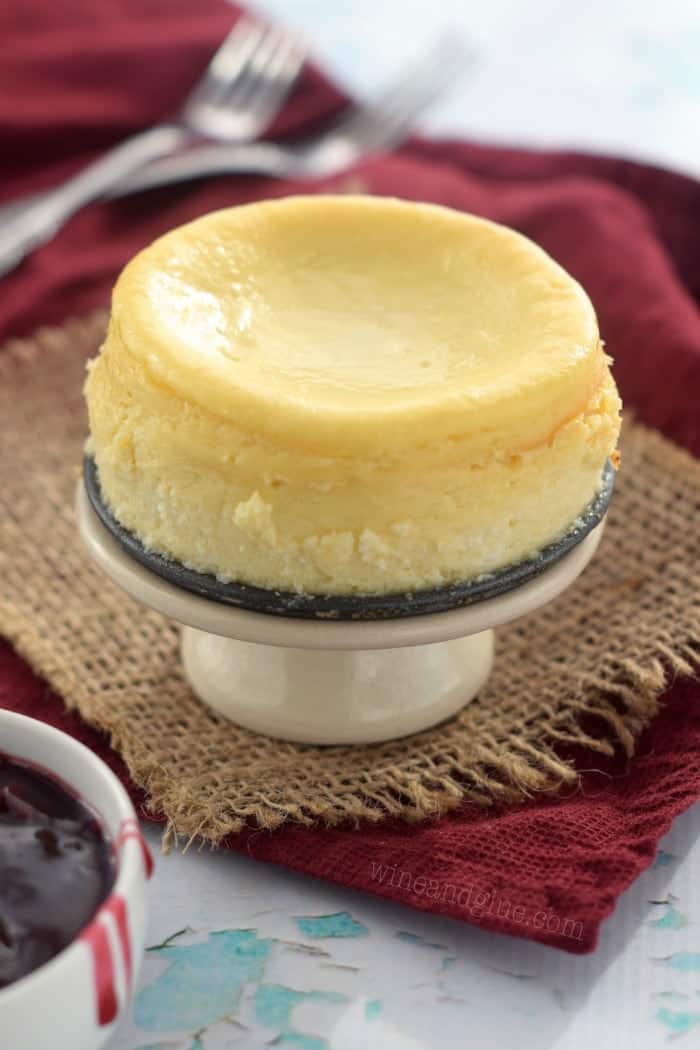
This cute little Mini Cheesecake is just perfect for you and your date . . . or if you don’t have a date for Valentine’s Day, just eat the whole thing yourself, and I won’t tell! If you are looking for a small cheesecake recipe, this is the one for you!
This past September Nathan and I celebrated our 10 year wedding anniversary. Just the other day, I looked at him and said that I would have never imagined how much stress kids add to a marriage. I mean, sure, I saw my parents fight, but surely it never had anything to do with us!
Don’t get me wrong, I wouldn’t trade our kids for the world. And ultimately they have totally enriched our marriage and brought us together time and time again. But for the love of fish sticks, my dear lord. It is exhausting rearing these small little people who are full of demands and hungry all the time. It’s like a clown show around her most days, so no kidding it takes a toll on a marriage!
So one of my non resolution resolutions for the New Year (because making actual resolutions is just setting myself up for disappointment and frustration when I don’t do it) was to date my husband more. We have like zero babysitters. Yes, we have kind friends who are willing to sit for us in a pinch, but they also have little kids, and I hate to ask. So we are trying to do more date nights at home. The first one was actually on New Years Eve. We put on some jazz music (btw, with Alexa, who I begrudgingly love, but that’s a whole other post), we made some amazingly delicious and decadent food, and just cooked together. We ate most of it standing in our kitchen because I can’t time a meal correctly to save my life, but then we took the last bits and sat in front of our fireplace. It was low key and kind of magical.
And it really felt like a date.
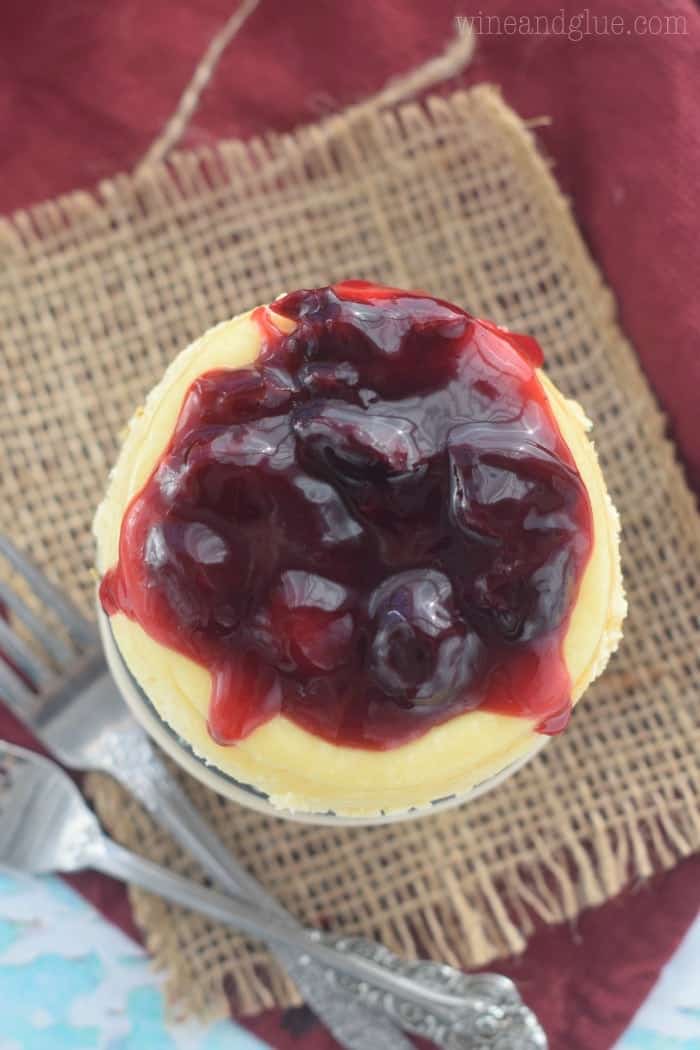
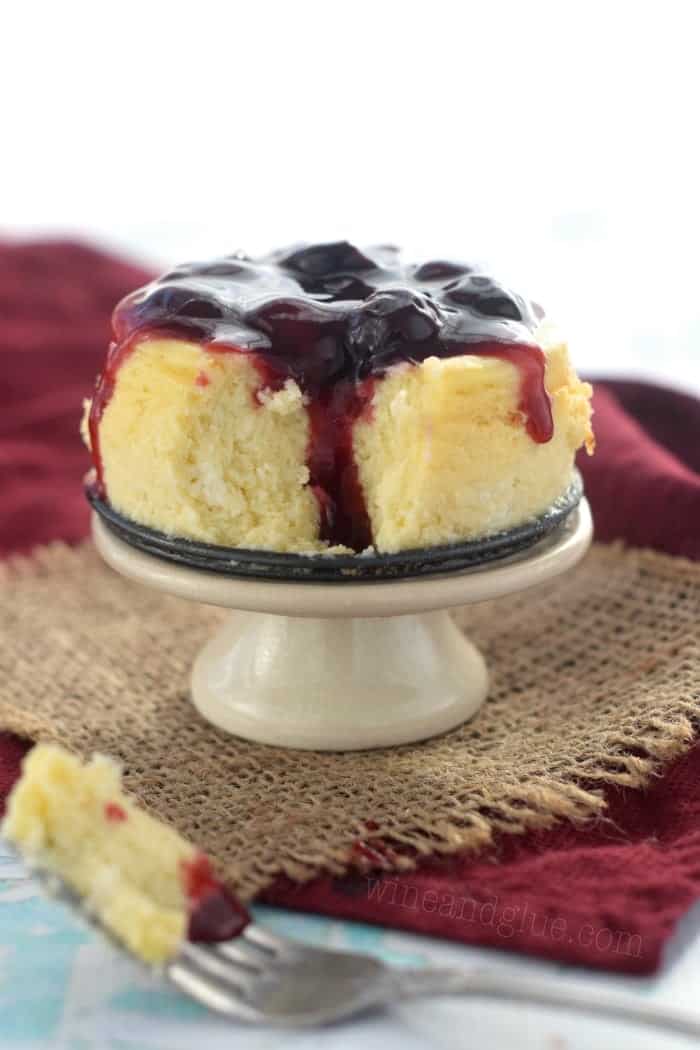
I told Nathan right away that I want to recreate that date night for Valentine’s Day. Only this time, I want to serve this cheesecake at the end. This teenie tiny mini cheesecake for two was first created back in September to celebrate Nathan’s birthday. Nathan is a cheesecake connoisseur, and it got his stamp of approval. It’s just his style, uncomplicated and doused in cherries.
NOTES FOR THIS SMALL CHEESECAKE RECIPE
- When you are making a cheesecake, the cream cheese has to be at room temperature. Don’t microwave your brick of cream cheese. Just be patient, leave it on the counter for a couple hours (I like at least four) and do the same with your egg.
- This isn’t a lot of cream cheese to blend. It will want to just stick to the sides of the bowl. So make sure to scrape it down and blend again at least one time. You want it to be smooth.
- I got my mini cheesecake pans (four inches) from Target, but you can find them on Amazon as well.
- The cherry sauce is made with water and not juice. This was a recipe from my mom (that I’m 99% sure came from a cherry can). Her recipe called for juice, but I didn’t have any and just used water. It was the perfect amount of sweetness for the cheesecake. If you would like it sweeter, replace it with cranberry juice.
- Or just buy cherry pie filling. I won’t tell.
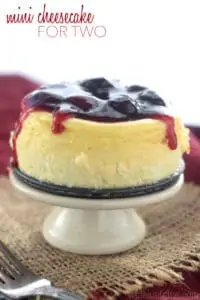
Mini Cheesecake for Two
Ingredients
For the Cheesecake
- 8 oz cream cheese room temperature (see note)
- 1/3 cup granulated sugar
- 1 egg room temperature
- 1 tsp vanilla
For the Cherry Sauce
- 1/2 cup water see note
- 1/4 cup granulated sugar
- 1 TBSP corn starch
- 1/8 tsp ground cinnamon
- 1/8 tsp almond extract
- 1 cup frozen cherries thawed
Instructions
- Preheat the oven to 350 degrees.
- Beat the brick of cream cheese until it is smooth. Scrape down the sides, and beat for another 30 seconds. Beat in the sugar, then the vanilla, and then the egg.
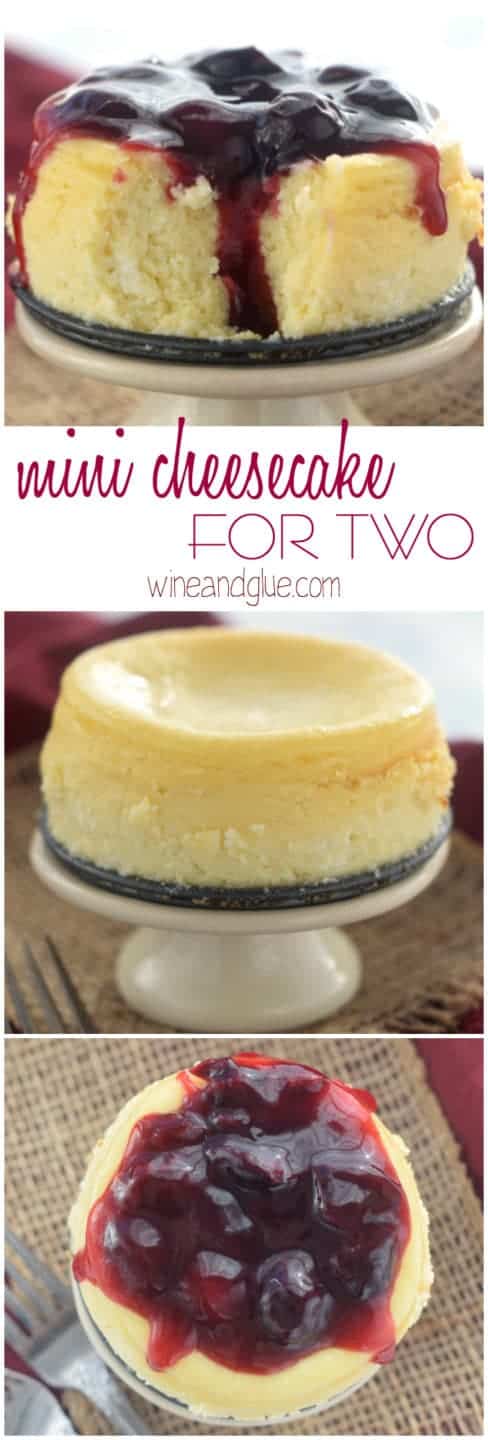
- Pour into 4 inch springform pan . Bake for 22 minutes until the edges are lightly golden and the middle still has a wiggle to it. Turn the oven off and leave the cheesecake in with the door closed for a half hour. Take the cheesecake out and leave it on the counter 10 minutes. Before putting it in the refrigerator, gently run a thin knife between the edges of the pan and the cheesecake. Cover and refrigerate for at least four hours before serving.
- Before serving the cheesecake, combine the water, sugar, and corn starch, and cinnamon in a small saucepan over medium low heat. Stir continuously until fully combined.
- Add the almond extract and cherries. Continue to cook, breaking up the cherries slightly until the the sauce is a deep dark red color.
- Remove from the heat and allow to cool slightly before topping the cheesecake and serving.
Notes

did you make this
Mini Cheesecake for Two




Linda says
I made these in a cupcake pan, with the paper wrappers, and it made 12, with a little bit leftover that I put into a small ramekin and finished in the toaster oven. I used some crumbled peanut butter cookies for the crusts, then added a tablespoon of cocoa and a tablespoon of peanut butter……they came out great! We especially like them with some chocolate sauce drizzled over the tops…..yummy.
I’m so glad to hear you enjoyed them!
Ginny says
This was quick and easy. Just the right size. I don’t know if others feel this way, but I sure wish the recipe was up front and the info and ads after. All I need is the recipe and it long and tedious to always scroll through a mass of info that not needed. Another option is to put a hyperlink to the recipe.
This is the reason we have a jump to the recipe button at the top of the post.
Rebecca says
Thank you! I have 4” pans and needed a recipe with bake times. Also, a date night suggestion. Swap with another couple once a month. One month, you and your hubby go to dinner while your friends watch and feed the kids. Swap it out the next month. When you get back, hang out with your friends awhile for grown up conversation. That’s what we did, and it was so much fun! Win win!
That’s what we did for years!! Thankfully, these days my oldest is a teen and a fantastic babysitter.
Lisa says
Can you make this cheesecake in two ramekins instead?
Unfortunately, I haven’t tested that.
Karen says
It looks like the crust is made with chocolate crumbs, but no ingredients are given.
What you are seeing is the bottom of the mini springform pan.
Carol says
IS THERE NO CRUST
Correct.