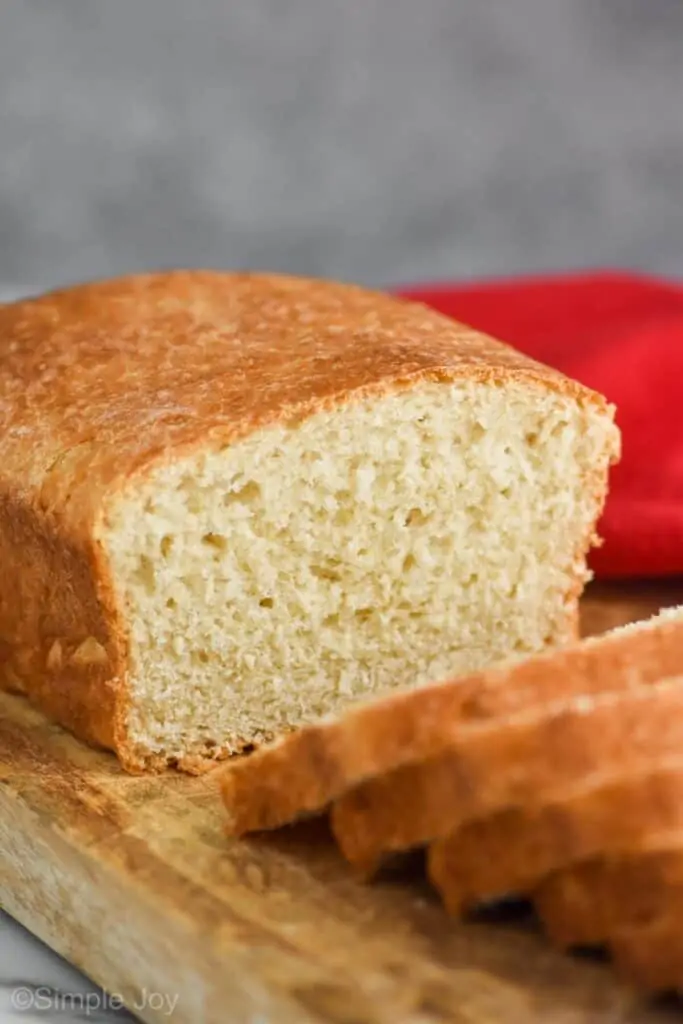
This Easy Sandwich Bread comes together with ingredients already in your refrigerator and pantry. The perfect recipe for even beginner bakers.
For the longest time, I thought any recipe that uses yeast would be impossible. Not something I could do. But after perfecting my pizza dough recipe, I realized it’s not hard at all!
It’s just a matter of making sure your liquids are the right temperature for the yeast – not so hot it will kill it, not too cold that it won’t rise. Using an instant read thermometer makes it SO EASY.
The same principles apply in this easy sandwich bread recipe! It is loosely based on an American Test Kitchen recipe. I altered some of the ingredients and the kneading process because I wanted to make sure anyone could make this with what they have on hand.
My kids LOVE this recipe! Obsessed.
NOTE: This post contains a LOT of process shots. If you don’t think you need those, you can hit that “Jump To The Recipe” button at the top of the post to skip it.
WHAT MAKES THIS BREAD RECIPE EASY
This recipe is easy for a few key reasons:
- You don’t need any special ingredients. I swapped the bread flour for all purpose flour and the whole milk for what I had on hand – skim.
- This bread recipe comes together with just a bowl and a wooden spoon. You don’t need a food processor or a stand mixer with a dough hook.
Now listen. After saying both of those things, I will say if you have bread flour and whole milk on hand you can swap them in (same amounts as listed) as is recommended by ATK.
WHITE BREAD INGREDIENTS
Just a few things needed for this great recipe. For the full recipe and amounts please see the bottom of the post.
- All Purpose Flour
- Active Dry Yeast
- Salt
- Milk
- Water
- Butter
- Honey
HOW TO MAKE SANDWICH BREAD
Step One: Mix 3 3/4 cups flour (we are saving that last 1/4 cup for the end), the yeast, and the salt in a large bowl.
Heat up the milk, water, and cut up butter in a measuring cup until an instant read thermometer reads between 115 and 120 degrees. Then stir in the honey.
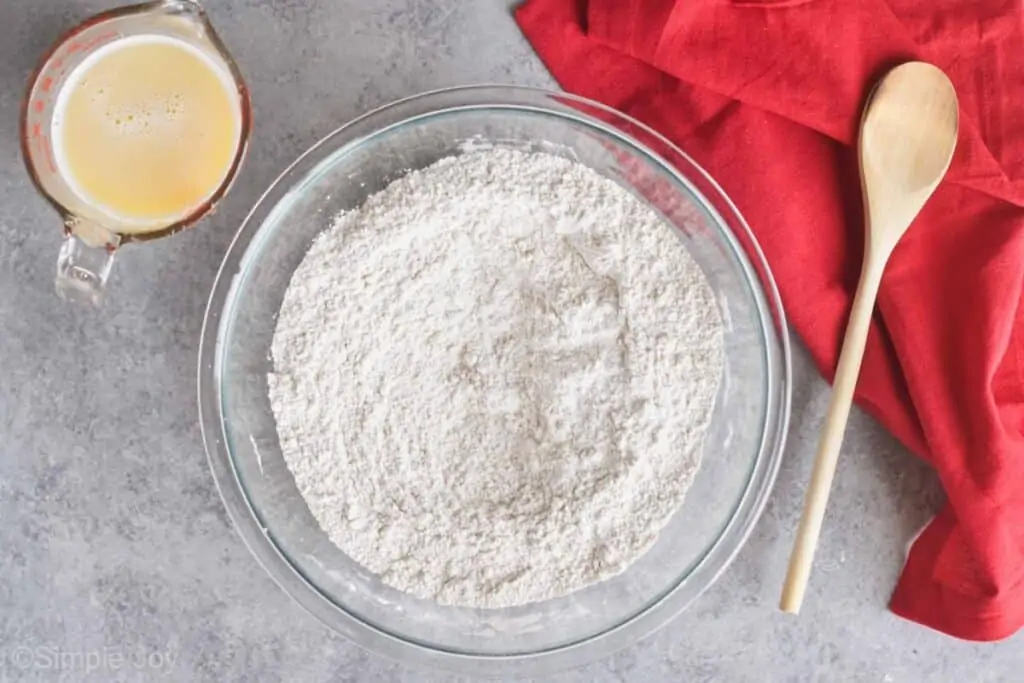
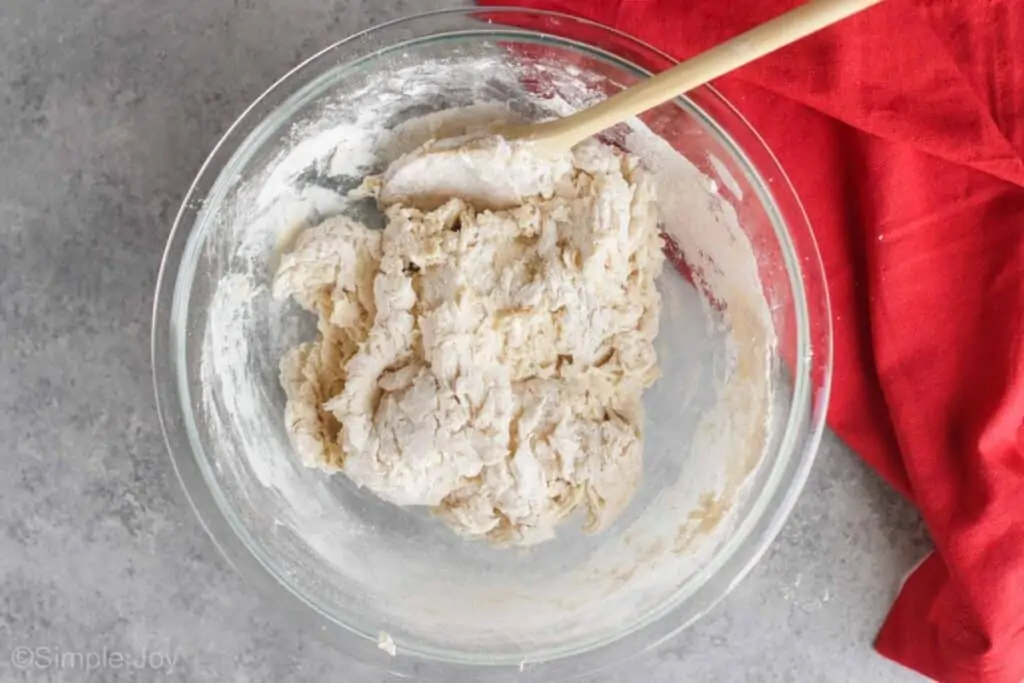
Step Two: Add the liquid ingredients to the dry.
Stir with a wooden spoon adding that remaining 1/4 cup of flour a tablespoon at a time until the bread just begins to not stick to the sides. (It is okay if the bottom still sticks to the bowl.)
Step Three: Turn the bread out onto a clean surface and knead it by hand until it just starts to form until a smooth dough ball.
Return it to a large clean bowl that has been lightly sprayed with oil.
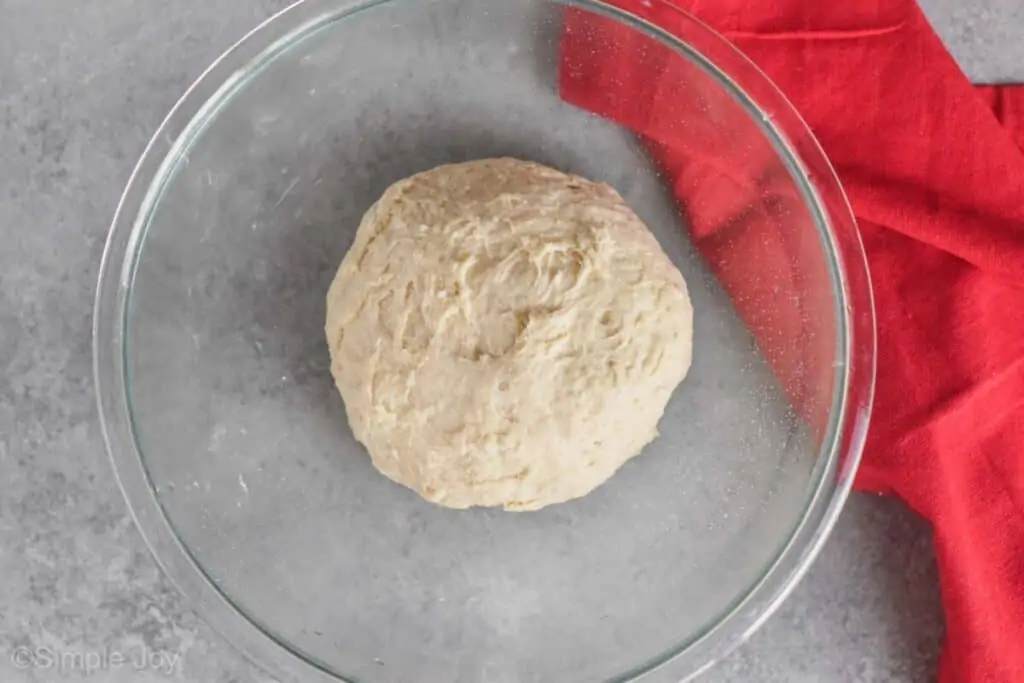
Step Four: Cover the bread tightly with plastic wrap. Set it in a warm place and allow it to rise for 1 to 1 1/2 hours or until it doubles in size. (Mine always needs at least 1 1/2 to get there.)
Isn’t it beautiful?
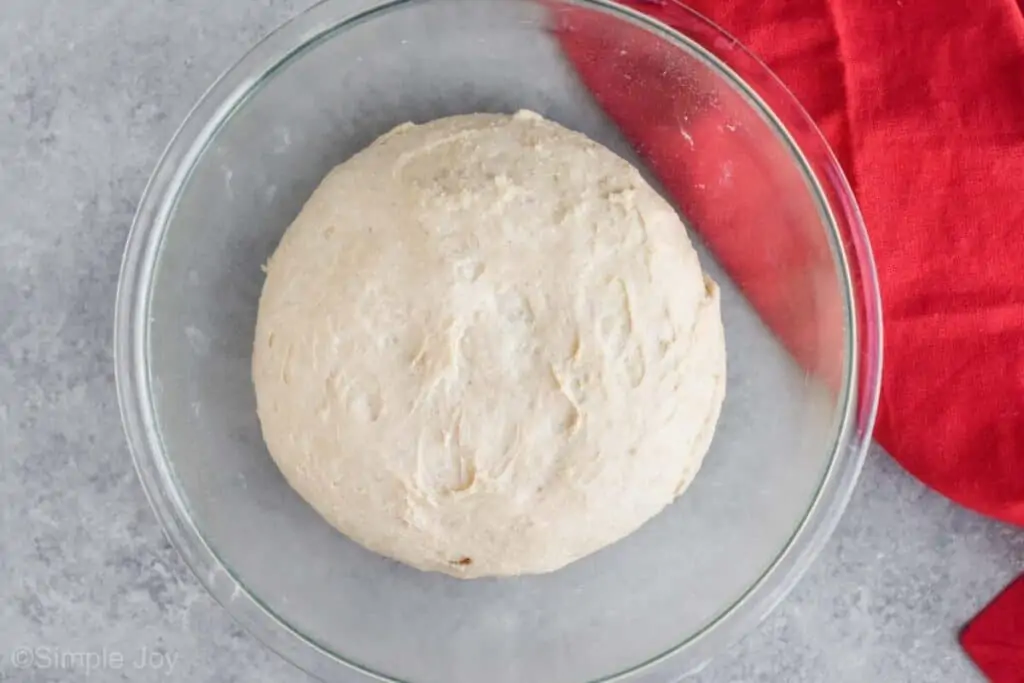
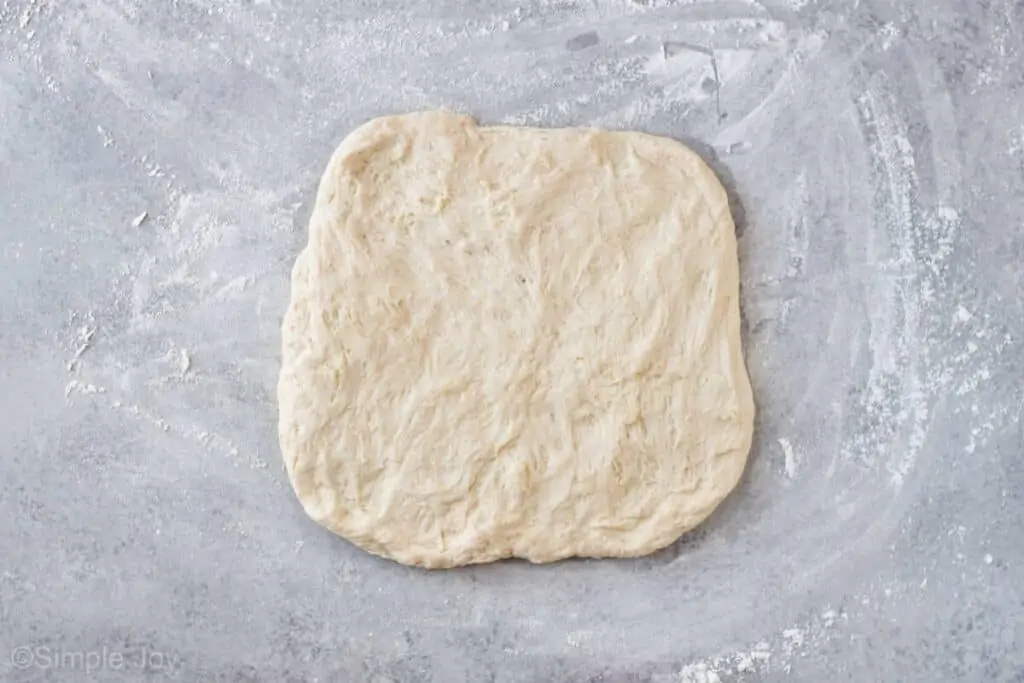
Step Five: Turn the bread out onto a lightly floured surface.
Gently form it into a 9 inch by 9 inch square.
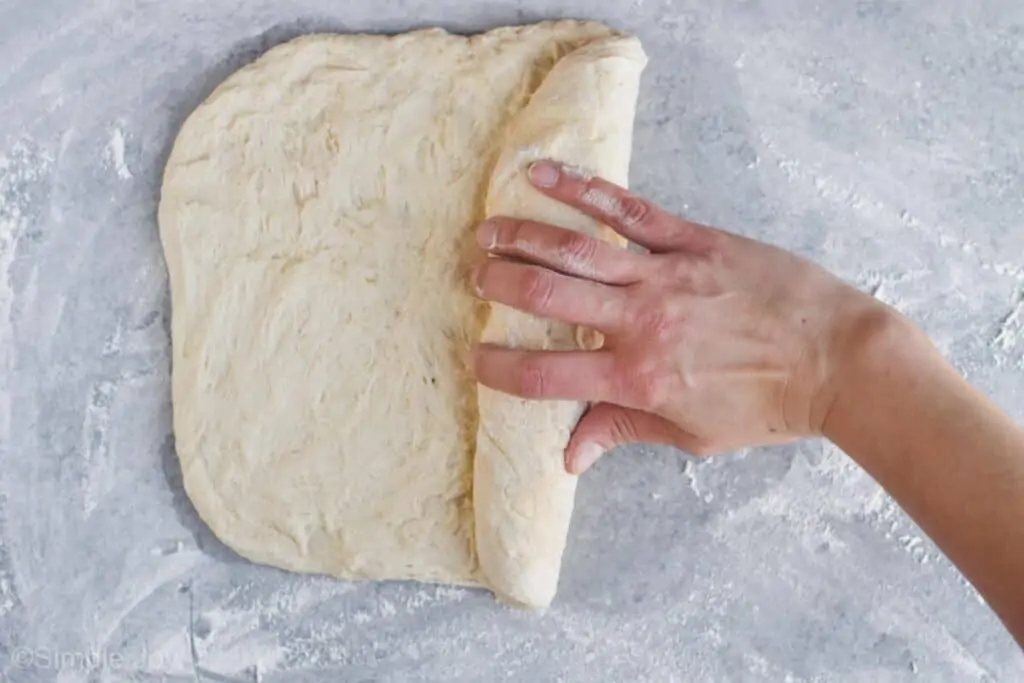
Step Six: Roll the bread up.
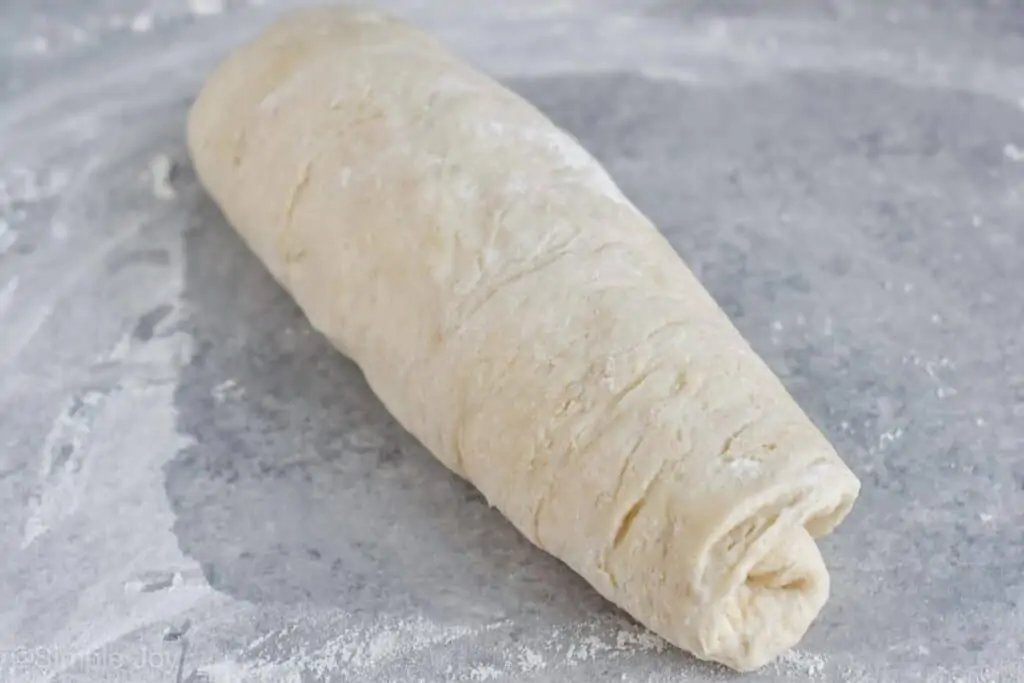
Step Seven: Place the dough seam side down in a lightly sprayed bread pan. Cover tightly with plastic wrap.
Give it another 1 to 1 1/2 hours in a warm place to double in size.
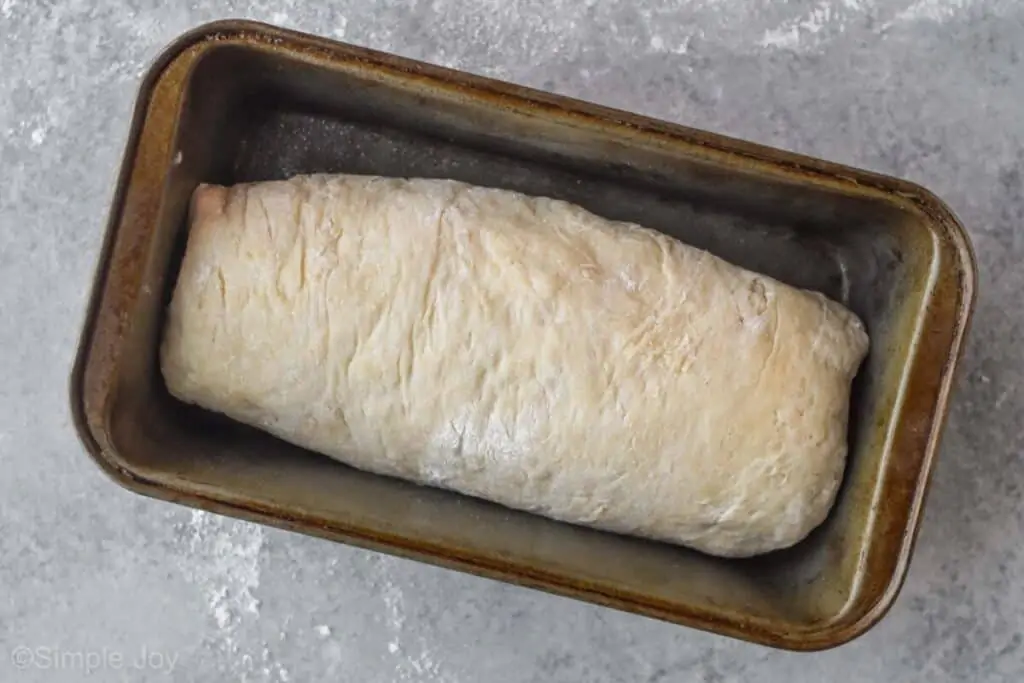
Step Eight: Preheat your oven to 350 degrees. Brush the dough with 1 tablespoon of butter.
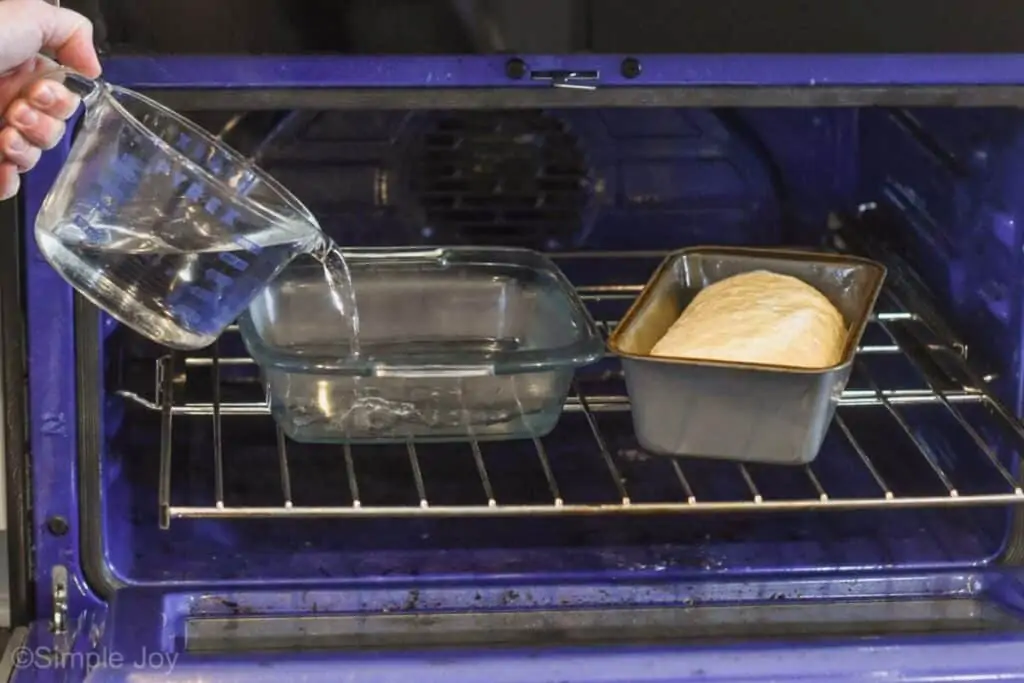
Pour hot water in a baking dish. Place the baking dish in the oven next to the bread.
Bake for 40 to 50 minutes or until an instant read thermometer reads 200 degrees.
Step Nine: Turn the cooked bread out onto a wire rack.
Give it two hours to cool before you slice it.
Enjoy!!
HOW MUCH DOES IT MAKE?
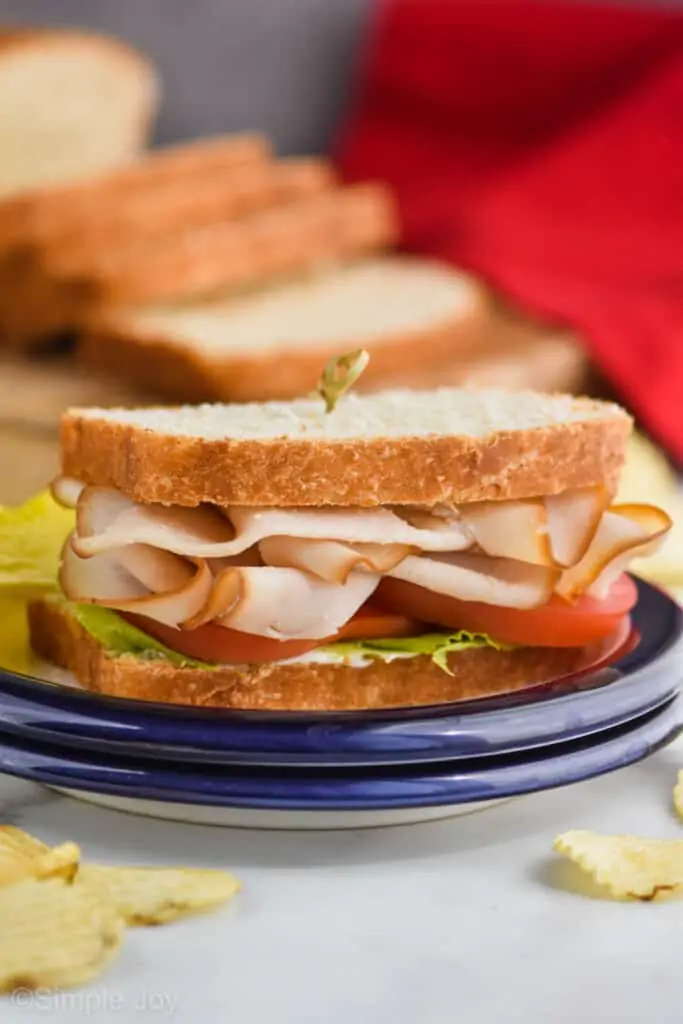
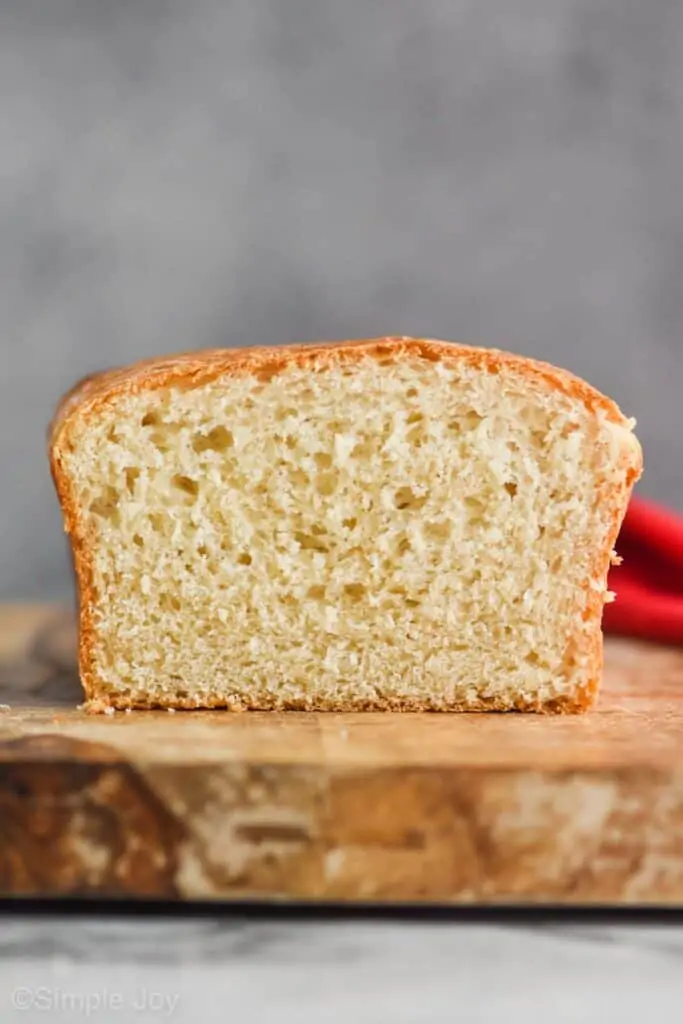
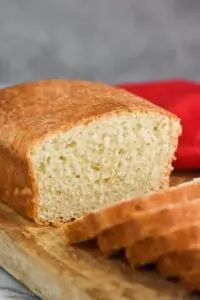
Slicing like a typical sandwich bread (what you see above), you can get 14 slices out of this loaf of white bread.
STORING & FREEZE
Keep the cooled bread in an airtight container for up to 1 week.
Alternatively, you can freeze all or part of this bread by wrapping it several times (I do at two times) with plastic wrap and then putting it an airtight container. The bread will last three months in the freezer. Six months if you have a deep freezer.
OTHER GREAT BREAD RECIPES
If you love making bread, but don’t love using yeast, check out these recipes:
If you make this bread recipe or any of my other recipes, leave me a comment and let me know what you think!
Easy Sandwich Bread
Ingredients
- 4 cups all purpose flour divided (17 ounces OR 480 grams)
- 2 1/4 teaspoons active dry yeast (the same as 1 envelope)
- 2 teaspoons salt
- 1 cup milk (I used skim)
- 1/3 cup water
- 4 tablespoons unsalted butter divided (cut into pieces)
- 3 tablespoons honey
Instructions
- In a medium bowl whisk together the 3 3/4 cups all purpose flour, yeast, and salt. Set aside.
- Heat the milk, water, and 3 tablespoons cut up butter in the microwave until it reads between 115 degrees Ferenheit and 120 degrees Fahrenheit. (Approximately 1 1/2 minutes, with stirring in between.)
- Add the honey to the warm milk mixture and pour it over the flour mixture.
- Stir with a wooden spoon until the dough no longer sticks to the side of the bowl. Add the extra 1/4 cup flour a tablespoon at a time, until the dough just no longer sticks to the sides, though it is fine if it continues to stick to the bottom of the bowl.
- Pour the dough onto a lighlty flour surface and gently shape into a smooth ball. Put in a lightly oiled large clean bowl and cover tightly with plastic wrap. Let rise for 1 1/2 hours in a warm space or until it has doubled in size.
- Dump out the dough onto a lightly floured surface and shape into a 9 inch by 9 inch square. Roll the dough up and place seam side down in a lightly oiled bread pan. Cover with plastic wrap and let rise 1 1/2 hours or until it has doubled in size.
- Preheat your oven to 350 degrees. Discard the plastic wrap. Brush the risen dough with the reamining 1 tablespoon melted butter.
- Pour hot water in a pan. Place it in the preheated oven with the risen dough in the bread pan. Bake for 40 to 50 minutes or until the bread registers 200 degrees Fahrenheit.
- Flip the bread out onto a wire rack and allow to cool completely before slicing. Approximtaely 2 hours.
- Store in an airtight container for up to one week. See post for deatils about freezing.






Susan says
I only have instant yeast. Will it work?
Yes!
Donna Moresea says
Are you to put the loaf pan in the pan with the water or is the pan with the water on the rack below the loaf pan when baking?
It’s hard to explain it verbally, but if you look at the photo above you can see there is a baking dish next to the bread pan with the dough. They are on the same rack next to each other.
Carol says
Can this recipe be made in a bread machine? Thanks
Hi Carol, I don’t have experience with a bread maker. I’d have to defer to the instructions that came with it for how to convert a recipe meant for the oven to the machine.
Maggie Jessop says
Yes it can. I just made a loaf this afternoon. However you may want to reduce the honey just a little because the top rows and then collapsed but the bread still looks beautiful. Texture is great. Also be careful that your bread machine will do a large loaf that takes 4 cups of flour. Mine rose to the very top, almost touching the lid
Thank you for this Maggie! I really appreciate you coming back and letting me know.