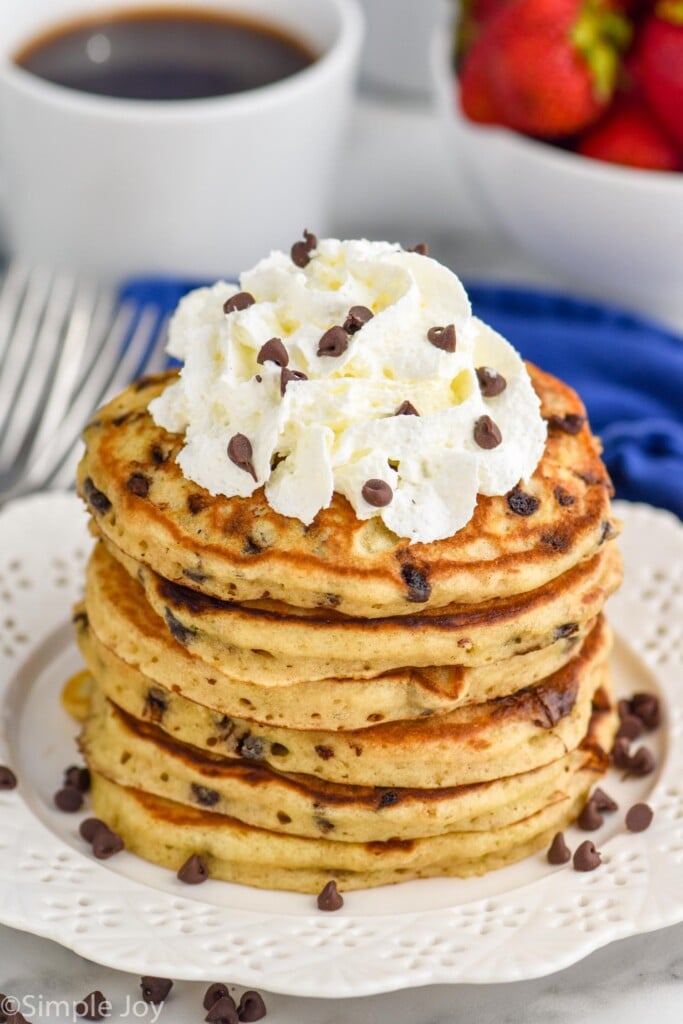
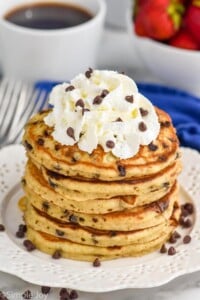
Chocolate Chip Pancakes are one of our favorite breakfast treats. This recipe is so easy to make and is perfect for weekend brunches and breakfasts.
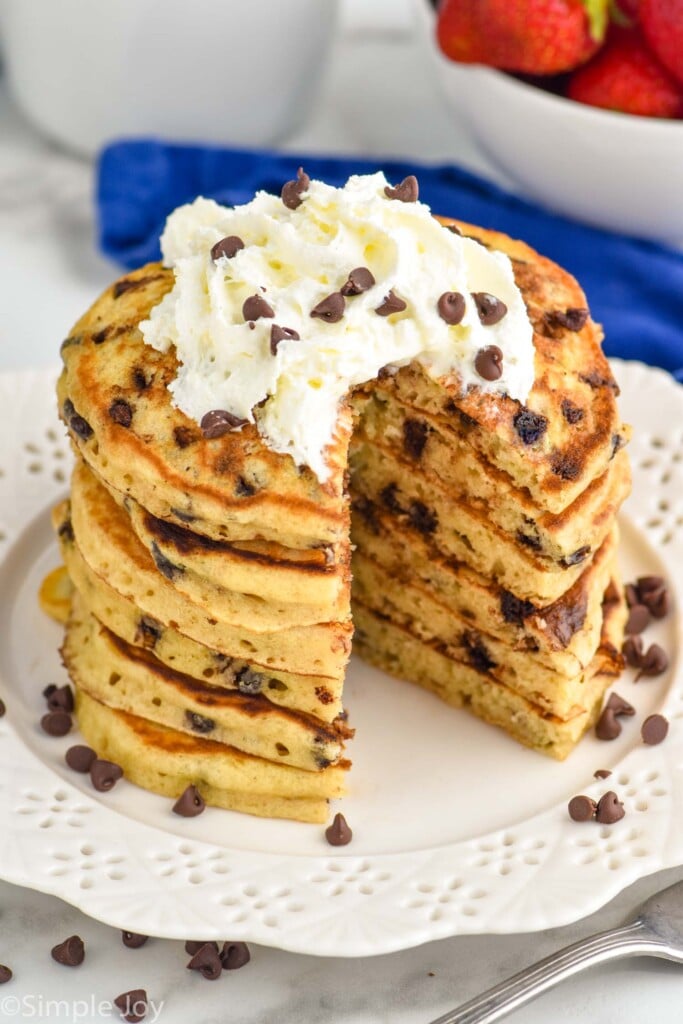
My kids are absolutely obsessed with Chocolate Chip Pancakes. Dessert for breakfast? Yeah, I get it. And I can totally get on board with these.
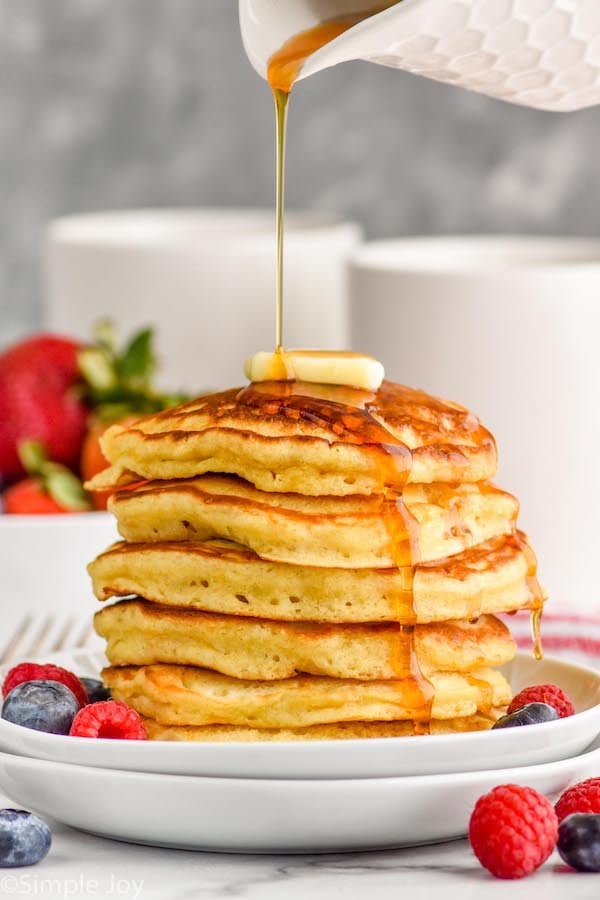
Homemade Buttermilk Pancakes are very easy to make. With all of our tips and tricks, you will be making these every weekend. I won’t lie, these are also great as breakfast for dinner.
Buttermilk Pancakes
How to Make Chocolate Chip Pancakes
Below is a brief overview of how to make easy chocolate chip pancakes. For the full recipe and measurements, see the recipe card at the bottom of the post.
- Combine the dry ingredients. Whisk together the flour, sugar, brown sugar, baking soda, and salt in a large bowl. Set aside.
- Mix the wet ingredients. Whisk together buttermilk, butter, eggs, and vanilla extract.
- Fold the wet ingredients into the dry ingredients. Fold them in until just combined, be careful not to overmix. It’s ok if it’s a little lumpy.
- Add the chocolate chips. Gently stir in the chocolate chips.
- Cook the pancakes. Scoop the batter onto a skillet or griddle and cook. Flip when you see bubbles forming and cook until golden brown.
Buttermilk Substitute for Pancakes
If you don’t keep buttermilk on hand, you are not alone. That being said, buttermilk is key in this recipe. It is the ingredient that makes the baking soda react. The good news is that you can use a combination of milk and vinegar (or lemon juice) to accomplish the same goal.
To make the replacement, use a 2-cup glass measuring cup. Add 1 tablespoon of vinegar to it. Then fill the measuring cup up the rest of the way to the 1 1/4 cup mark with milk. The higher the fat content of milk, the better. But I have done this with skim milk and still had it work.
Tips and Tricks
- Measure your flour properly. Scoop the flour with a spoon from the container it is kept in into a dry measuring cup. Level it off with the flat end of a spatula or the back of a butter knife. Do not scoop the flour right from the container as this can cause the flour to pack and you will end up with too much in your recipe.
- Let your melted butter cool. Once it is melted, let it sit on the counter for a few minutes to cool. If you add it right to the other wet ingredients immediately after microwaving, it will start cooking the other ingredients.
- Use fresh baking soda. Baking soda needs to be replaced every few months. You can test the reactivity by adding a little vinegar. It should bubble vigorously right away when added. If this doesn’t happen it’s time to get a new box.
- Preheat your griddle or skillet. Having a hot skillet or griddle is important before putting the batter on it. Heat to a nice medium-low heat to get perfectly cooked pancakes from the begging.
- Mix in the chocolate chips. Mixing the chocolate chips into the batter will help prevent them from burning compared to sprinkling them on top of the batter in the skillet.
Storing Leftovers
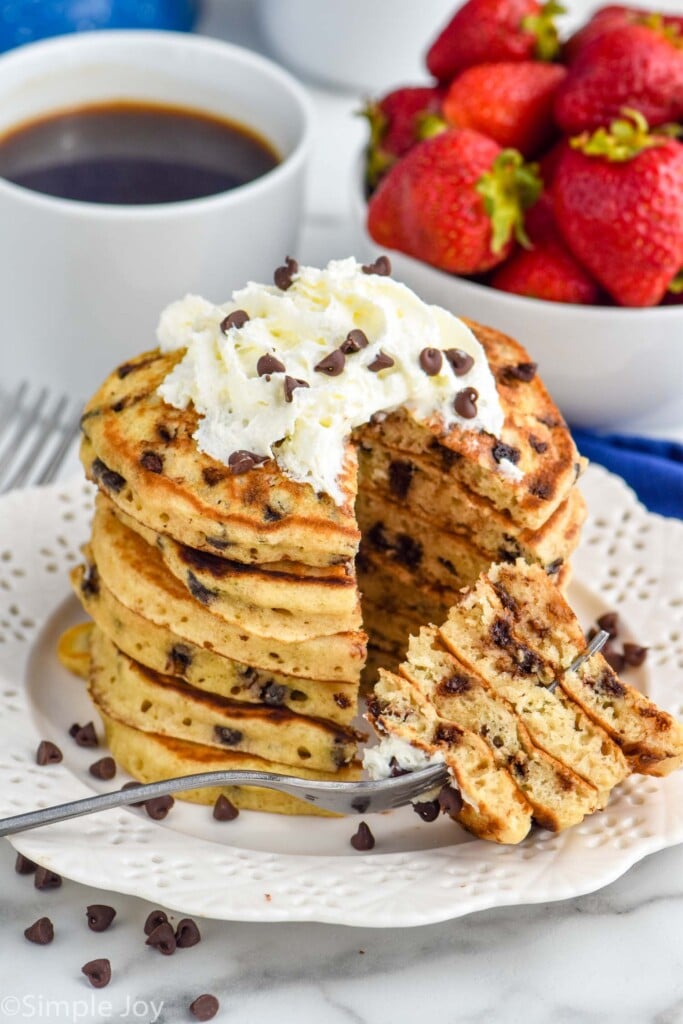
Pancakes are great leftover and also freeze well. They can be stored in an airtight container for two to three days in the refrigerator.
To freeze your leftover chocolate chip pancakes (hello, quick and easy weekday breakfast), freeze in a single layer and then transfer them to an airtight container. Store in the freezer for up to 3 months. These are great to make ahead for those busy mornings.
To reheat, simply pop them in the toaster to warm them.
How to Serve
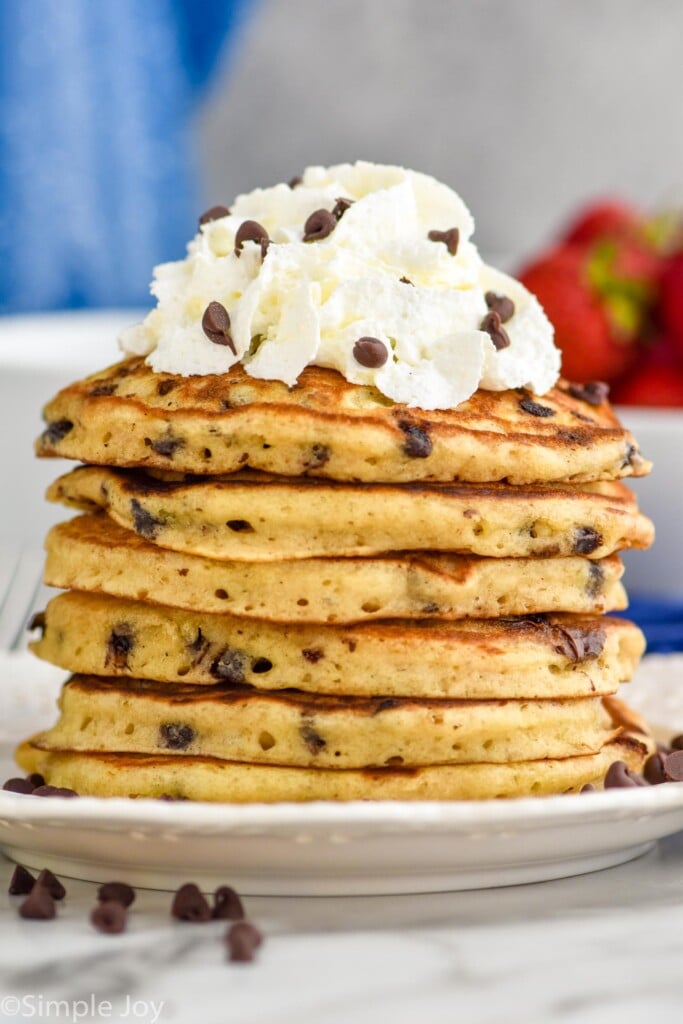
Serve your chocolate chip pancakes with syrup, butter, peanut butter, or flavored syrup like this Strawberry Syrup which my family loves with these Strawberry Pancakes. For an extra treat, top with a dollop of whipped cream.
Alternatively, you can make a homemade chocolate sauce to pour over these for the ultimate dessert breakfast.
- Microwave the 1/2 cup chocolate chips at 30 second intervals, stirring after each thirty seconds until almost completely melted.
- Stir in 1/4 cup heavy cream, until smooth. If you are having trouble getting it smooth, put it in the microwave for another 30 seconds.
FAQ
This recipe has not been tested with gluten-free flour. To test this recipe at home, I recommend using a gluten-free baking blend that is meant to replace all-purpose flour one to one.
Making a buttermilk substitute is very easy. Simply add 1 tablespoon of lemon juice or vinegar to a 2 cup glass measuring cup. Fill it to 1 1/4 cup with milk, stir, and wait a few minutes.
Yes! These pancakes freeze great and can be stored in the freezer for up to three months. For more detailed instructions on freezing, see my instructions above.
What to Serve with Chocolate Chip Pancakes
Looking for a full brunch spread featuring these delicious pancakes? Here are a few ideas for what to serve:
If you try this chocolate chip pancake recipe or any of my others, leave me a comment and let me know what you think.
Chocolate Chip Pancakes
Ingredients
- 1 1/2 cup all purpose flour
- 2 tablespoons granulated sugar
- 1 tablespoon brown sugar packed
- 1 1/4 teaspoons baking soda
- 1/4 tsp salt
- 1 1/4 cup buttermilk
- 4 tablespoons unsalted butter melted and cooled
- 2 eggs
- 1 teaspoon vanilla extract
- 1/2 cup mini chocolate chips
Instructions
- Whisk together the flour, sugar, brown sugar, baking soda, and salt in a large bowl. Set aside.
- In a medium bowl, whisk together buttermilk, butter, eggs, and vanilla extract. Whisk until well combined.
- Fold the wet ingredients into the dry ingredients until just combined. Gently stir in the chocolate chips.
- Heat a skillet over medium low heat. Spray lightly with cooking spray. (Or preheat a griddle to 375 degrees).
- Using a 1/4 cup measuring cup, scoop the batter onto the skillet. Cook until bubbles begin to form in the middle of the pancake and the bubles on the outer edge of the pancake have started to harden. Flip, and continue cooking until the pancake is golden brown, about three minutes on each side. Keep in mind that you may need to turn the heat down on a skillet over a gas flame after the first few minutes.




LEAVE A COMMENT