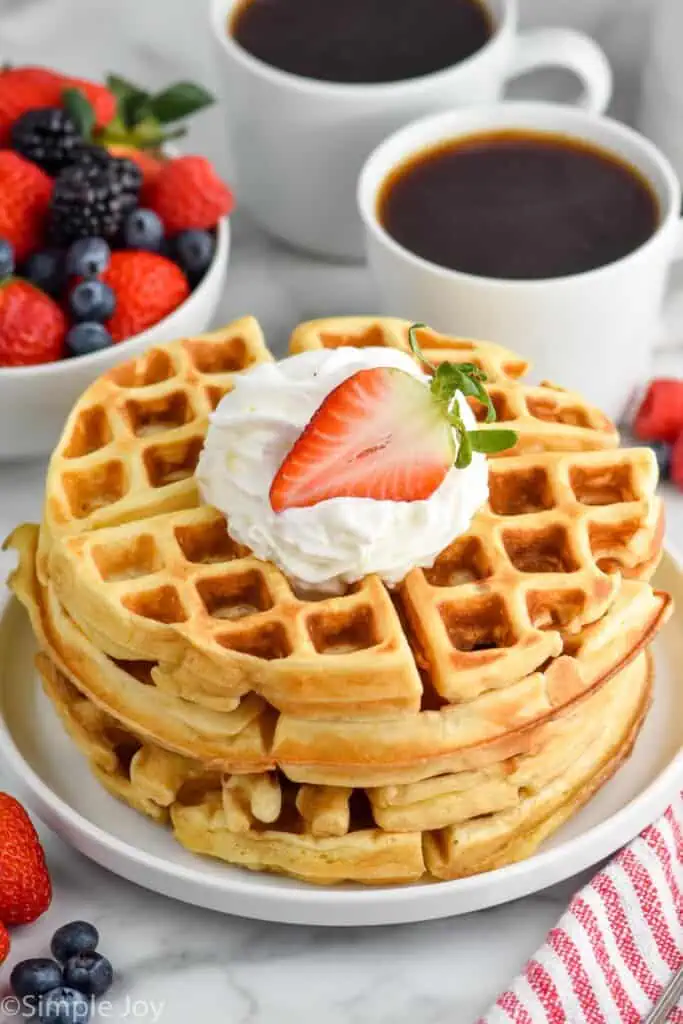
Buttermilk Waffles are easy to make and the perfect weekend breakfast. With our tips and tricks, you will get the perfect crisp and fluffy waffles.
Weekdays in our house are really busy. Breakfast is often cold cereal and eaten quickly before kids dash out the door. While this isn’t ideal, it is what is happening in this season of our lives.
Weekends on the other hand, our absolutely luxurious. Everyone in our house sleeps in just a little longer to catch up from the busy week. Then we gather in the kitchen and make a delicious breakfast that usually consists of waffles – our kids’ favorite breakfast.
This waffle recipe is ideal for a lazy weekend morning. It comes together quickly, so it doesn’t feel time consuming, but everyone will think that you were sweating over it. It is delicious, light, and absolute perfection. Don’t miss my tips throughout the post so you can easily keep the ingredients on hand and make this recipe a snap.
Why this Recipe Works
This easy waffle recipe comes to you courtesy of America’s Test Kitchen. While I love developing my own recipes, there are a few out there that I know I will never be able to make better than ATK. Pie crust is one such recipe and so are buttermilk waffles. There are a few reasons why their recipe is perfection.
- It isn’t a pancake trying to be a waffle. A lot of waffle recipes are just using a pancake batter in a waffle maker. This recipe is not that.
- The recipe uses oil instead of butter. Butter contains water, and by switching to oil only it helps to create that perfect crisp exterior.
- Instead of using buttermilk, the recipe uses buttermilk powder. Just like picking oil instead of butter, by using buttermilk powder, we eliminate some of the liquid that helps keep these light and fluffy.
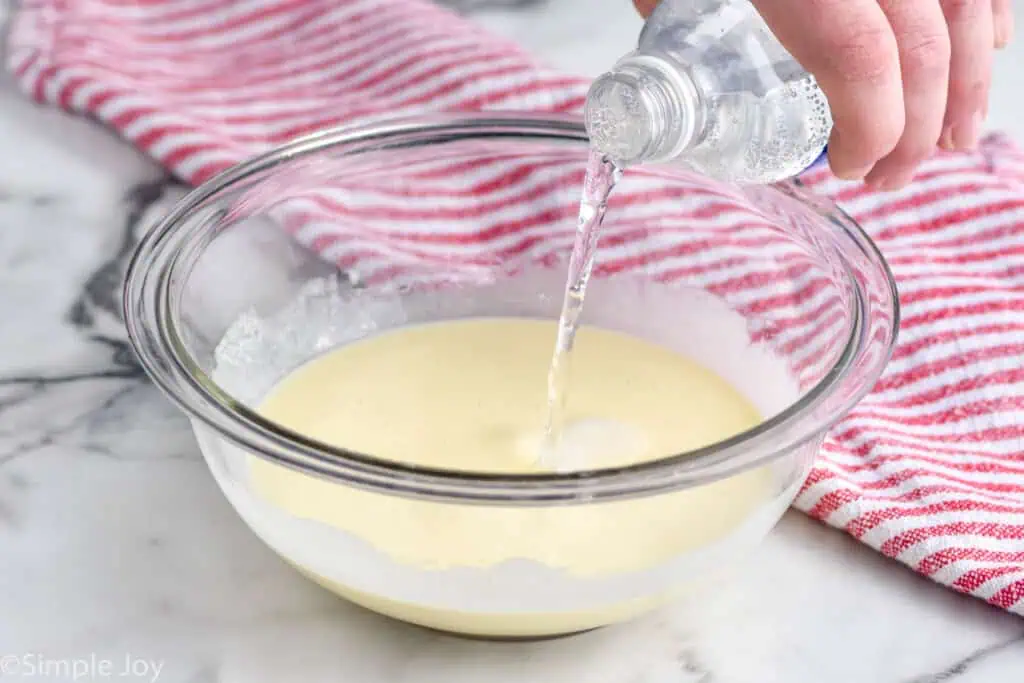
- We use club soda. The bubbles in a freshly opened bottle of club soda also help with that really light and fluffy texture. Read more on what to buy below.
How to Make Buttermilk Waffles
Here is a brief overview of how this simple buttermilk waffle recipe comes together. For the full recipe including all measurements, see the recipe card at the bottom of the post.
- Preheat your oven and waffle maker. The oven will keep your cooked waffles warm while you prepare the rest of them in the waffle maker.
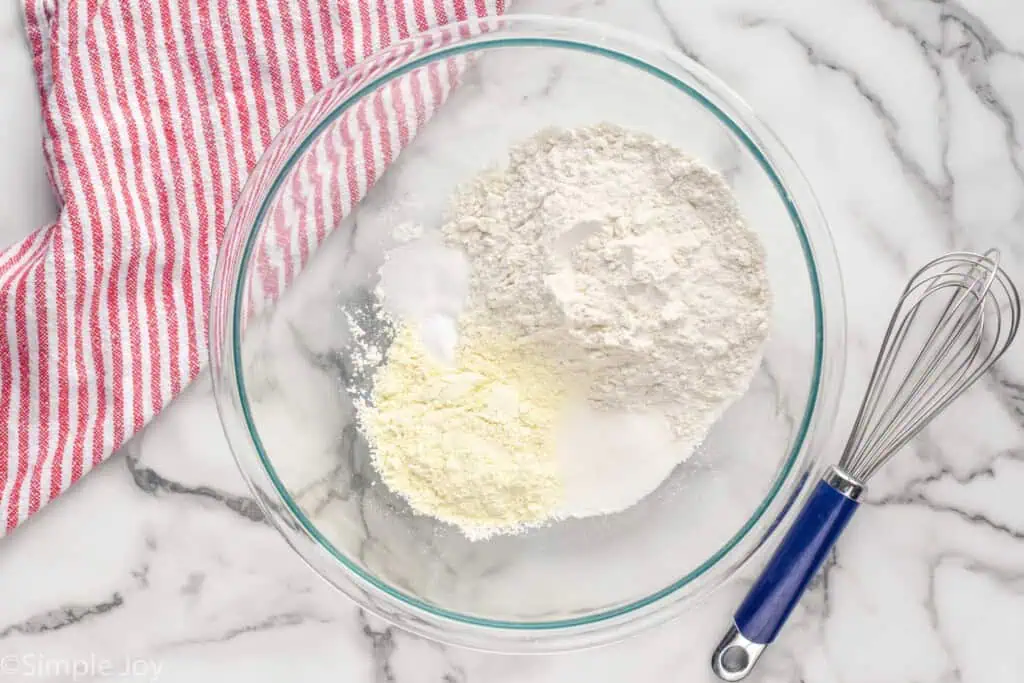
- Combine the dry ingredients. In a large bowl whisk together the flour, buttermilk powder, baking soda, sugar, and salt.
- Mix wet ingredients. In a medium bowl, combine the sour cream, eggs, vanilla, and oil. Whisk until smooth. Gently stir in the club soda.
- Combine wet and dry ingredients. Gently fold the wet ingredients into the dry ingredients. It is okay if there are some streaks of flour and lumps left in the batter.
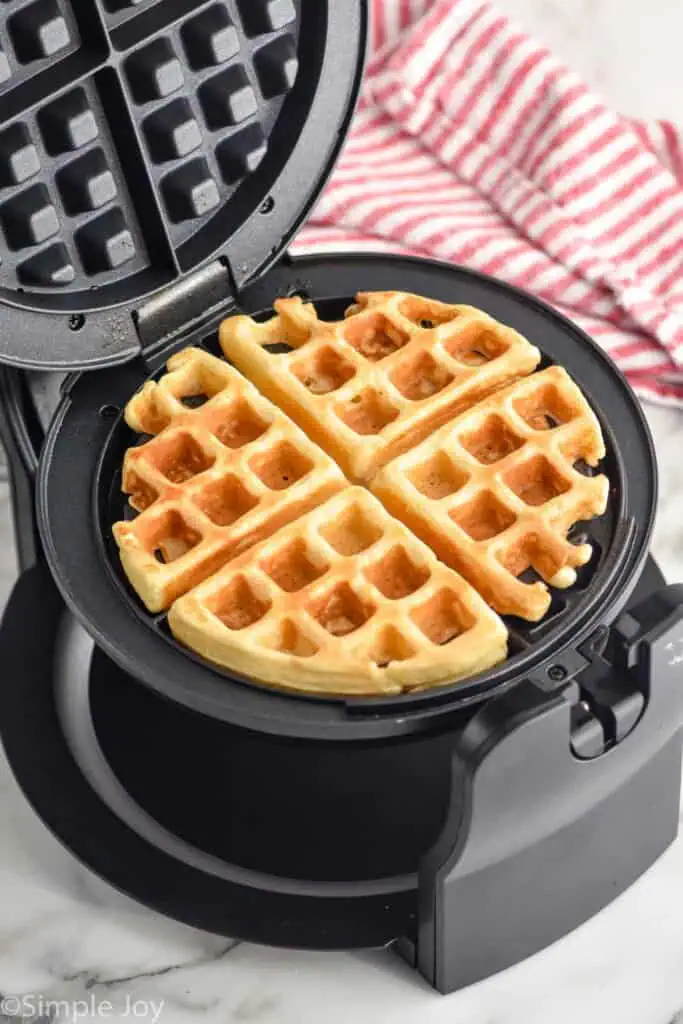
- Cook the waffles. Follow the instructions of your waffle maker for cooking waffles. Then transfer the waffle to your warm oven while you cook the rest of the batter.
Buying Buttermilk Powder
While you might not keep buttermilk powder on hand, it is essential to this great recipe. Most supermarkets in the United States carry this near their dried milk products or in the baking aisle. You can also purchase it on Amazon. It’s a pretty great product because it can last in your refrigerator once opened for months.
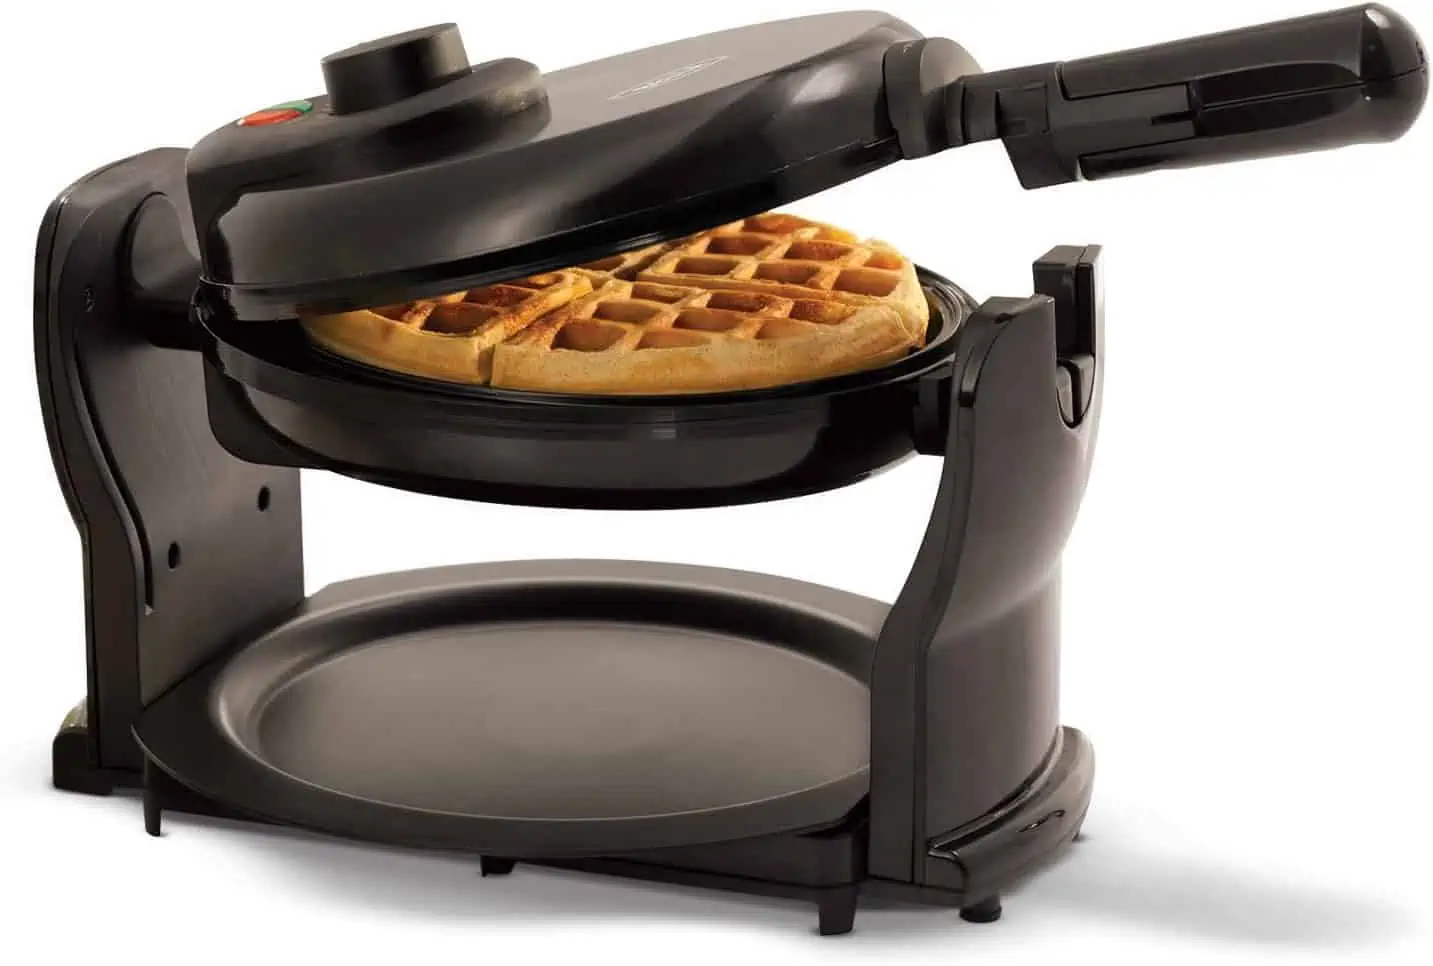
Best Waffle Maker
Part of making the best waffle recipe is having a great waffle maker. We are huge waffle lovers in our house, and this is our go-to waffle maker. It is so easy to use that our younger kids regularly take over breakfast and waffle making.
Waffle Maker
Buying Club Soda for Buttermilk Waffles
When purchasing the club soda, you want to follow a few tips.
- Skip flavoring. You want plain club soda or seltzer water.
- Do not buy sparkling water. It won’t have enough carbonation to get the job done.
- Ensure that you are using a new bottle. You want maximum bubbles, so use a bottle that you are opening just as you are starting to make this recipe.
Pro Tip
Buy a six pack of small club soda bottles. They are the exact amount that you need for this recipe, and then you can keep them on hand for each time you go to make this delicious waffle recipe.
Other Homemade Waffle Tips and Tricks
- Make sure your baking soda is active. You should replace your baking soda every six months or so to ensure that it is fresh. To test the freshness, mix a little baking soda with vinegar. It should bubble up right away. If it doesn’t, it is time to replace it. Double-check that you have baking soda and not baking powder. The two should never be used interchangeably.
- Measure your flour correctly. Start by whisking the flour in the container it is stored in. Then use a spoon to scoop the flour from the container into your dry measuring cup. Use the flat edge of a spatula to level.
- Don’t overmix the batter. Fold the wet ingredients into the dry ingredients just until combined. It is okay if there are some streaks of flour and lumps left in the batter.
FAQ
This recipe has not been tested with gluten-free flour.
No, waffle batter is thicker and richer than pancake batter. Read more about why this recipe works above. If you want to make pancakes, I recommend checking out this pancake mix recipe.
Because we want the bubbles of the club soda to be fresh, I recommend mixing up the batter when you are ready to cook the waffles. The waffles can be reheated if you want to make them ahead of time, but use the batter while it is fresh.
How to Serve Buttermilk Waffles
Since only one waffle can be made in the waffle maker at a time, keeping the cooked waffles in a warm oven is a great way to keep them warm while you make the rest. You will notice I recommend setting your oven to warm or 200 degrees Fahrenheit. Set a cooling rack on a baking sheet and put the cooked waffles in a single layer in the oven until you are ready to eat or serve them. This will prevent them from getting soggy.
Here are some ideas for what to top your waffles with:
- Butter, peanut butter, or Nutella
- Maple or Strawberry Syrup
- Fruit like fresh berries
- Powdered sugar
- Whipped cream
Storing and Freezing Waffles
Store any leftover waffles in the refrigerator for up to three days. You can eat them cold, or it is super easy to reheat them in the toaster or air fryer!
You can also freeze cooked waffles. Allow them to cool and place the baking sheet in the freezer for about an hour to flash freeze them, which prevents the waffles from sticking together. Then transfer the frozen waffles to a freezer-safe bag or container and store in the freezer for up to three months. Reheat the frozen waffles in the toaster until heated through.
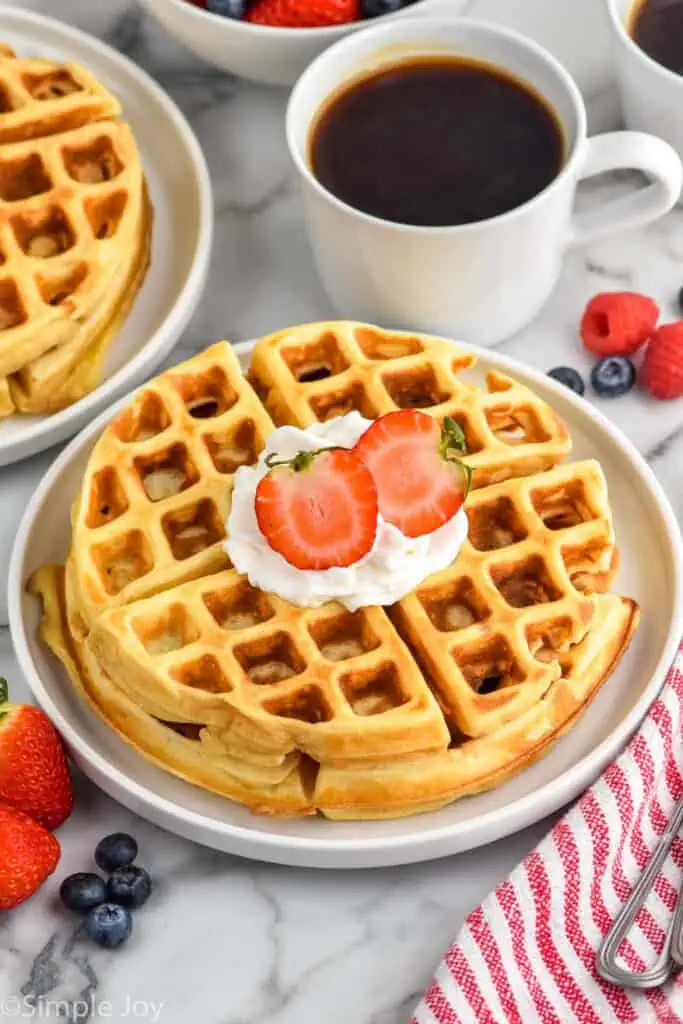
What to Serve With Waffles
Round out this homemade waffle recipe with some fresh fruit, scrambled eggs, or one of these delicious sides.
If you make this buttermilk waffles recipe or any of my other recipes, please let me know what you think by leaving a comment!
Buttermilk Waffles
Ingredients
- 2 cups all-purpose flour 240 grams
- 1/2 cup powdered buttermilk 64 grams (read about buttermilk powder here)
- 1 tablespoon sugar
- 3/4 teaspoon salt
- 1/2 teaspoon baking soda
- 1/2 cup sour cream 113.5 grams
- 2 eggs
- 1/2 teaspoon vanilla extract
- 1/4 cup vegetable oil 59.15 ml
- 1 1/4 cup club soda 295.74 ml
Instructions
- Set your oven to warm (or 200 degrees Fahrenheit). Set a wire cooling rack (like what you use to cool cookies) on a rimmed baking sheet and put it in the oven. Preheat your waffle maker.
- In a large bowl whisk the flour, buttermilk powder, sugar, salt, and baking soda. Set aside.2 cups all-purpose flour, 1/2 cup powdered buttermilk, 1 tablespoon sugar, 3/4 teaspoon salt, 1/2 teaspoon baking soda
- In a medium bowl combine the sour cream, eggs, vanilla, and oil. Whisk until smooth. Gently stir in the club soda.1/2 cup sour cream, 2 eggs, 1/2 teaspoon vanilla extract, 1/4 cup vegetable oil, 1 1/4 cup club soda
- Gently fold the wet ingredients into the dry ingredients. Be careful not to over-mix. It is okay if there are some streaks of flour and lumps left in the batter.
- Cook the waffles according to the instructions of your waffle maker. (For a 6.5 inch waffle maker, you will need 3/4 cup batter per waffle. Place each finished waffle on the warmed cooling rack in the oven to rest for 10 minutes before serving.
Notes









LEAVE A COMMENT