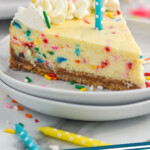
Birthday Cheesecake is the perfect dessert for celebrating! A delicious cheesecake base with the addition of a few choice ingredients leaves you with both the taste of cheesecake and birthday cake!
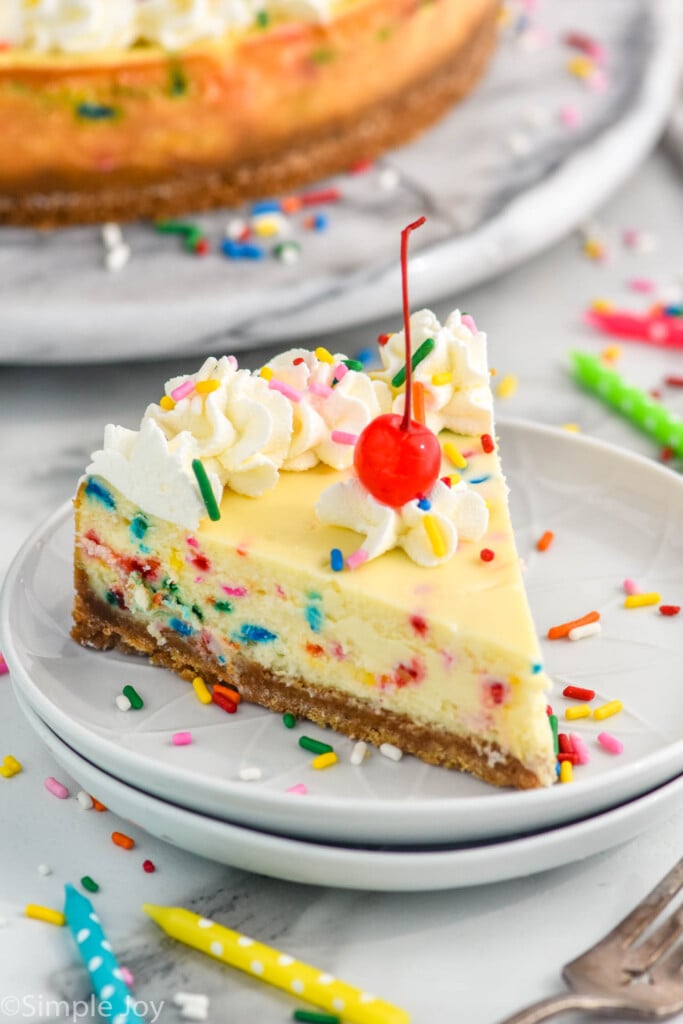
This delicious cheesecake recipe is a remake of my Cake Batter Cheesecake that was super popular on Simple Joy for many years. While I’ve loved that recipe, I’ve grown as a baker, and this new version is even better.
I use my tried and true recipe for cheesecake. To that I add sprinkles (obviously), vanilla extract, almond extract, and butter extract. The combination of those three great flavors are what really give this the taste of birthday cake. It is subtle but delicious, and you will always want to celebrate with this fantastic cake.
How to Make Birthday Cake Cheesecake
Here is a brief overview of how this funfetti cheesecake recipe comes together. For the full recipe including all measurements, scroll to the recipe card at the bottom of the post.
- Make the crust. Combine the crushed graham crackers, melted butter, and sugar. It should look like wet sand. Press it into your prepared springform pan and bake the crust for six to eight minutes or until the edges begin to turn golden brown.
- Make the cheesecake filling. Beat the cream cheese in a large bowl with a hand mixer or in the bowl of a stand mixer. Beat in the sugar, the eggs one at a time, then the flour. Finally, beat in the vanilla, almond extract, and butter extract. Beat until smooth. Add the sprinkles.
- Bake the cheesecake. Pour the batter over the hot crust. Make sure the oven is lowered to 325 degrees Fahrenheit and bake the cheesecake for 35 minutes.
- Leave the cheesecake in the oven. Turn off the oven, leaving the cheesecake in it for one hour. As the oven begins to cool, it will finish cooking the cheesecake.
- Cool the cheesecake. Let the cheesecake cool on the counter for one hour, and then in the refrigerator for at least four hours. Garnish with stabilized whipped cream and add more sprinkles.
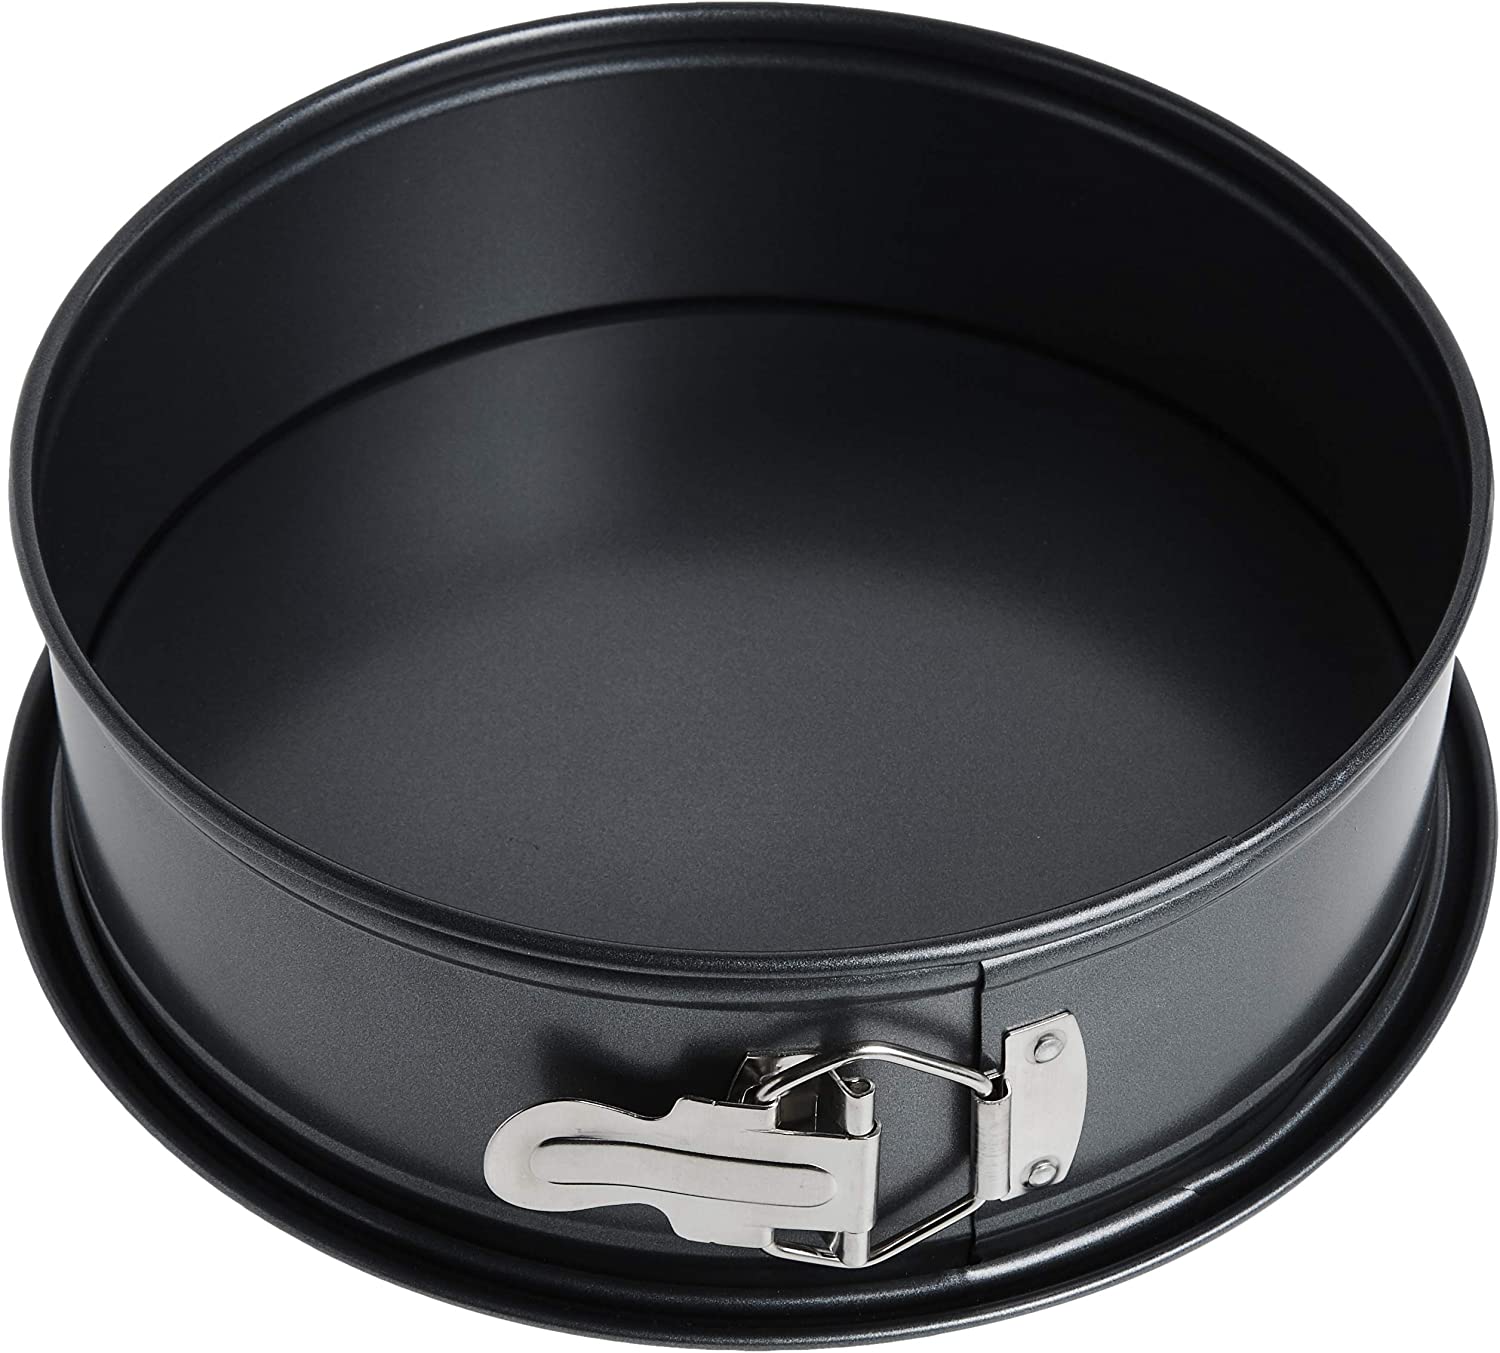
Best Spring Form Pan
Getting the Perfect Cake Flavor
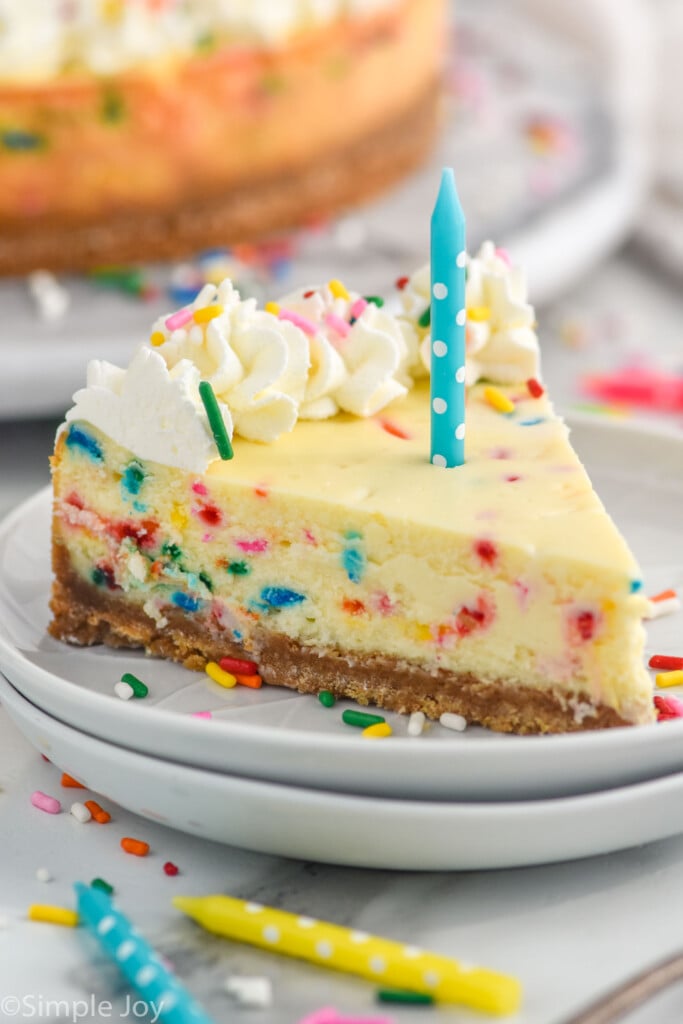
There are a few things that make this a birthday cheesecake. If you love sprinkles like me, you will note that they are at the top of the list. Nothing says happy birthday quite like rainbow jimmies.
Of course, it is important that the cheesecake taste like a birthday cake too, while also having that signature cheesecake taste and texture. To do that, we are using three different extracts: butter, almond, and vanilla. Together, they give you that great signature cake taste. Butter extract can be found in your grocery store with the other extracts, otherwise, it is easy to order on Amazon.
No Water Bath Cheesecake
Many recipes call for a water bath to prevent the cheesecake from cracking. One great thing about this recipe is that it doesn’t require a water bath. I really wanted to create a recipe that wouldn’t require that step for simplicity. So, follow these steps to prevent the top of your cheesecake from cracking without the need for a water bath!
- Adding flour: Just a little bit of flour prevents the eggs from solidifying which then helps keep the cheesecake from shrinking and cracking.
- A shorter baking time: This cheesecake is only actively baking for 35 minutes, which prevents it from drying out and shrinking, both of which can lead to cracking.
- Leave the cheesecake in the oven: While the hands-on time for this recipe is fairly short, it is extremely important to use patience with the cooling process of your cheesecake. Leaving the cheesecake in the oven after you turn it off helps it continue to slowly cook and slowly cool. This gradual process is what makes this recipe different. Continue this gradual cooling after you take it out of the oven by allowing it to cool on the counter before transferring it to the refrigerator. With some patience and planning ahead, you will have the best homemade cheesecake ever!
Tips and Tricks for The Perfect Cheesecake
- Use full-fat cream cheese that is at room temperature. This will make for the best flavor and creaminess of your cheesecake filling, blending smoother than cold cream cheese.
- Pick brand-name cream cheese: I have found that using brand-name cream cheese like Philadelphia works much better than generic brands.
- Use room-temperature eggs. Eggs straight from the refrigerator can actually cool your cream cheese and make the cheesecake batter chunky. To quickly bring your eggs to room-temperature, place them in a bowl of lukewarm water for about five minutes.
- Don’t overmix the filling. Mix the filling ingredients until they are just combined to result in the perfect fluffy texture.
- Follow the steps for letting the cheesecake sit. The success of your cheesecake setting properly depends on your patience with correctly following the steps. It is very important that you let your cheesecake sit in the oven and then on the counter for the recommended length of time. Trust me, it’s well worth the wait when your cheesecake turns out beautiful and perfect!
- Plan ahead. Since cheesecake has to sit for quite a while to set and cool properly and then chill in the refrigerator, I recommend making it the day before you want to serve it so you don’t feel rushed through any of the steps.
How to Serve
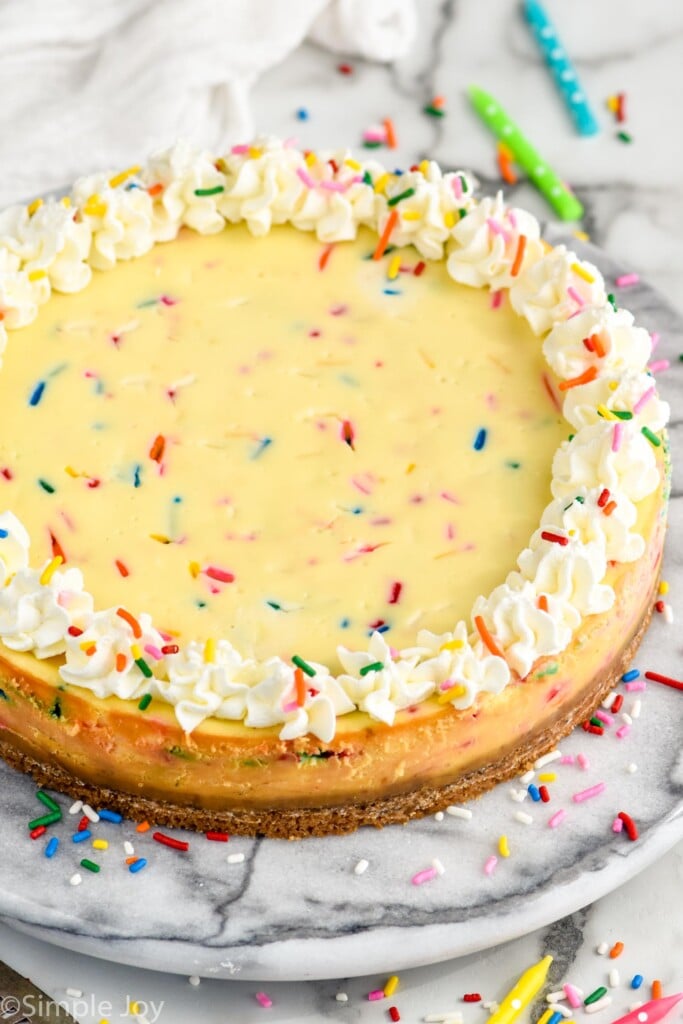
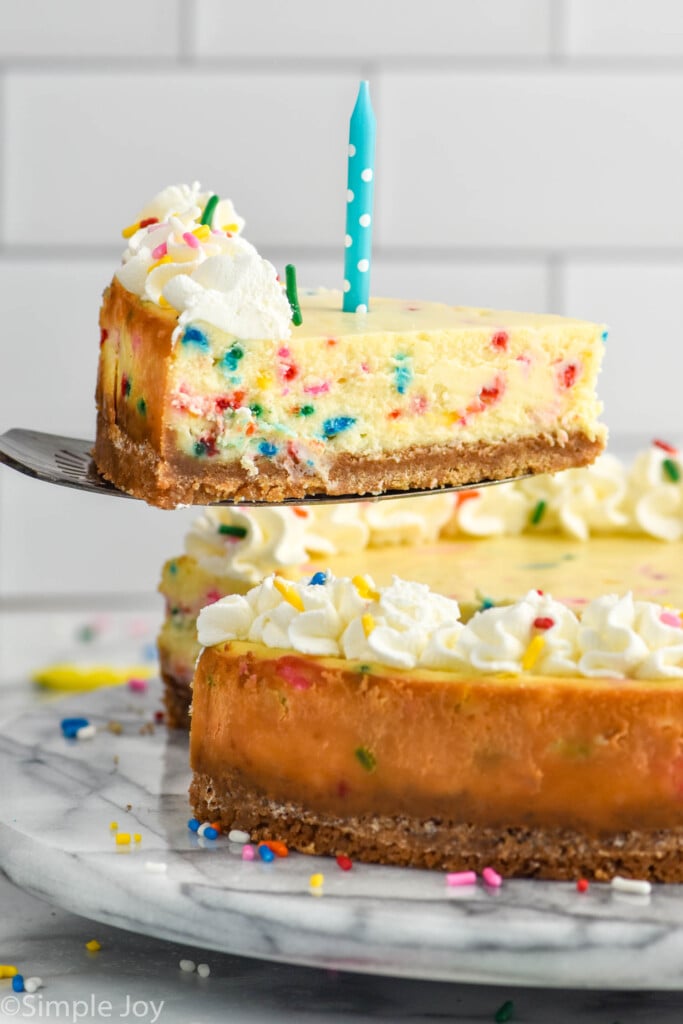
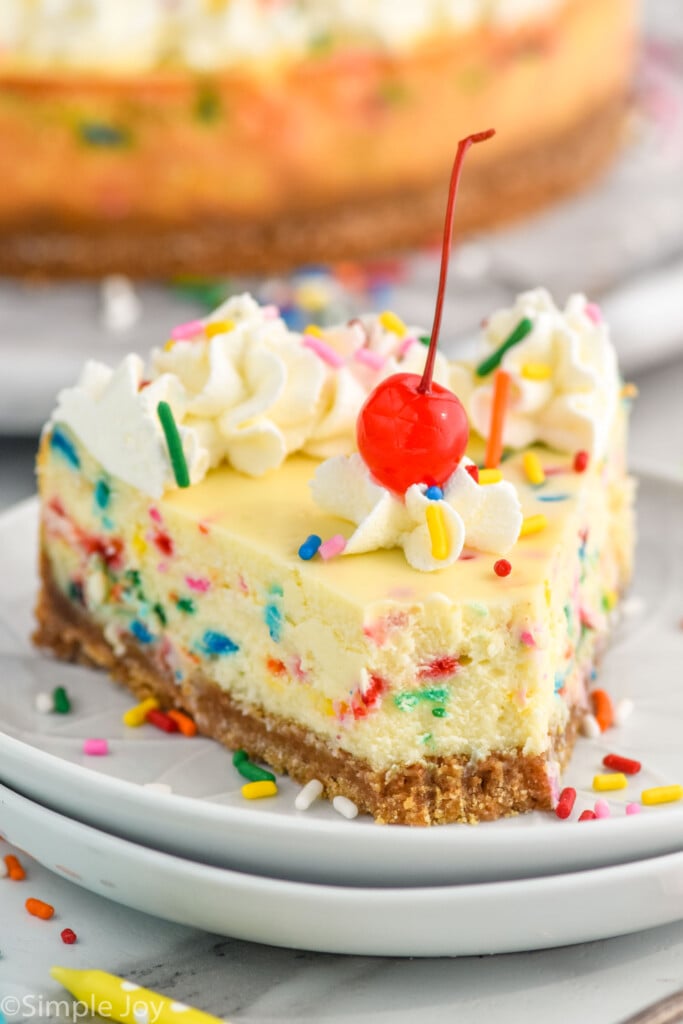
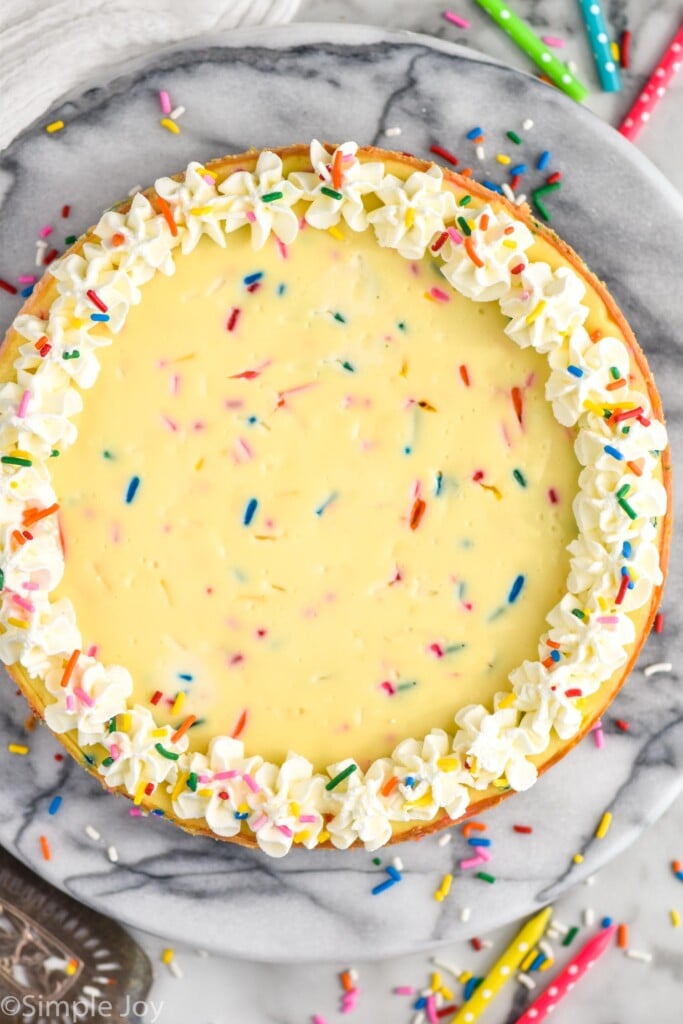
Keep your cheesecake in the refrigerator until you are ready to serve it. When ready to enjoy, remove the sides of the spring form pan. Use a piping set to pipe stabilized whipped cream around the edge and add some extra sprinkles. Stabilized whipped cream will keep the cheesecake beautiful and decorated with the gorgeous swirls you see in the picture. Using regular whipped cream will result in swirls that fall after about an hour. Finish it off with more sprinkles and a cherry!
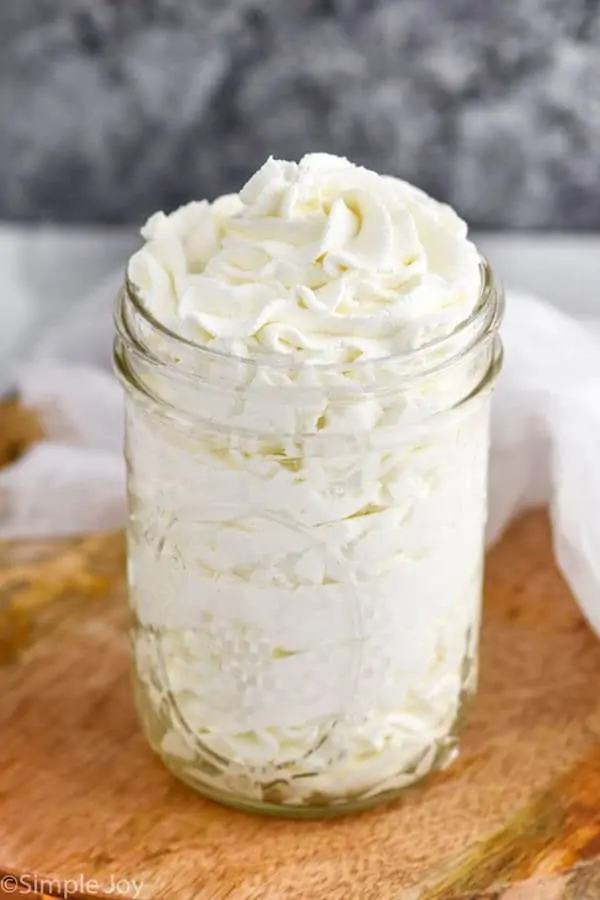
Stabilized Whipped Cream
Storing and Freezing Cheesecake
Keep this cheesecake, covered, in the refrigerator for up to four days. I like to keep it in the springform pan it was baked in and cover with foil to prevent it from drying out.
To freeze this cheesecake, let it completely cool and cover it tightly with aluminum foil and plastic wrap. You can also slice the cheesecake before freezing to grab just a slice from the freezer to enjoy. Store in the freezer for up to three months. Allow the cheesecake to thaw in the refrigerator before enjoying.
Other Colorful Dessert Recipes
If you make this birthday cheesecake or any of my other recipes, let me know what you think by leaving a comment below. I love hearing from you and how you enjoy my recipes!
Birthday Cake Cheesecake
Ingredients
Graham Cracker Crust
- 1 3/4 cup graham cracker crumbs 13 sheets (200 grams)
- 1/3 cup granulated sugar (66 grams)
- 8 tablespoons unsalted butter melted (113 grams)
Cheesecake
- 24 ounces cream cheese room temperature (678 grams)
- 3/4 cup granulated sugar (148.5 grams)
- 3 large eggs room temperature
- 2 tablespoons flour
- 1 teaspoon vanilla extract
- 1 teaspoon almond extract
- 1 teaspoon butter extract read more here
- 1/2 cup of rainbow sprinkles
Instructions
Graham Cracker Crust
- Preheat your oven to 375 degrees Fahrenheit. Cut a circle of parchment paper to match the bottom of a 9 inch spring form cake pan. Spray the sides of the pan with cooking spray. Set aside.
- Combine the graham cracker crumbs, sugar, and butter. It should resemble wet sand. I like to crush the crackers in a food processor and then add the sugar and butter right to that to combine.1 3/4 cup graham cracker crumbs, 1/3 cup granulated sugar, 8 tablespoons unsalted butter
- Bake the crust for 6 to 8 minutes or until the edges begin to turn golden brown. When you take the crust out of the oven, lower the temperature to 325 degrees Fahrenheit.
Cheesecake
- While the crust is baking, beat the cream cheese in a large mixing bowl with a hand mixer or in the bowl of a stand mixer with the paddle attachment. Beat until smooth, scraping down the sides of the mixing bowl with a rubber spatula as needed.24 ounces cream cheese
- Beat in the sugar. Then beat in the eggs, one at a time. Beat in the flour. Finally, beat in the vanilla, almond extract, and butter extract. Beat until smooth.3/4 cup granulated sugar, 3 large eggs, 1 teaspoon vanilla extract, 1 teaspoon almond extract, 1 teaspoon butter extract, 2 tablespoons flour
- Slowly mix in all the sprinkles with a spoon.1/2 cup of rainbow sprinkles
- Pour the batter over the hot crust. Double-check that your oven has been reduced to 325 degrees Fahrenheit. Bake for 35 minutes. Turn the oven off (do not open the door) and leave the cheesecake in the oven for 1 hour. Remove from the oven and let cool on the counter for at least another hour, being careful not to move it to the refrigerator too quickly. The slower the cheesecake cools, the less likely it will be to crack. Cool in the refrigerator for at least four hours.
- Before serving, make some stabilized whipped cream. Run a small sharp knife around the edges of the cheesecake before removing the side piece of the spring form pan. Then pipe the whipped cream onto the cheesecake and add more sprinkles.






Lauren says
I can’t wait to try this!!
I hope you like it Lauren!
Brytani says
I tried making this and I’m not sure what I did wrong but it just tasted awful. I followed the recipe exactly. It didn’t even come out the same consistency as cheesecake. It maybe? tasted like normal cake. It wasn’t sweet at all. It wasn’t that moist. It was just. Not good :( what went wrong?! I was so excited!
Brytani, honestly, I’m totally baffled by this comment. I’ve had people complain about the texture and it’s usually a result of them not leaving the cream cheese out long enough and so it doesn’t blend well. I’ve had people complain about the taste, and it’s usually because they don’t like almond extract (so I noted that in the recipe). I’ve never had anyone say it isn’t sweet enough . . . . the only thing that I can think of is that maybe you used evaporated milk instead of sweetened condensed milk. It would be a really easy mistake to make, something the most experienced baker could mistakenly do . . . the cans are sold right next to each other . . . but it would drastically change the outcome of this recipe. I’m sorry you had a bad experience with it!
Johanna says
I tried the cake yesterday.
It tastes like cheesecake but it wasn´t really special.
And my sprinkles lost the colour when I mixed them in.
I will try this receipe again with other sprinkles.
Hi Johanna. I can’t decide if you hated the cheesecake or really liked it. On the one hand, not special, on the other, you plan on making it again . . . Either way, I love this cheesecake. It doesn’t move mountains, but sticks a smile on my face. :)
LisasKitchen says
Question. Asap please. Lol I just came across this. I want to make it asap. I’ve never made cheesecake. Do I water bath this? Also, when I take it out of oven, do I use a butter knife to go around it and break loose the edges, and do I wrap it in anything before it goes in fridge? One more thing, does the sprinkles bleed into batter?
I never use a water bath on my cheesecakes. Doing so prevents cracking, and I would rather just be lazy and eat a cheesecake with cracks in it. Yes, using a knife around the edges will help loosen. Let it cool on the counter and then cover the springform pan with saran wrap or aluminum foil. My sprinkles did not bleed.
Megan says
Hi There! This recipe looks amazing! Id like to make a mini version of it in my 4inch spring form pan. What would I reduce each ingredient to?
Thank you!!
Hi Megan, I haven’t tried this recipe cut down, but it would be roughly a third of the original recipe and about 20 minutes baking. You can reference this recipe for help:
Amanda says
Made this a few months ago and it is delish! Its easy too! Im making it again tonight :)
Aww, Amanda, thank you so much for taking the time to let me know! I’m so glad you liked it as much as I did!
Sharon says
This is so pretty and looks so easy. I habe never attempts a cheesecake because I don’t want to deal with a water bath. Looooove it!! Thanks!
I hope you like it Sharon! I never use a water bath because I’m such a lazy baker, and I’m totally comfortable with cracks ;)
Megan @ MegUnprocessed.com says
This is such a cute cheesecake!
Christy Jordan says
Oh my, if this even tastes half as good as it looks I’m in for a treat!
Serena | Serena Bakes Simply From Scratch says
Mmmm.. I can’t wait to make it!