These Cherry Hand Pies are the best sweet little treat. I love making them with homemade cherry filling and homemade pie crust, but they are perfect no matter how you make them.
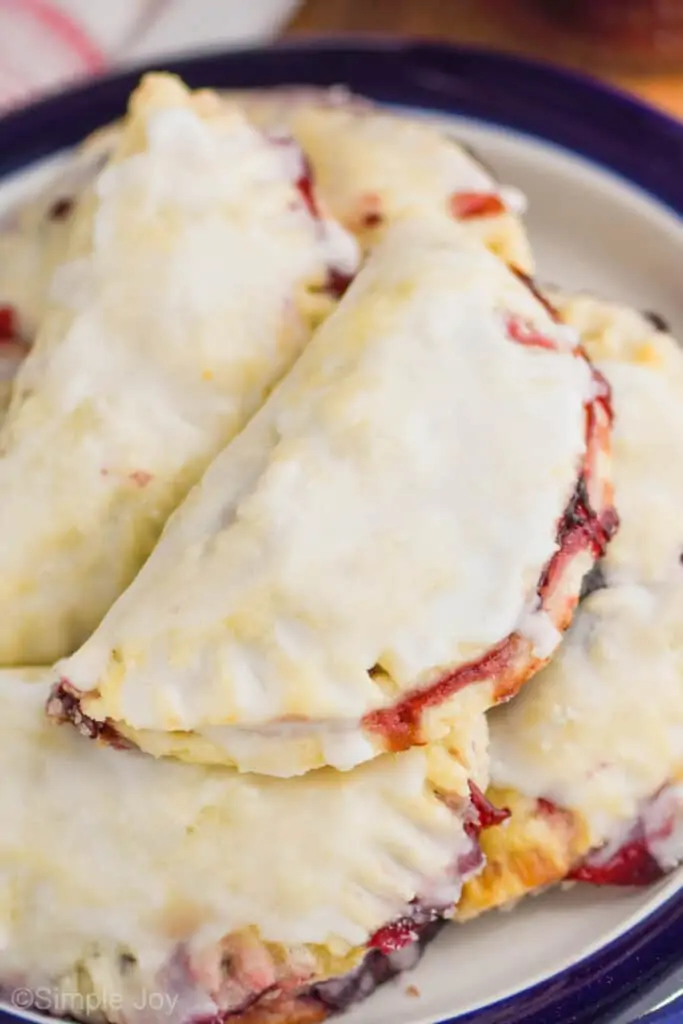
There is something about hand pies that make me feel like a giddy little kid. I have thought about it, and I can’t figure out why!
Perhaps it is because I can still remember standing on a stool in my mom’s kitchen snagging scraps of pie crust as she made a homemade cherry pie. She never turned her recipe into hand pies, but I know she would still let me eat the scraps.
The filling for these delicious Cherry Hand Pies are her recipe, and the pie crust is my amazing flakey Pie Crust. If you love pie crust, this is the recipe for you. It shows off just how flakey and amazing that recipe is.
Cherry Hand Pie Ingredients
This recipe would really work with any pie filling. Apple hand pies would be amazing too.
- Cherry Pie Filling (see ingredients below)
- Pie Crust
- Egg Whites
- Powdered Sugar
- Milk
As I mentioned above, you could use any store bought pie filling for this recipe, but I really think pie filling is so easy to make, it’s worth the homemade taste.
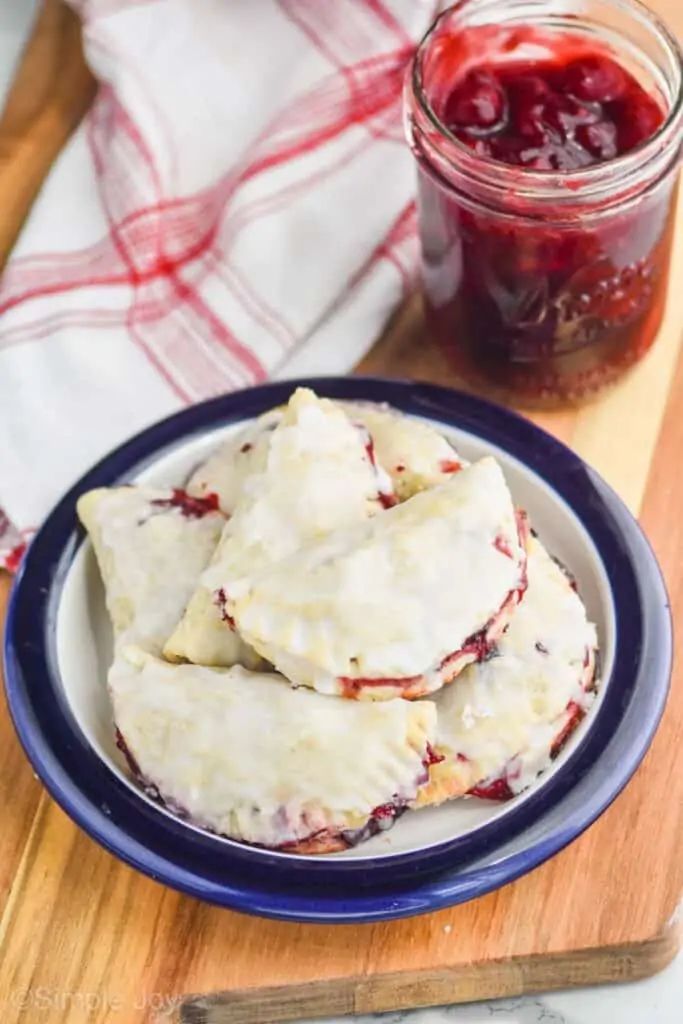
Cherry Pie Filling
My mom’s recipe is so simple, and fast to make. I could eat it straight from the sauce pan. You need:
- Frozen Cherries
- Cherry or Apple Juice
- Sugar
- Corn Starch
- Cinnamon
- Almond Extract
- Food Coloring (optional)
A note on the juice: My mom always used cherry juice in her recipe, and it does give it a richer cherry flavor. That said, it can be expensive. I had one of my kid’s juice boxes sitting around and the apple juice worked just as well.
Frozen or Fresh Cherries
I always use frozen cherries when I make this recipe because of the short cherry season where I live. That being said, you could definitely use fresh.
Though if you want a taste of summer in the middle of January, those frozen cherries will make great hand pies.
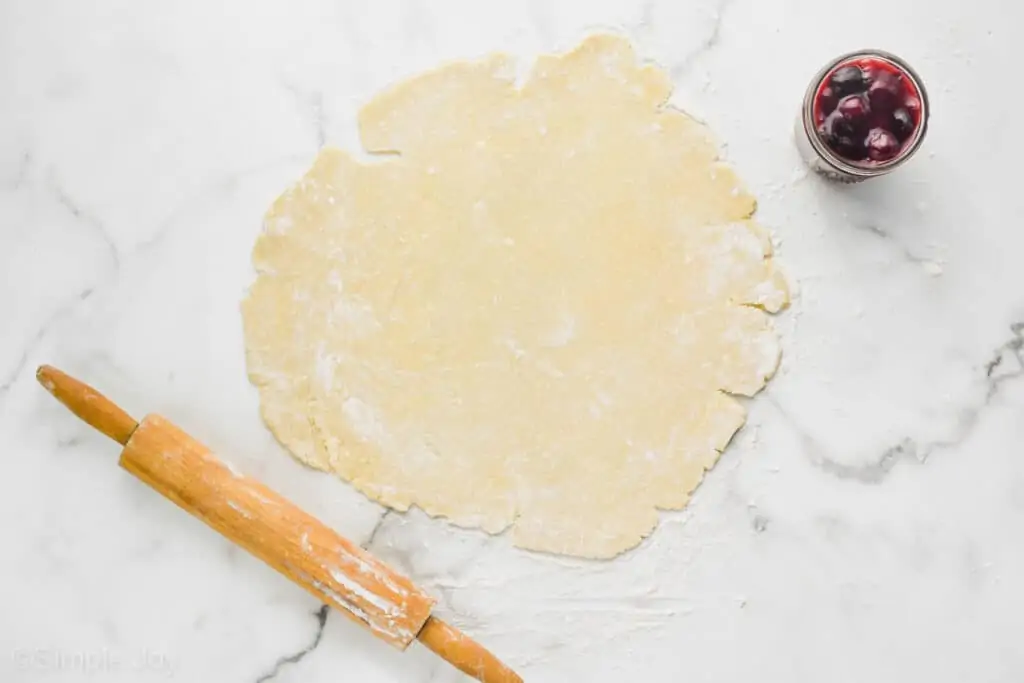
Pie Crust: Homemade or Store Bought
If I’m being honest, I really struggle to tell you all that you should always cook from scratch. I worry that it will send away those who don’t have time.
I would rather you use store bought pie crust to make these if the alternative is skipping the recipe all together.
That being said, I usually only eat the filling in pies made with store bought crust. The homemade pie dough recipe linked in the recipe card below truly is that much better. It will make a crust lover out of anyone.
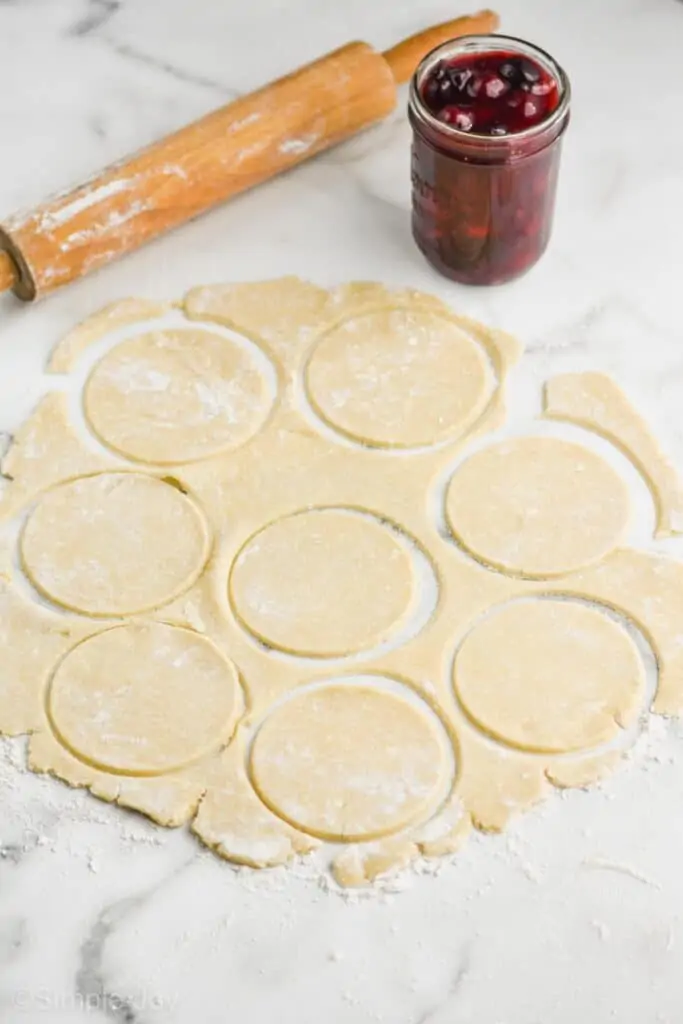
How to Make Hand Pies
These are very simple to make once you gather all of your ingredients.
- Roll out the pie crust. You are looking for about 15 inches across.
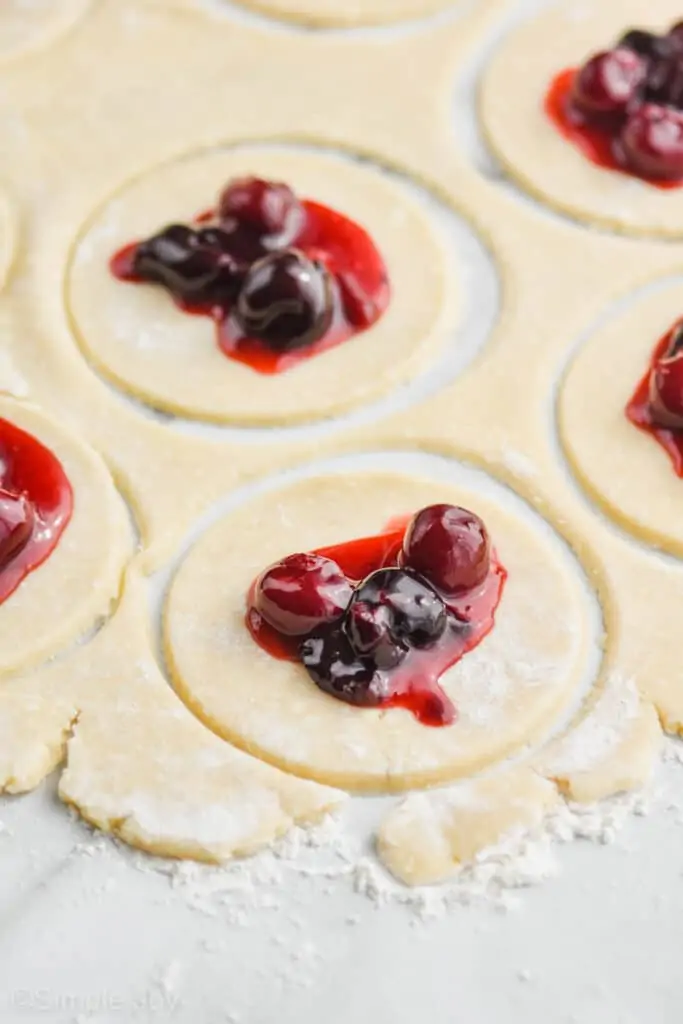
- Using a mason jar lid or a glass tumbler rim that is 4 inches across, cut out 8 hand pies. (Repeat with the second pie crust.)
- Add a small amount of cherries to the center of each one.
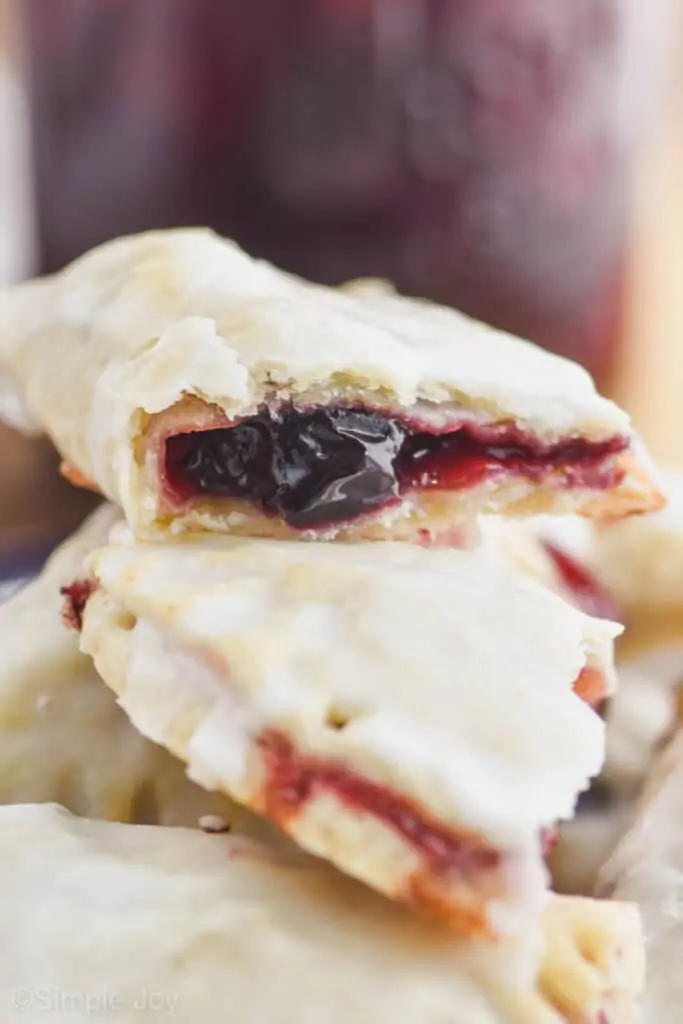
- Fold over, and press down with a fork.
- Brush with whisked egg whites.
- Place on a rimmed baking sheet and bake for 20 minutes.
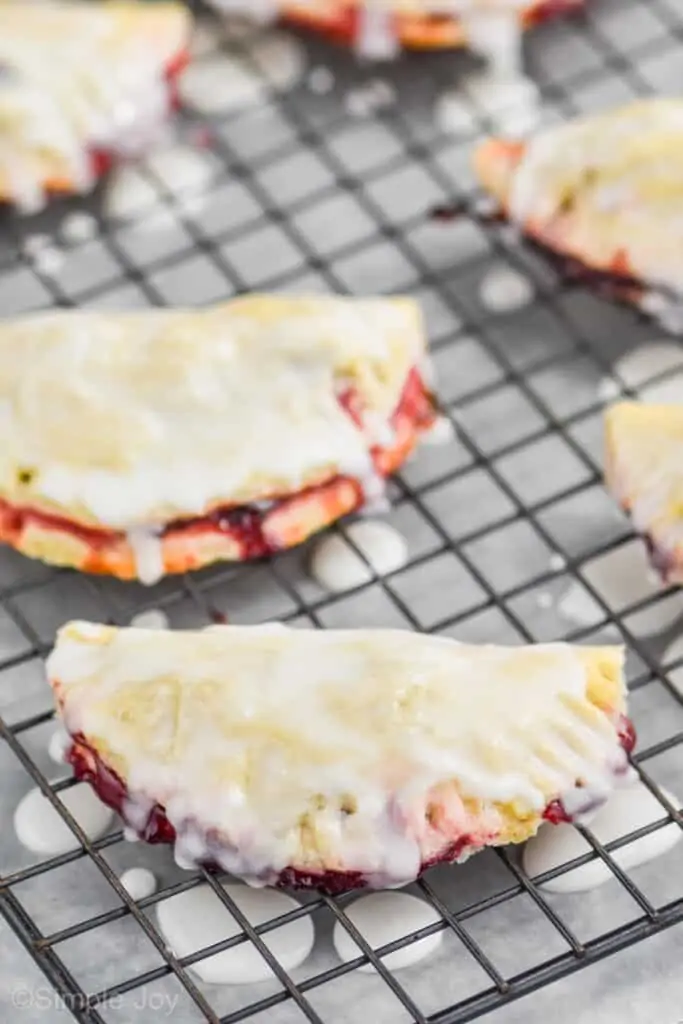
- After the hand pies cool a little, whisk together the milk and powdered sugar. Drizzle over the top of each pie.
As always, make sure to see the full printable recipe card below.
Storing
These hand pies can be stored in an air tight container (once cooled) for three to four days.
Other Great Summer Desserts
If hand pies also make you like a giddy child in summer, here are some more treats for you.
If you make this great hand pie recipe or any of my other recipes, leave me a comment and let me know what you think!
Recommended Tools:
- Rimmed Baking Sheets: These are my absolute favorite. They cook perfectly every single time.
- Rolling Pin: A good rolling pin is a must when you are making pie, and I really really love having a wood rolling pin.
- 4 inch Round Cutter: If you are stressed about not having the right size, you can get this.
- Baking Sheet, Mat, and Cooling Rack Combo: You will need all three in this recipe, so if you are missing them all, this is a great deal.
Cherry Hand Pies
Ingredients
- 2 pie crusts homemade or store bought (see note)
Cherry Pie Filling
- 1 cup cherry juice (or apple)
- 1/2 cup sugar
- 2 tablespoons corn starch
- 1/4 teaspoon cinnamon
- 1/4 teaspoon red food coloring (optional)
- 1/4 teaspoon almond extract
- 2 1/2 cups fresh or frozen cherries
- 2 egg whites whisked
Glaze
- 1/2 cup powdered sugar
- 2 tablespoons milk
Instructions
- Make sure you have your pie crusts completely prepared before begining the cherry pie filling.
- Preheat your oven to 350 degrees. Line a rimmed baking sheet with parchment paper.
- In a medium sauce pan over low to medium heat, combine the cherry juice, sugar, corn starch, and cinnamon. Stir consistently, allowing the mixture to thicken, about 3 to 4 minutes.
- Add in the almond extract and food coloring (if using). Then stir in the frozen cherries. Cook for another 1 to 2 minutes, alllowing the cherries to thaw. Remove from the heat.
- Allow the filling to cool for a minute or two as you roll out the pie dough. It should be about 15 inches in diameter. Using something (a mason jar lid, or the rim of a glass tumbler), cut eight 4 inch circles in each pie crust. (You can reuse the scraps, you will just need to refrigerate them for about 30 minutes before rolling again.)
- Add a small amount (about a tablespoon) of pie filling to each circle. Fold it over, and press down the edges with a fork. Brush each of the hand pies with the whisked egg whites.
- Transfer to the prepared baking sheet. Bake for 20 minutes or until the crusts just begin to turn golden brown. Transfer to a wire cooling rack.
- Allow the hand pies to cool for 10 to 15 minutes. While they are cooling whisk together the powdered sugar and milk. Place wax paper underneath the wire cooling rack. Drizzle the mixture over the hand pies and allow to harden.
Notes






Tiffany says
Can I replace the almond extract with something else? Thank you!!
I would just leave it out Tiffany! I think you will love this even without it and I can’t think of another extract I would use in it’s place.
debbie says
Could I make this with apples the same way?
Yes! I think you will love it with this pie crust!
Catherine Dickey says
Can I use Phyo sheets instead of Pie Crusr made or bought?
Judy says
These are yummy and a real treat ! Very simple to make too
Thank you Judy!
Judith Guegold says
I can’t seem to locate your homemade pie crust. I want to compare your and my crusts.
Here it is: Fool Proof Pie Crust.