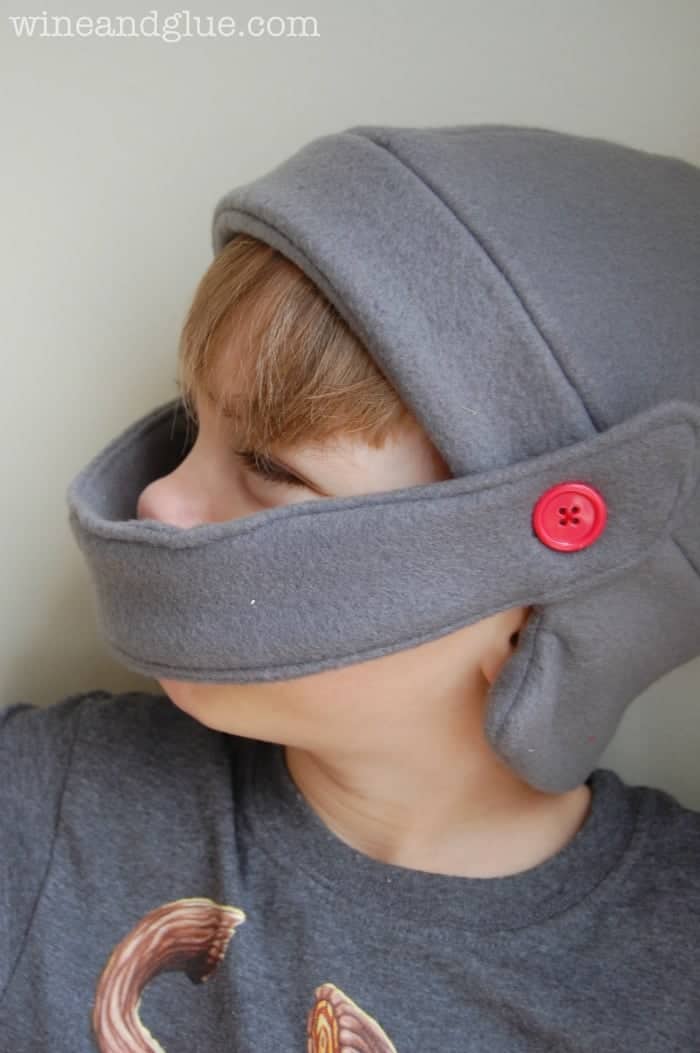
This Fleece Knight Helmet Hat with tutorial and free pattern makes the perfect Halloween costume. So many people have made and loved this hat, and you will be sure to love it too!
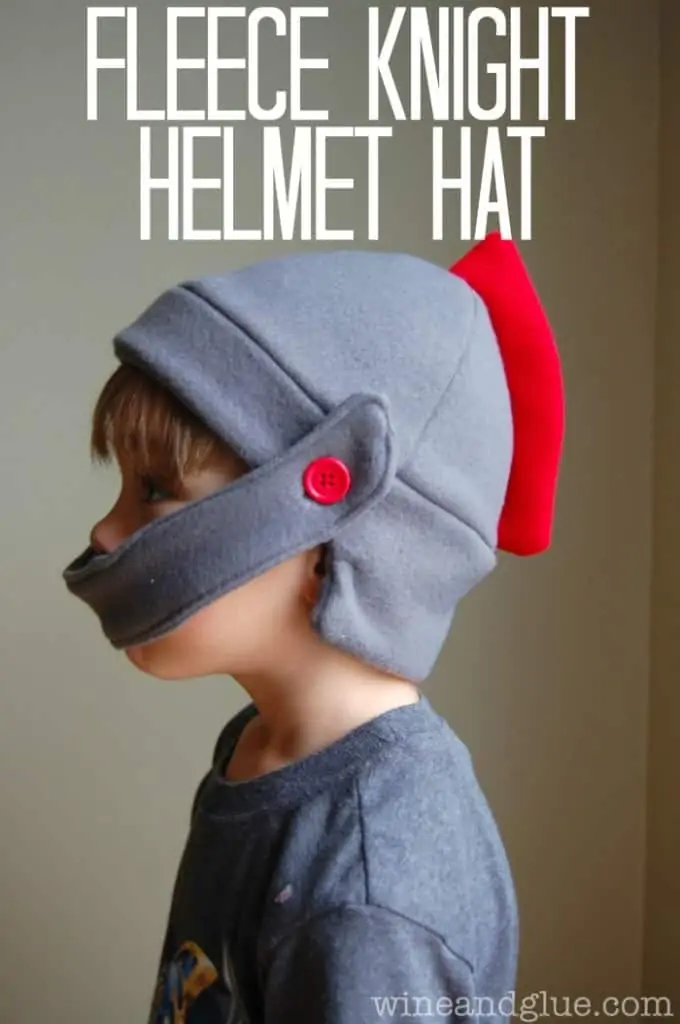
If you have a little knight in your life, this is the perfect thing to make for him. This is a great beginning sewing project. Fleece is so forgiving and easy to work with. This project is bound to be a success.
Pattern for Helmet Hat
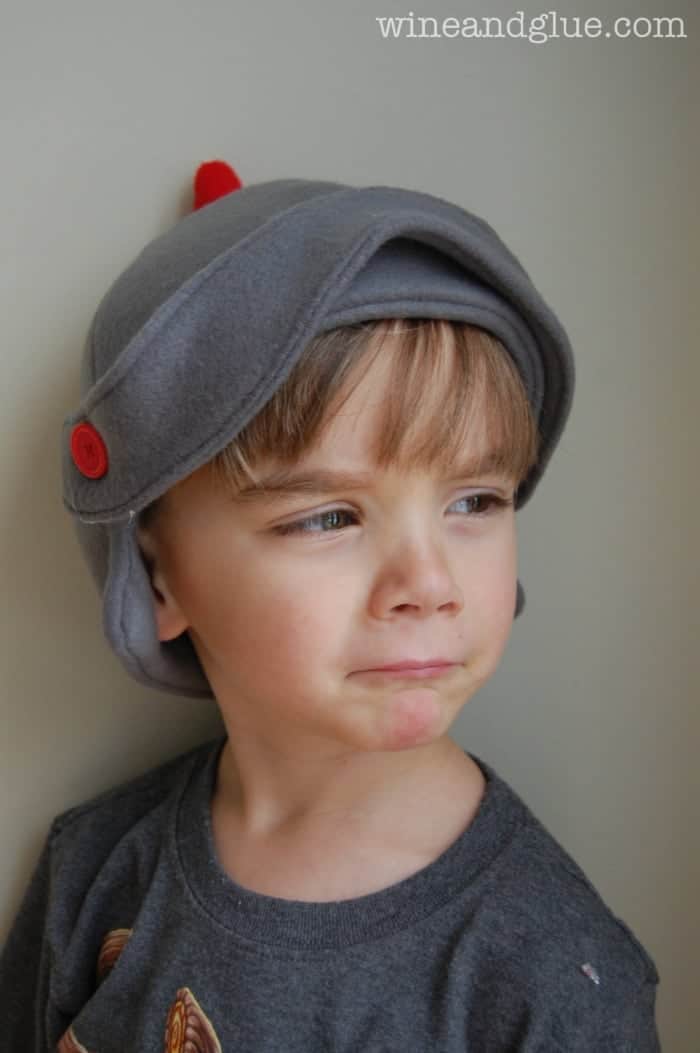
The base for this hat comes from this amazing Dinosaur Hat from Stitched. I switched out the spikes for the red piece in the back, and changed the ear piece to be a little more square. Then I added a front piece with buttons that can flip down, flip up, or just be taken off.
This hat was made for a head that is 22 inches around. You can can scale the pattern up and down accordingly.
Here is the pattern on three sheets:
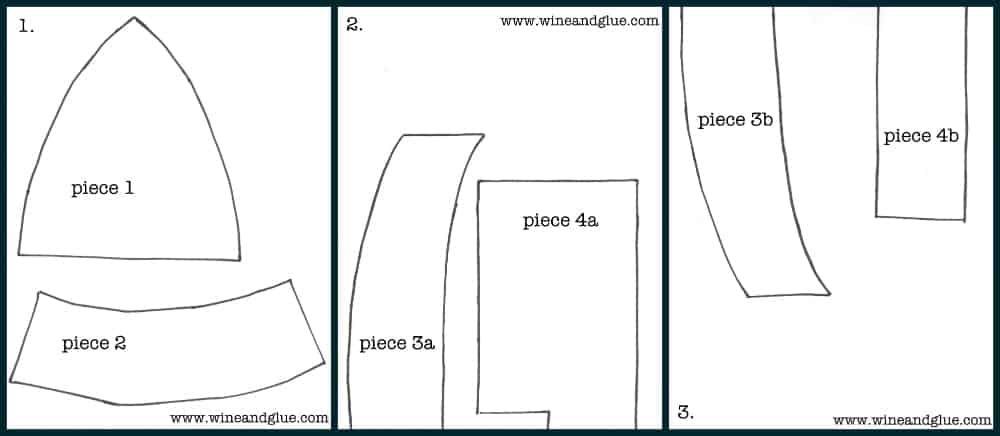
Download page 1 here | Download page 2 here | Download page 3 here
Materials
- Half a yard of gray fleece
- Less than a quarter of a yard of red fleece
- Two red buttons
How to Make a Fleece Helmet Hat
Step one: Print out the pattern. Once you have printed out all three sheets, cut all the pieces of paper out, and tape together piece 3a to piece 3b and piece 4a to piece 4b.
Step two: Cut out the pieces. Cut four “Piece 1” pieces from the gray fleece. Cut two “Piece 2” pieces out of red fleece. Cut the pattern pieces for 3a and 3b and tape them together. Then cut two “Piece 3” pieces. Repeat this process with 4a and 4b. The photo below shows all the pieces cut out with the exception of piece 3.
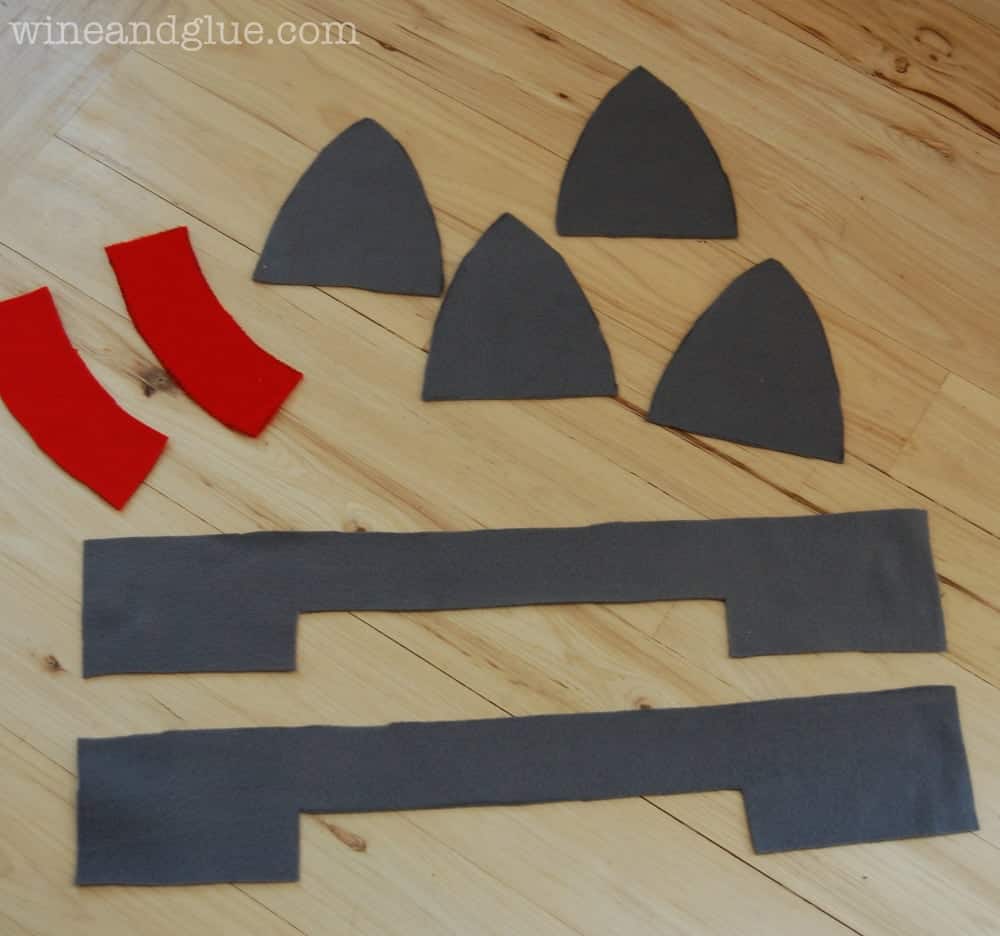
Step three: Pin the pieces together. Line up the duplicate pieces (for example the “Piece 4” pieces you see in the photo below). For the top of the head, it will pin together to make a hat shape. There are helpful photos of this in the tutorial over on STITCHED. But do not pin it all the way to the top.
Step four: Sew the top of the hat together. Use a half inch seam allowance for everything. Now sew one side of a piece 1 to another side of a piece 1. Repeat that with the two remaining piece 1’s. Sew the red pieces together and flip inside out. Now you can complete the top of the hat. Pin the two sides of the hat together with the red part on the inside sandwiched between the right sides of the fabric.
Step five: Make the bottom of the hat/ear flap. Now sew together the two piece fours, leaving the wide piece at the end open. Once it is sewn together, flip it so that the right sides of it are together, and sew down the length of the wide part. This will make it a full circle.
Put the top part of the hat inside the ear flap circle. Make sure that the red piece that goes in the back is lined up with the widest part of the ear flap that goes in the back. Pin it in place. Sew around.
Step six: Make the front part of the hat that moves up and down. Sew the two piece 3’s together, leaving a small two inch gap. Flip it inside out, and then top stitch around it.
With your kid having the hat on very carefully pin piece 3 in place, add buttons, cut holes in piece 3, and you are done!
Other Easy Halloween Costumes
We have other easy Halloween costumes too! Tackle one of these simple projects next!





Heather says
I adore this. I am going to make one as a Christmas gift – my partner would adore one, and keeps borrowing mine (which don’t really suit him haha!) And who doesn’t think a bearded 6’3″ 23 year old man would look excellent running around in a knight’s helmet hat!
That is awesome Heather.
Beth says
How can this be sized for an adult?
Hi Beth! I mocked up my pattern from another great blogger (this post: http://www.stitchedbycrystal.com/2011/10/tutorial-dino-hat.html) and she talks about how to figure out the sizing and make a pattern from there. I’m sure you could do an adult version of this hat, but you would probably need to create the pattern from scratch.
Anne says
Cute, cute!! I love the neck strap!! I’ve linked to your pattern over at Craft Gossip: http://sewing.craftgossip.com/free-pattern-fleece-knight-hat/2013/11/21/
–Anne
Thanks so much Anne!
Shannon says
This is perfect for my first grader. He just told his teacher he wants to be a knight in shining armor when he grows up. It looks much more comfortable than a hard plastic helmet.
Thanks Shannon! I hope your little knight likes it :)
Janell K. says
Pinning for sure! My son would be so excited if I made him one of these!
Thanks Janell!
Bobbie says
Love it! Such a great idea! I would love for you to add your link to the link party on my blog at http://iamonly1woman.blogspot.com/2013/11/check-me-out-saturday-craft-link-party_22.html
Sabrina says
sooo cool!!!
sue says
Simply Brilliant!
Thanks Sue!
Holly says
So much more comfortable than the construction helmet-covered-with-foil I fashioned for my son when he was a knight for Halloween years ago! He’s too old now, but I made one of these for my nephew for Christmas. Thanks so much! You can see mine here: http://www.stitchcraftcreations.com/2014/01/21/finish-first-update-1/
Holly, one of the things that makes me the happiest with this little blog of mine is when people make my creations and it turns out well! Your hat looks awesome and your nephew looks so happy!! And my husband was TOTALLY going to go with the foil until I came up with this, lol! Thank you so much for sharing! You made my day!
B Diederich says
So cool! My grandson has worn a green dinosaur costume for over 5 months straight…And since he’s seen a Mike the Knight video, I might be able to talk him into a costume change, which his mother would love!
Lisa says
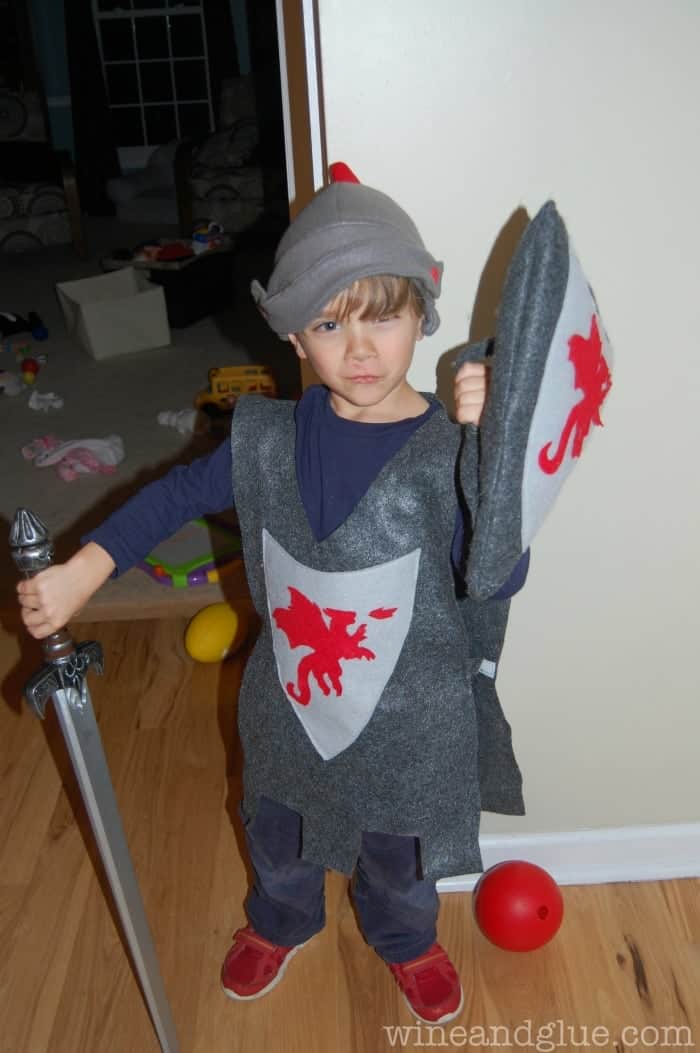
Where would I find the pattern for the rest of the outfit, like the cheesy piece and shield?
Hi Lisa! I didn’t make patters for them. I really just measured the shoulder width of my kiddo and the length from his shoulders to just below his knees. I cut, cut out the bottom part, cut a hole for his head, and then added some tabs on the side with velcro to hold it together. The shield was just something I eyeballed. Cut two pieces of the dark gray, one of the light. And then I put some cardboard and stuffing between the two pieces.