This pie crust recipe is easy to make, but more importantly it tastes delicious. The combination of butter and shortening help the pie keep its shape without sacrificing any flavor and our secret ingredient pulls it all together like magic.
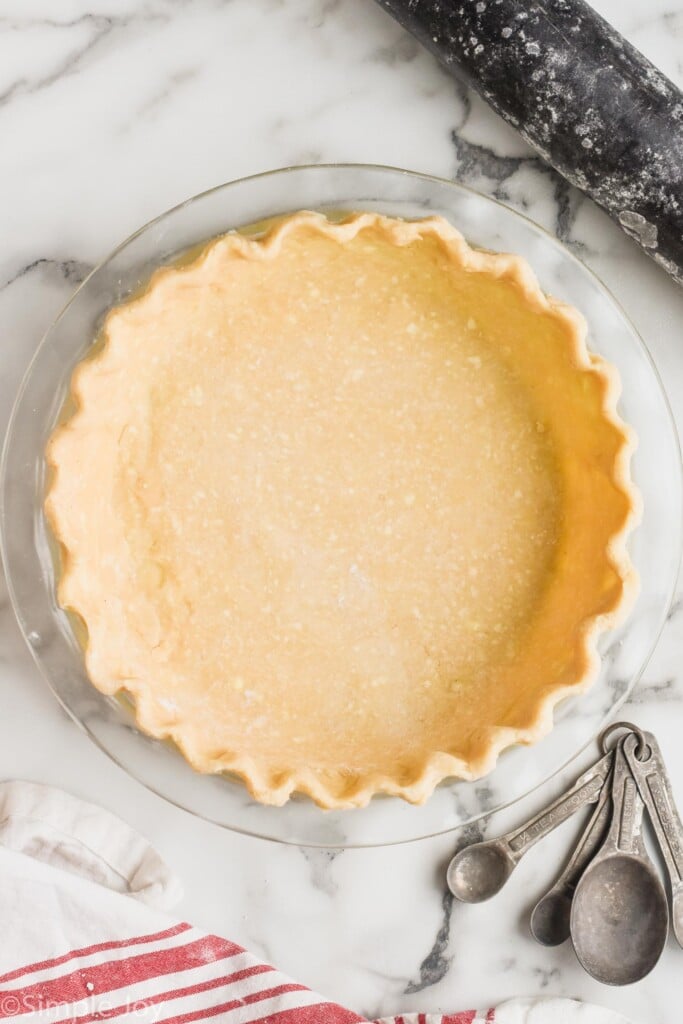
With baking season upon us, I wanted to give you an updated version of this pie crust that has been pinned more than 200k times! This simple recipe for pie dough is absolutely fool proof. But to ensure your total success I have step by step photos and a video tutorial that you can find in the recipe card. (Please note that this is a long post with a lot of detail. If you are a confident baker, you can hit the jump to recipe button above that will take you right to the recipe card at the bottom.)
This is a recipe from America’s Test Kitchen that I fall back on over and over again. It never fails me and it turns out flakey and perfect every single time. It is a stand by for a lot of you too! Look at this review:
I think this is the first time I’ve made a crust I can be proud of! Amazingly light and flaky. I needed a crust for a cream pie so I blind baked with the sugar as the weight. Worked perfectly. Will definitely use this as my go to crust. Thank you for posting this.
What Makes this Homemade Pie Crust Work
We Use Vodka as the Secret Ingredient
I love the science behind this recipe. Pie crusts start with flour, a dry ingredient. Moisture is needed to pull the dry ingredients together, but you don’t want too much moisture or the final crust won’t be flakey.
If you use vodka, the moisture of it will pull the dry ingredients together and then bake off when the pie bakes. The results is the perfect flakey layers in this delicious pie crust.
A Non Alcohol Alternative
If you are serving someone who is sober or you don’t ever cook with alcohol, you can use vinegar as a replacement, but please note that it will leave a residual taste.
Pie Crust with Butter and Shortening
This recipe has both butter and shortening (vegetable lard or Crisco). The butter lends the most delicious flavor to the pie crust. But a pie crust made completely of butter will be less likely to hold it’s shape. Therefore, we add shortening to this recipe. While it doesn’t taste as amazing, it holds the shape of the crust. The two together are the beginning of the best pie crust.
Using a Food Processor for Pie Crust
This pie crust recipe comes together in a food processor, but you can make it without one! See instructions at the bottom of the post.
How to Make Pie Crust
Please note that if you are looking for the printable recipe card, you will want to scroll to the bottom of the post or click the blue circle jump to the recipe button above.
Step 1: Chill Ingredients
Put 6 tablespoons (3 ounces/85 grams) butter, 1/4 cup vegetable shortening (50 grams), and 2 tablespoons (1 fluid ounce/29.6 ml) of vodka in the freezer for 30 minutes.
Fill a small measuring cup with water and ice and put it in the refrigerator for 30 minutes.
Step 2: Begin to Combine the Ingredients
It is important to note that we start with just some of the flour; the rest will be added after the butter and shortening.
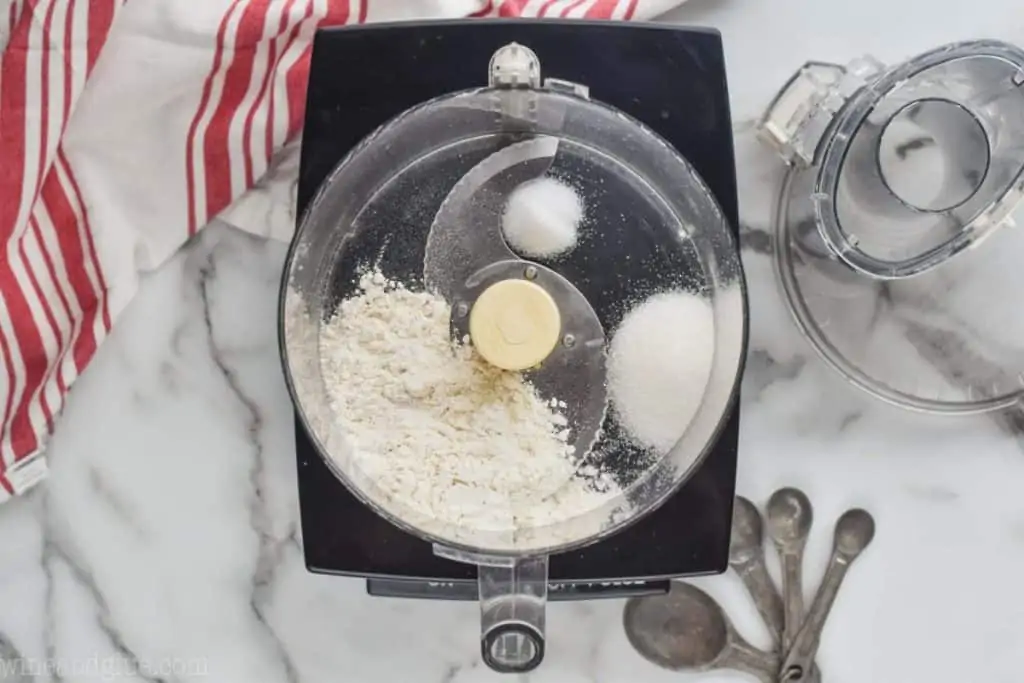
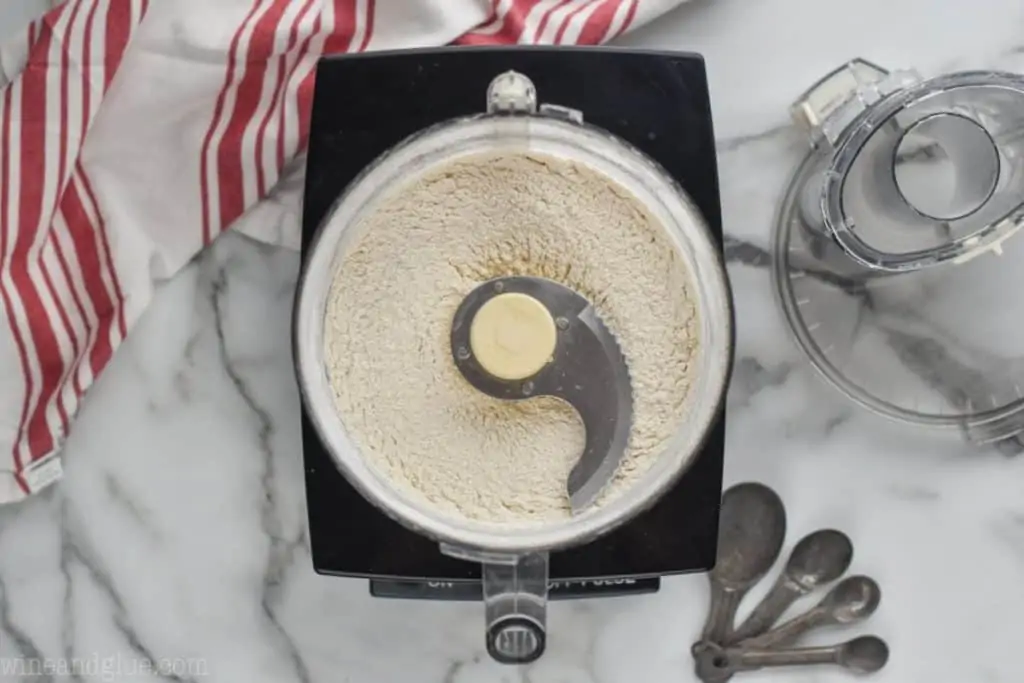
After the 30 minutes, add 3/4 cup (96 grams) all purpose flour, 1/2 teaspoon salt (3 grams), and 1 tablespoon granulated sugar (12.5 grams) to your food processor. Blend to combine. Please see the section below on how to measure flour.
Step 3: Add the Butter and Shortening
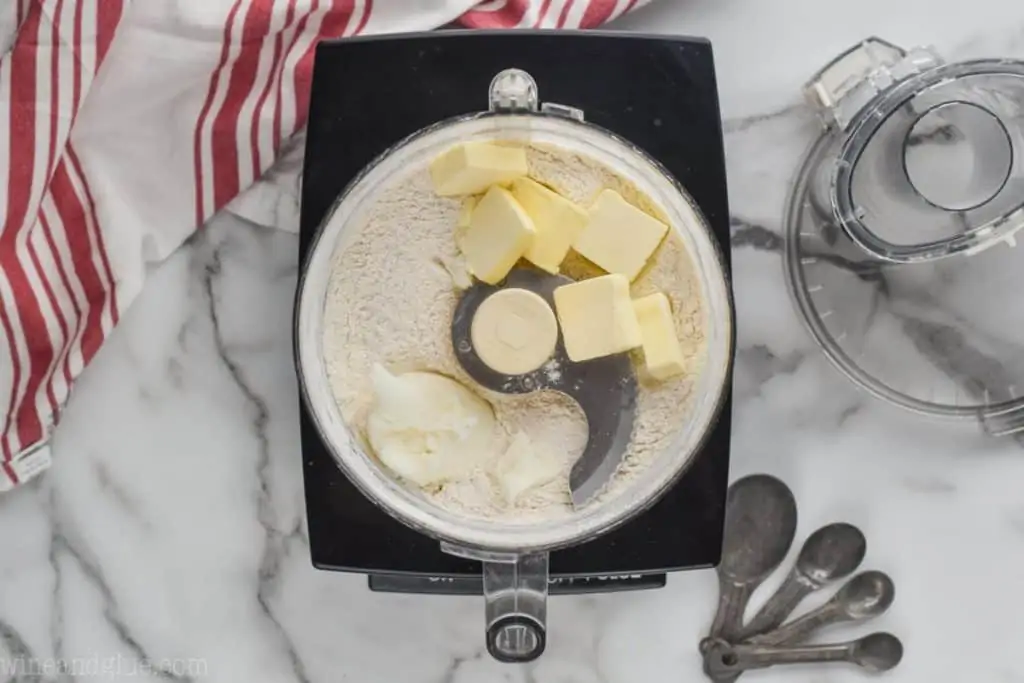
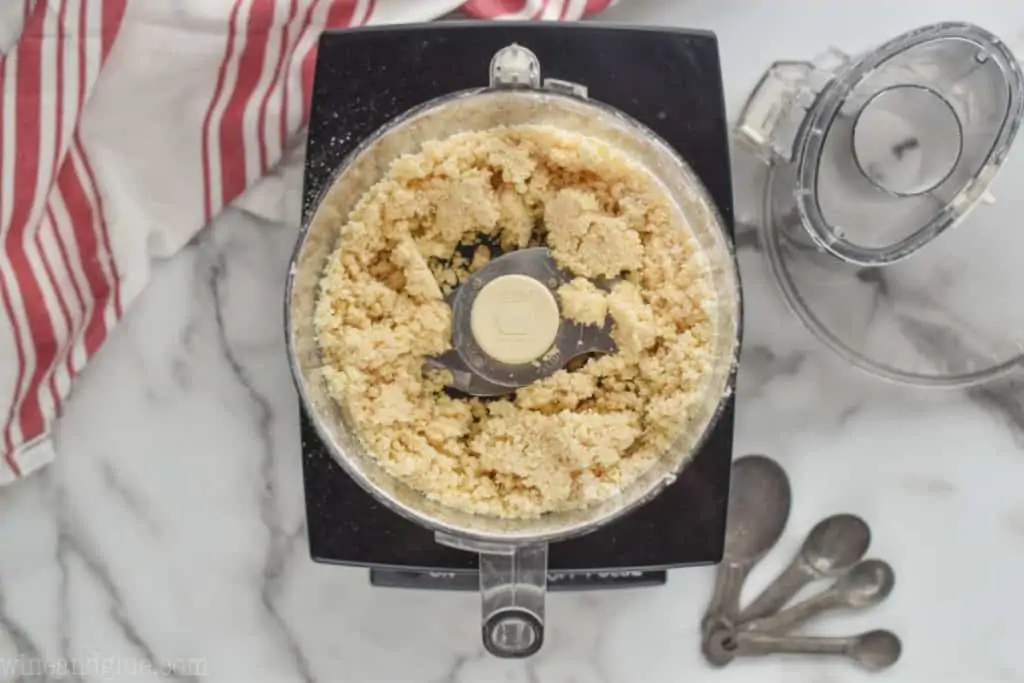
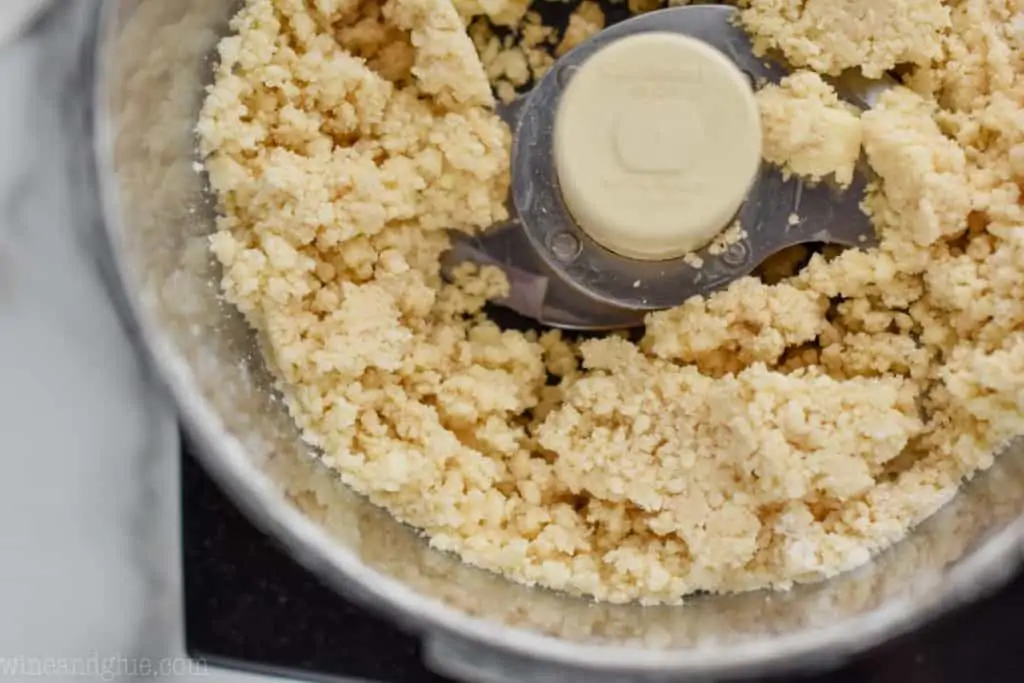
Add the butter and shortening from the freezer. Blend together until there are no streaks of flour left. I’m including an up close picture so you really know what you are looking for.
Step 4: Add the Remaining Flour
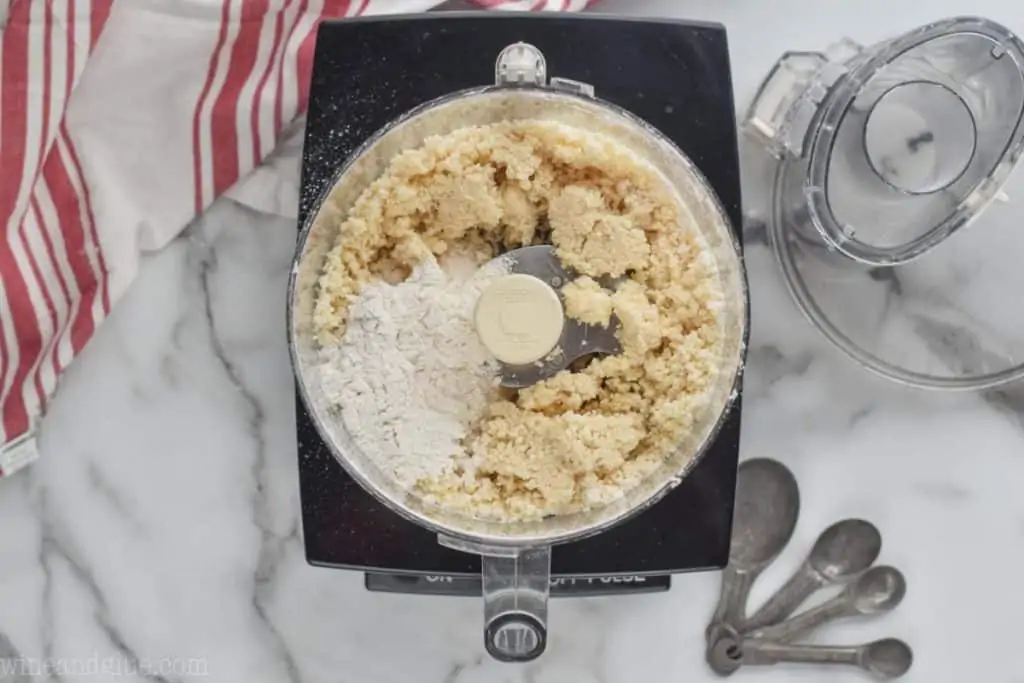
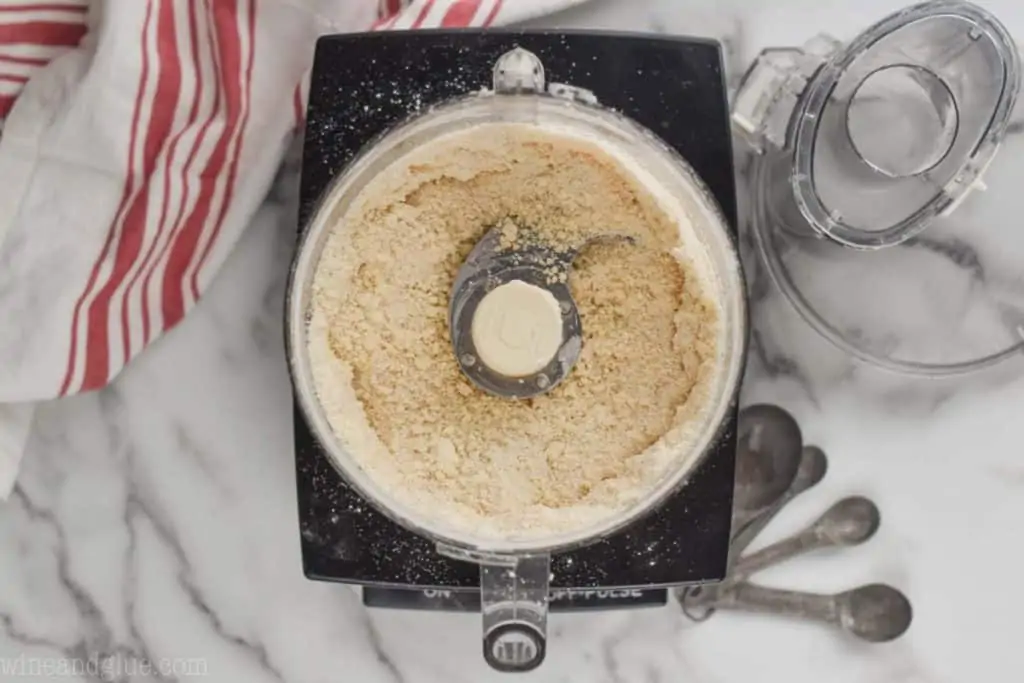
Add in the final 1/2 cup (64 grams) of flour. Blend until the mixture becomes a fine crumb. Be careful not to over blend.
Step 5: Add in the Liquid Ingredients
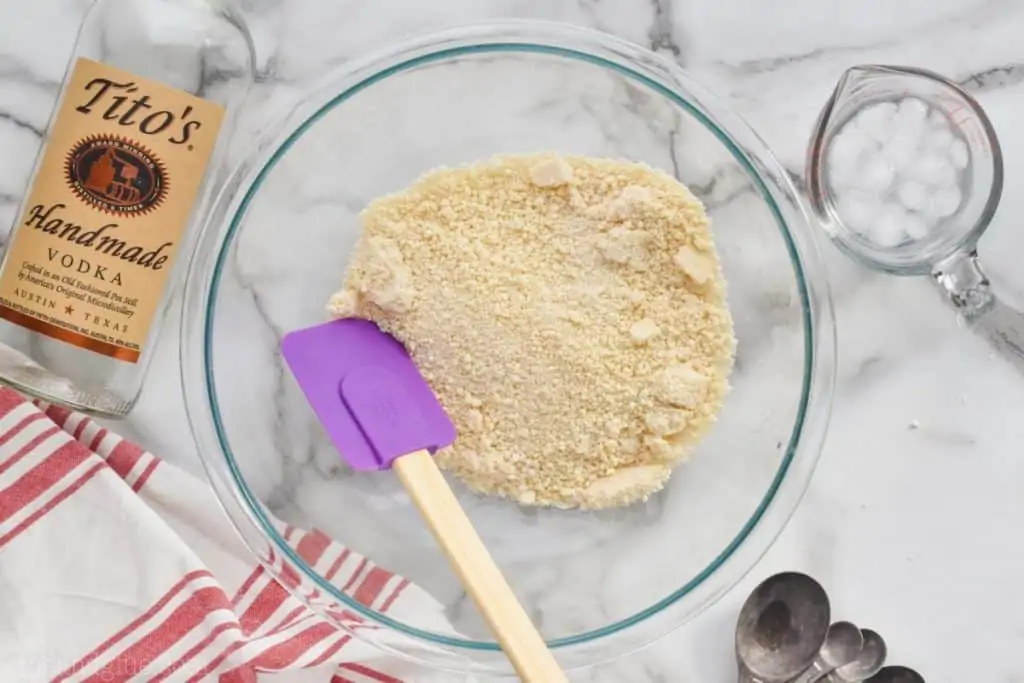
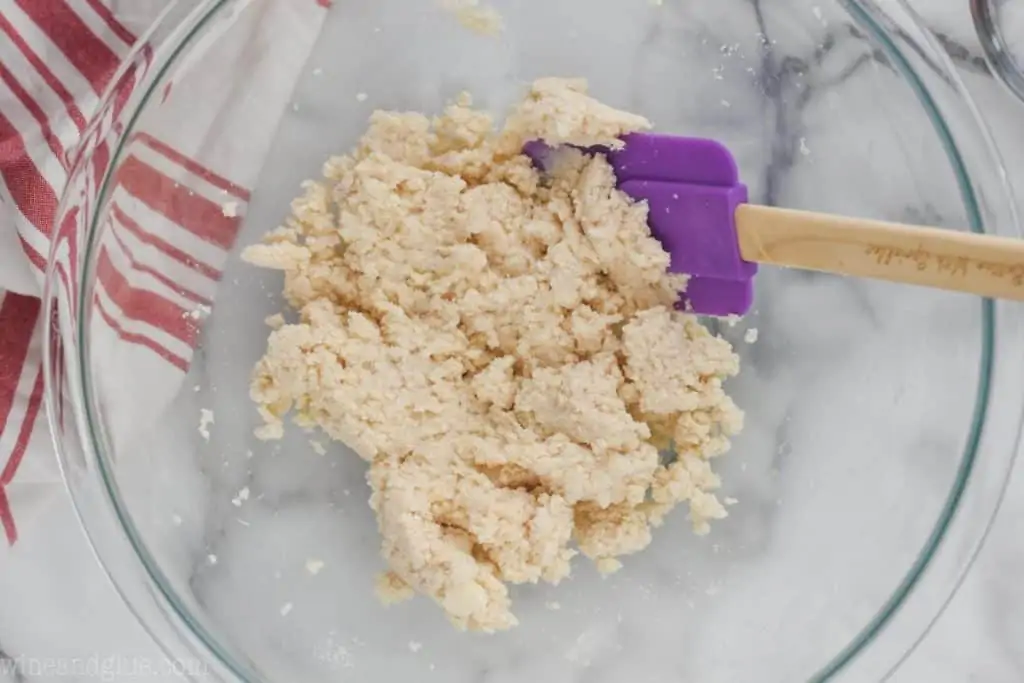
Transfer the mixture to a bowl. Add in the cold vodka (from the freezer) and 2 tablespoons ice cold water (29.6 ml) that you had in the refrigerator. Using a spatula during this process keeps everything chilled and cold by not adding the heat from your hands into the mix.
The photo on the right shows you the consistency of the pie dough after adding the water and vodka.
Step 6: Pull the Dough Together
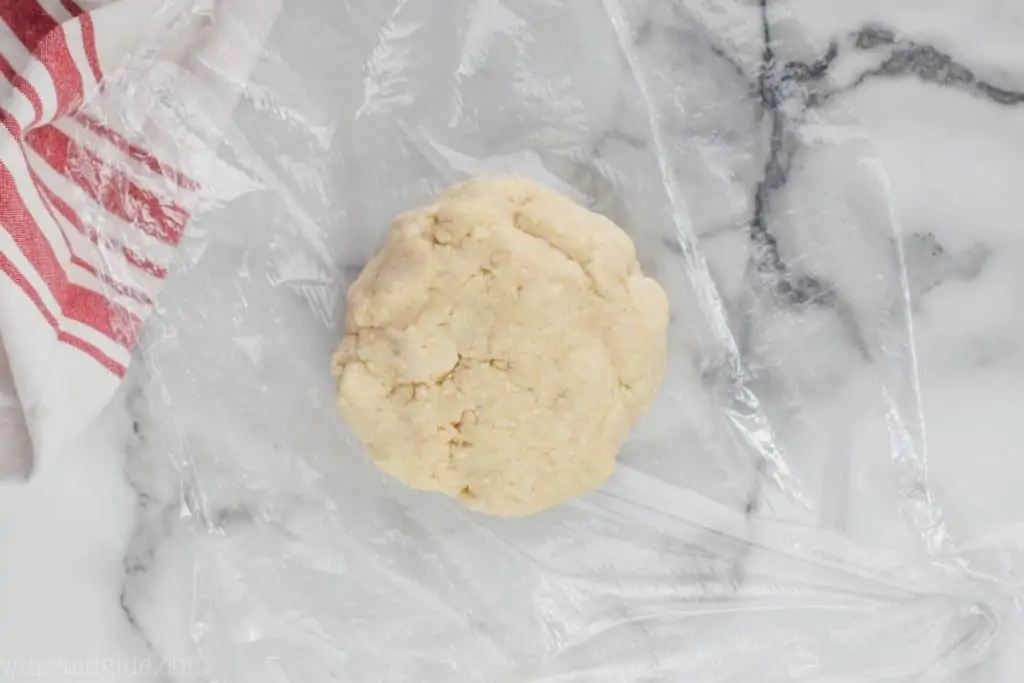
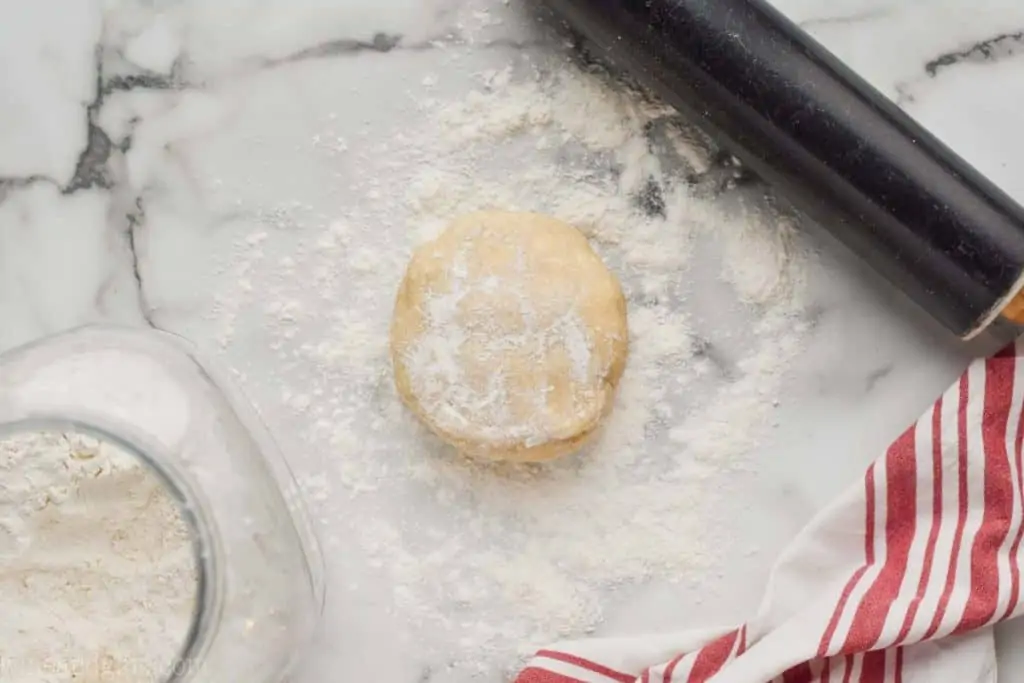
Using the spatula, form the dough into a disc. Please reference the photo below. I like to make the disc fairly thin and about five inches across to help with rolling out the dough.
Step 7: Chill the Dough
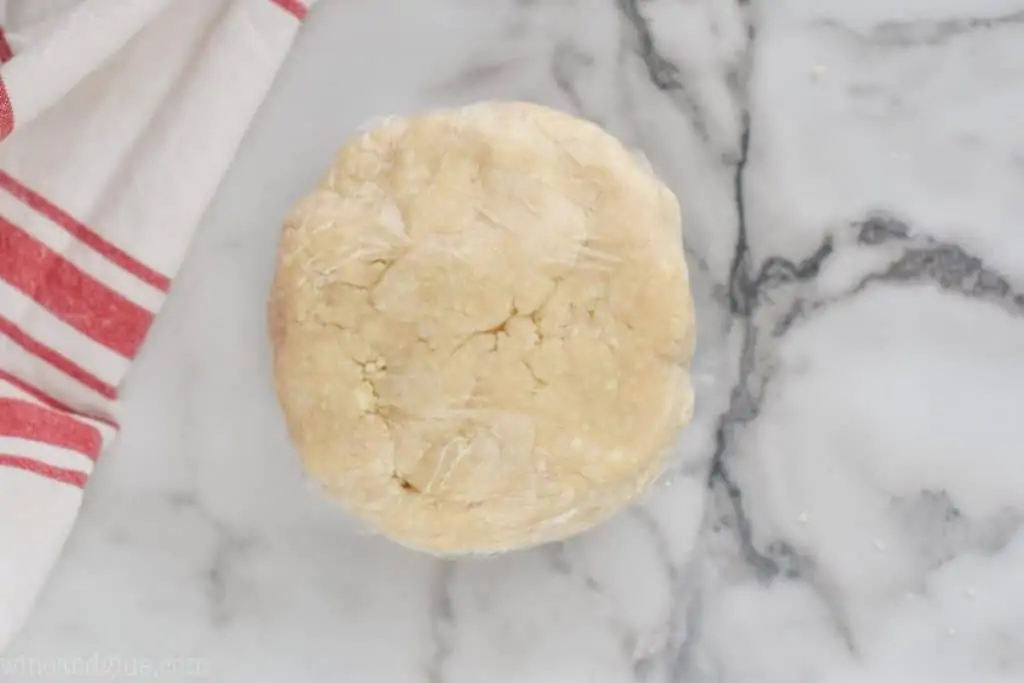
Wrap the disc tightly in plastic wrap and put it in the refrigerator for at least an hour. The dough can stay in the refrigerator for up to two days at this point. Alternatively, you can transfer the disc to an airtight container and store in the freezer for up to three months, thawing in the refrigerator for 24 hours when you are ready to use it.
Step 8: Roll Out the Dough
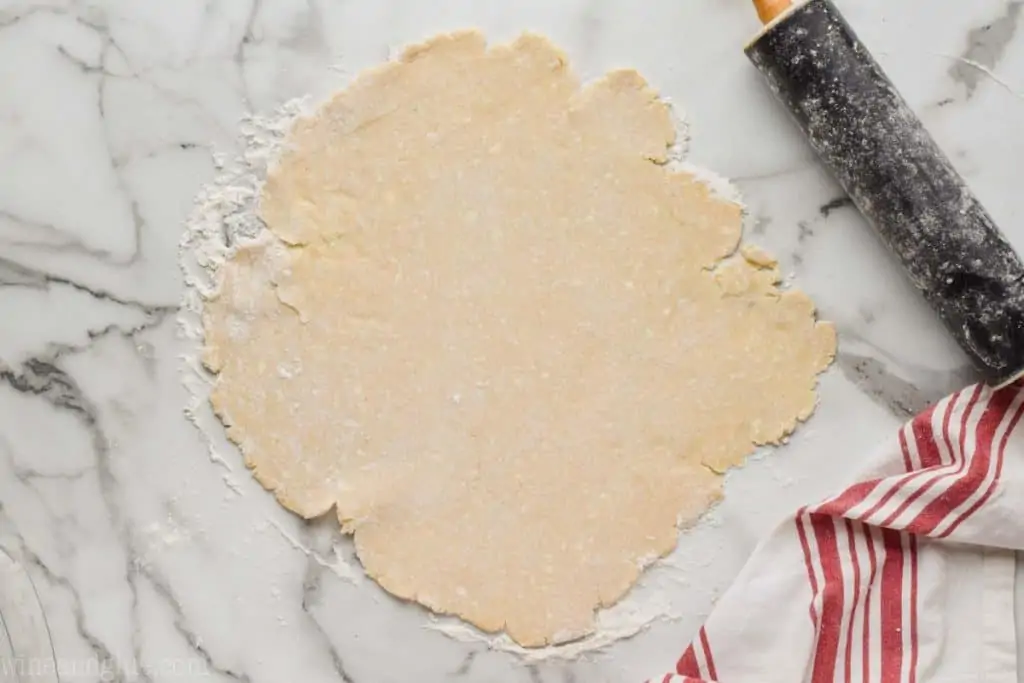
After the pie crust has been chilled in the refrigerator, flour a clean surface very well. I suggest using more flour at this step than you think you need. Unwrap the disc of dough and roll it out. To fill a 9 inch deep pie pan you will want to roll the dough out to a 15 inch diameter.
I like to rotate the rolling pin so that it rolls out as evenly into a circle as possible. Check to ensure that your dough isn’t sticking to the surface, lifting it up and adding more flour as needed.
Step 9: Use the Rolling Pin to Transfer the Dough
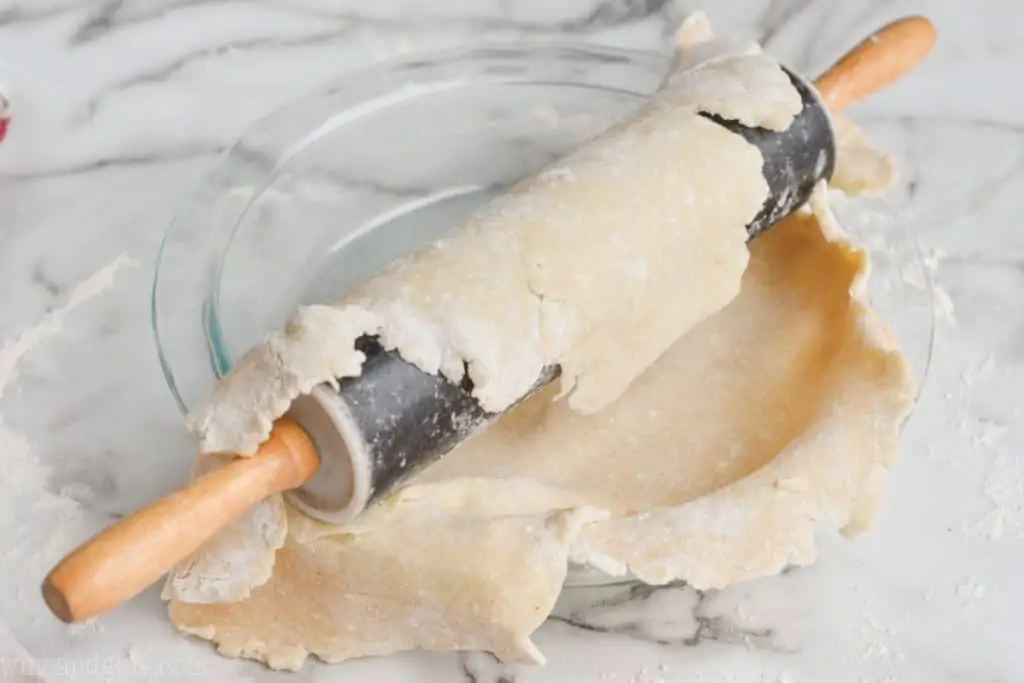
Working very carefully, roll the pie dough onto the rolling pin. Then lift it up and bring it to the pie pan. It helps to have the pie dish right next to the dough. Unroll the dough into the pie pan.
Step 10: Trim the Edges
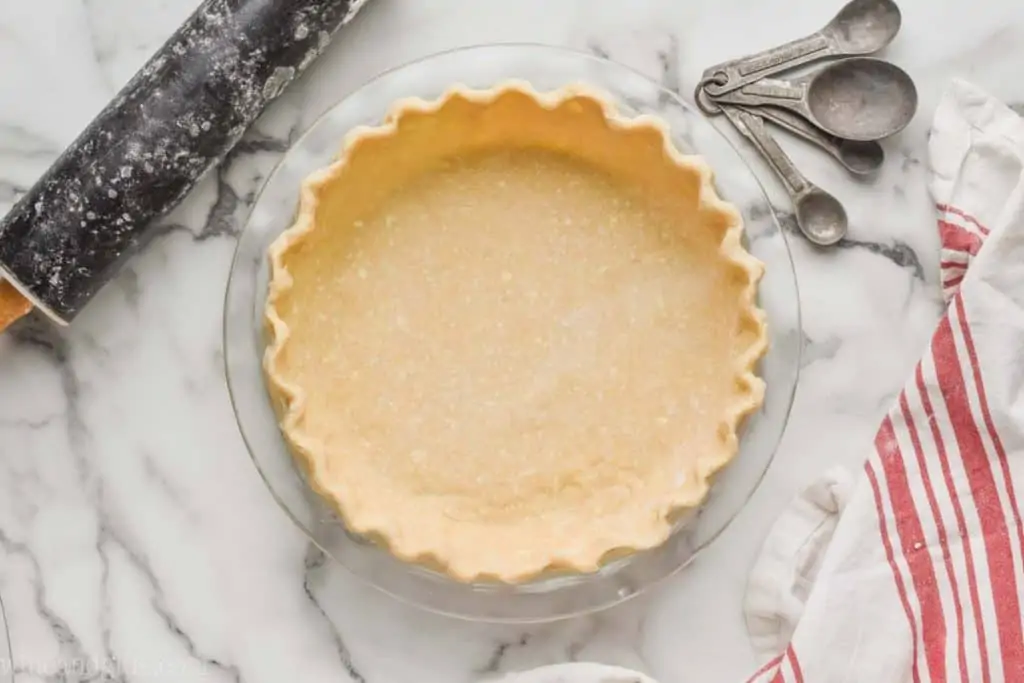
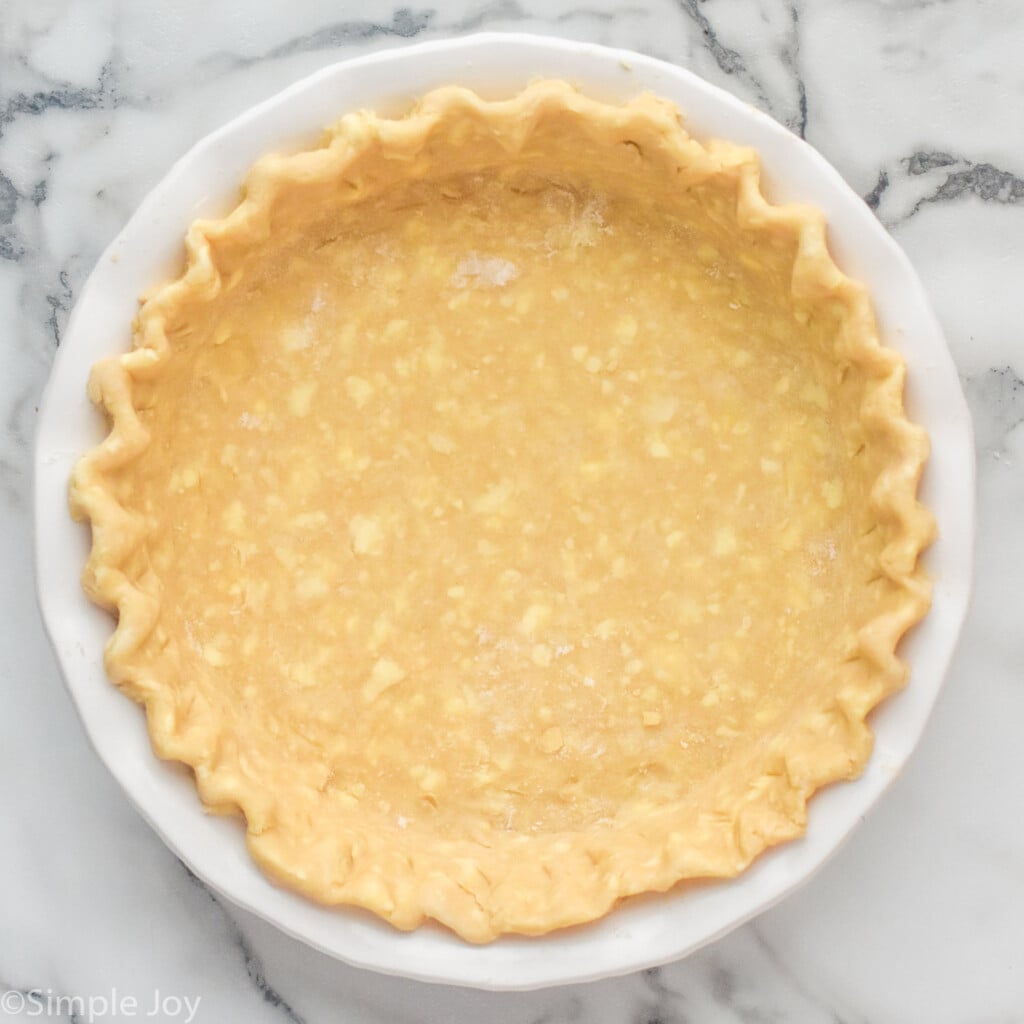
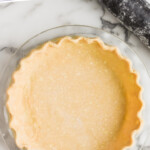
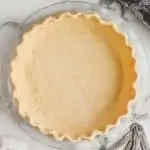
Trim the edges of the pie crust and then crimp them. To do this, put one finger between the dough and the pie pan and the other two fingers on the opposite side to press and create a ridge.
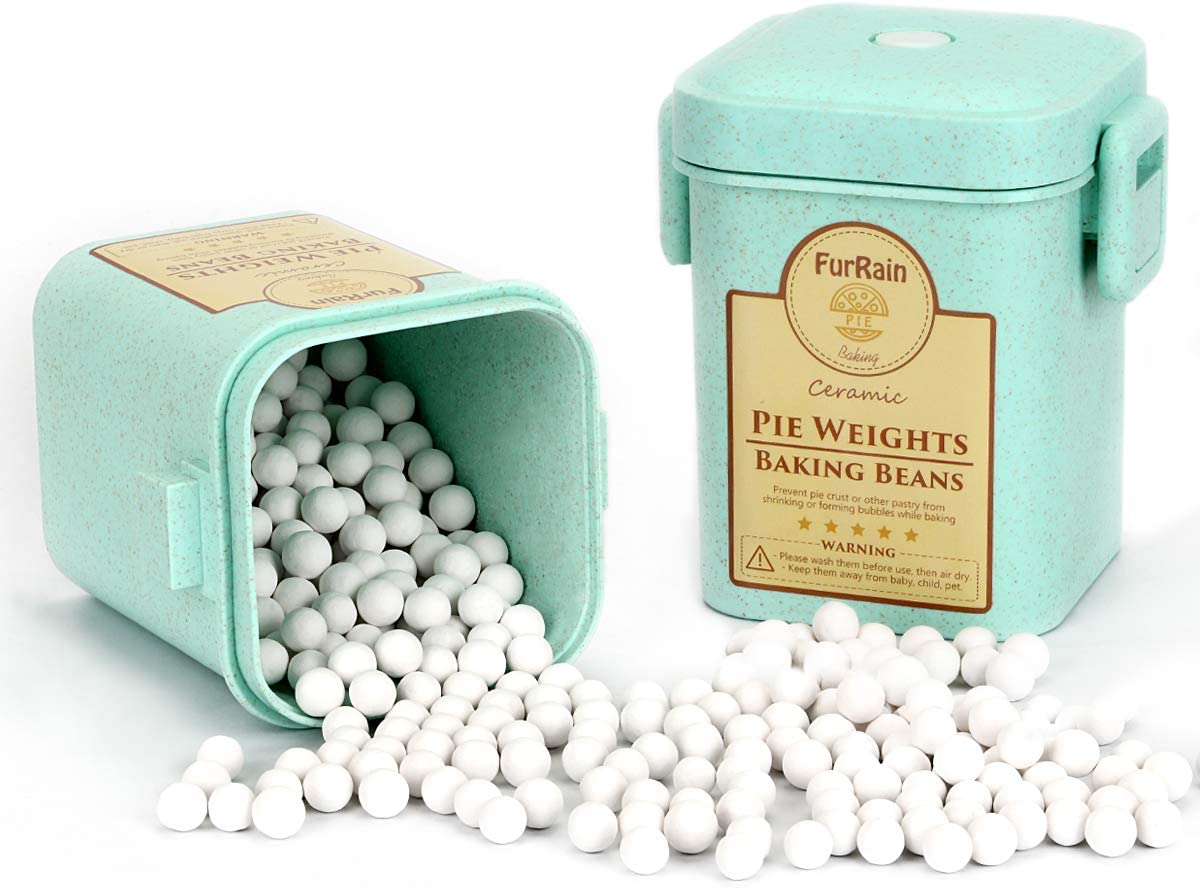
Pie Weights
How to Blind Bake Pie Crust
After making your pie crust recipe, use the recipe for pie that you are following to bake the pie. If the recipe you are using calls for you to blind bake the crust or bake it before you fill it, that is simple. This is a great method that I use in my pumpkin pie and my quiche recipe to ensure that the crust is perfectly flakey without over baking the filling.
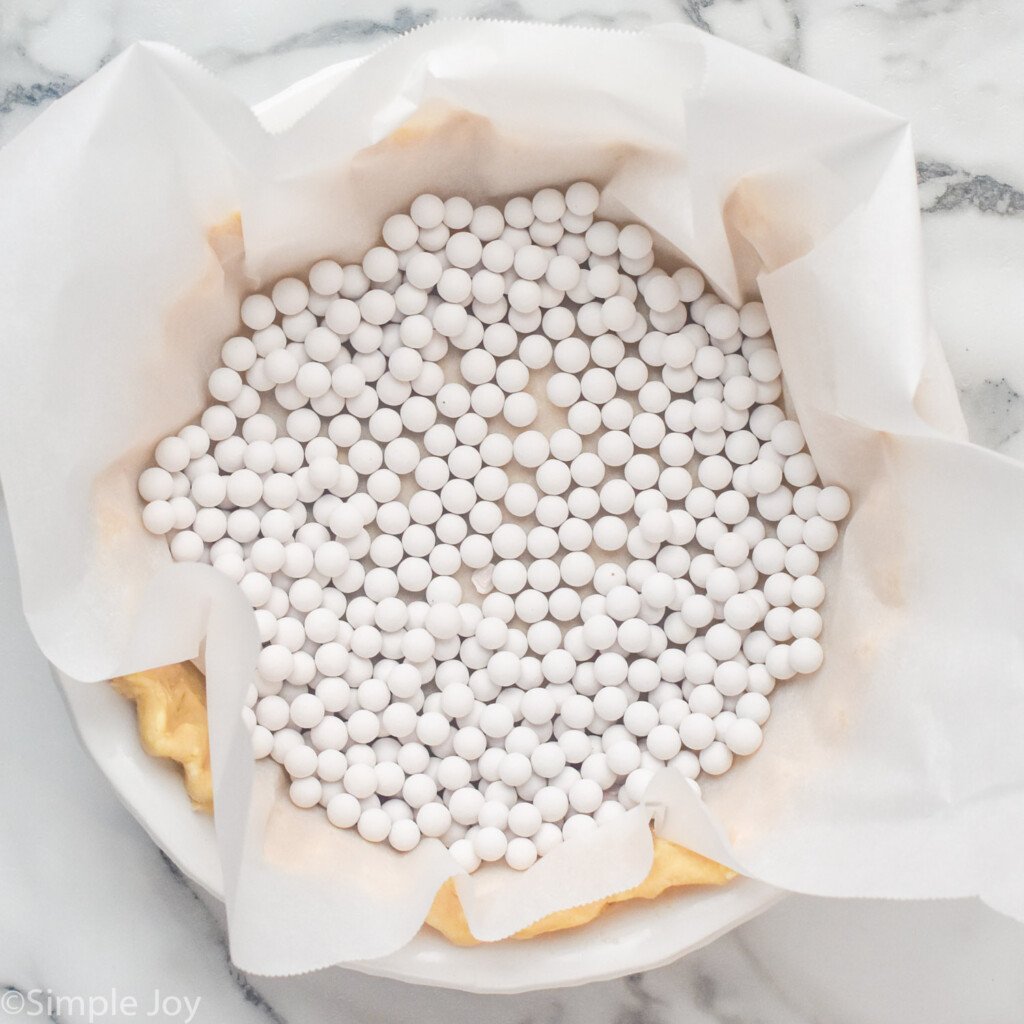
- Line the rolled out pie crust with parchment paper.
- Fill the pie crust (covered in parchment paper) with pie weights, dry rice, or dry beans. Whatever you use, you want to fill it enough so the pie crust is secure all the way to the edges of the pan.
- Bake for 25 -30 minutes (or the amount of time labeled in the recipe).
- Remove the parchment paper with the weights and add the filling, returning the pie plate to the oven.
How to Measure Flour
Measuring flour correctly is an essential step for any baking recipe. Too much flour is the number one reason why baking reasons fail, because of how greatly it alters the recipe.
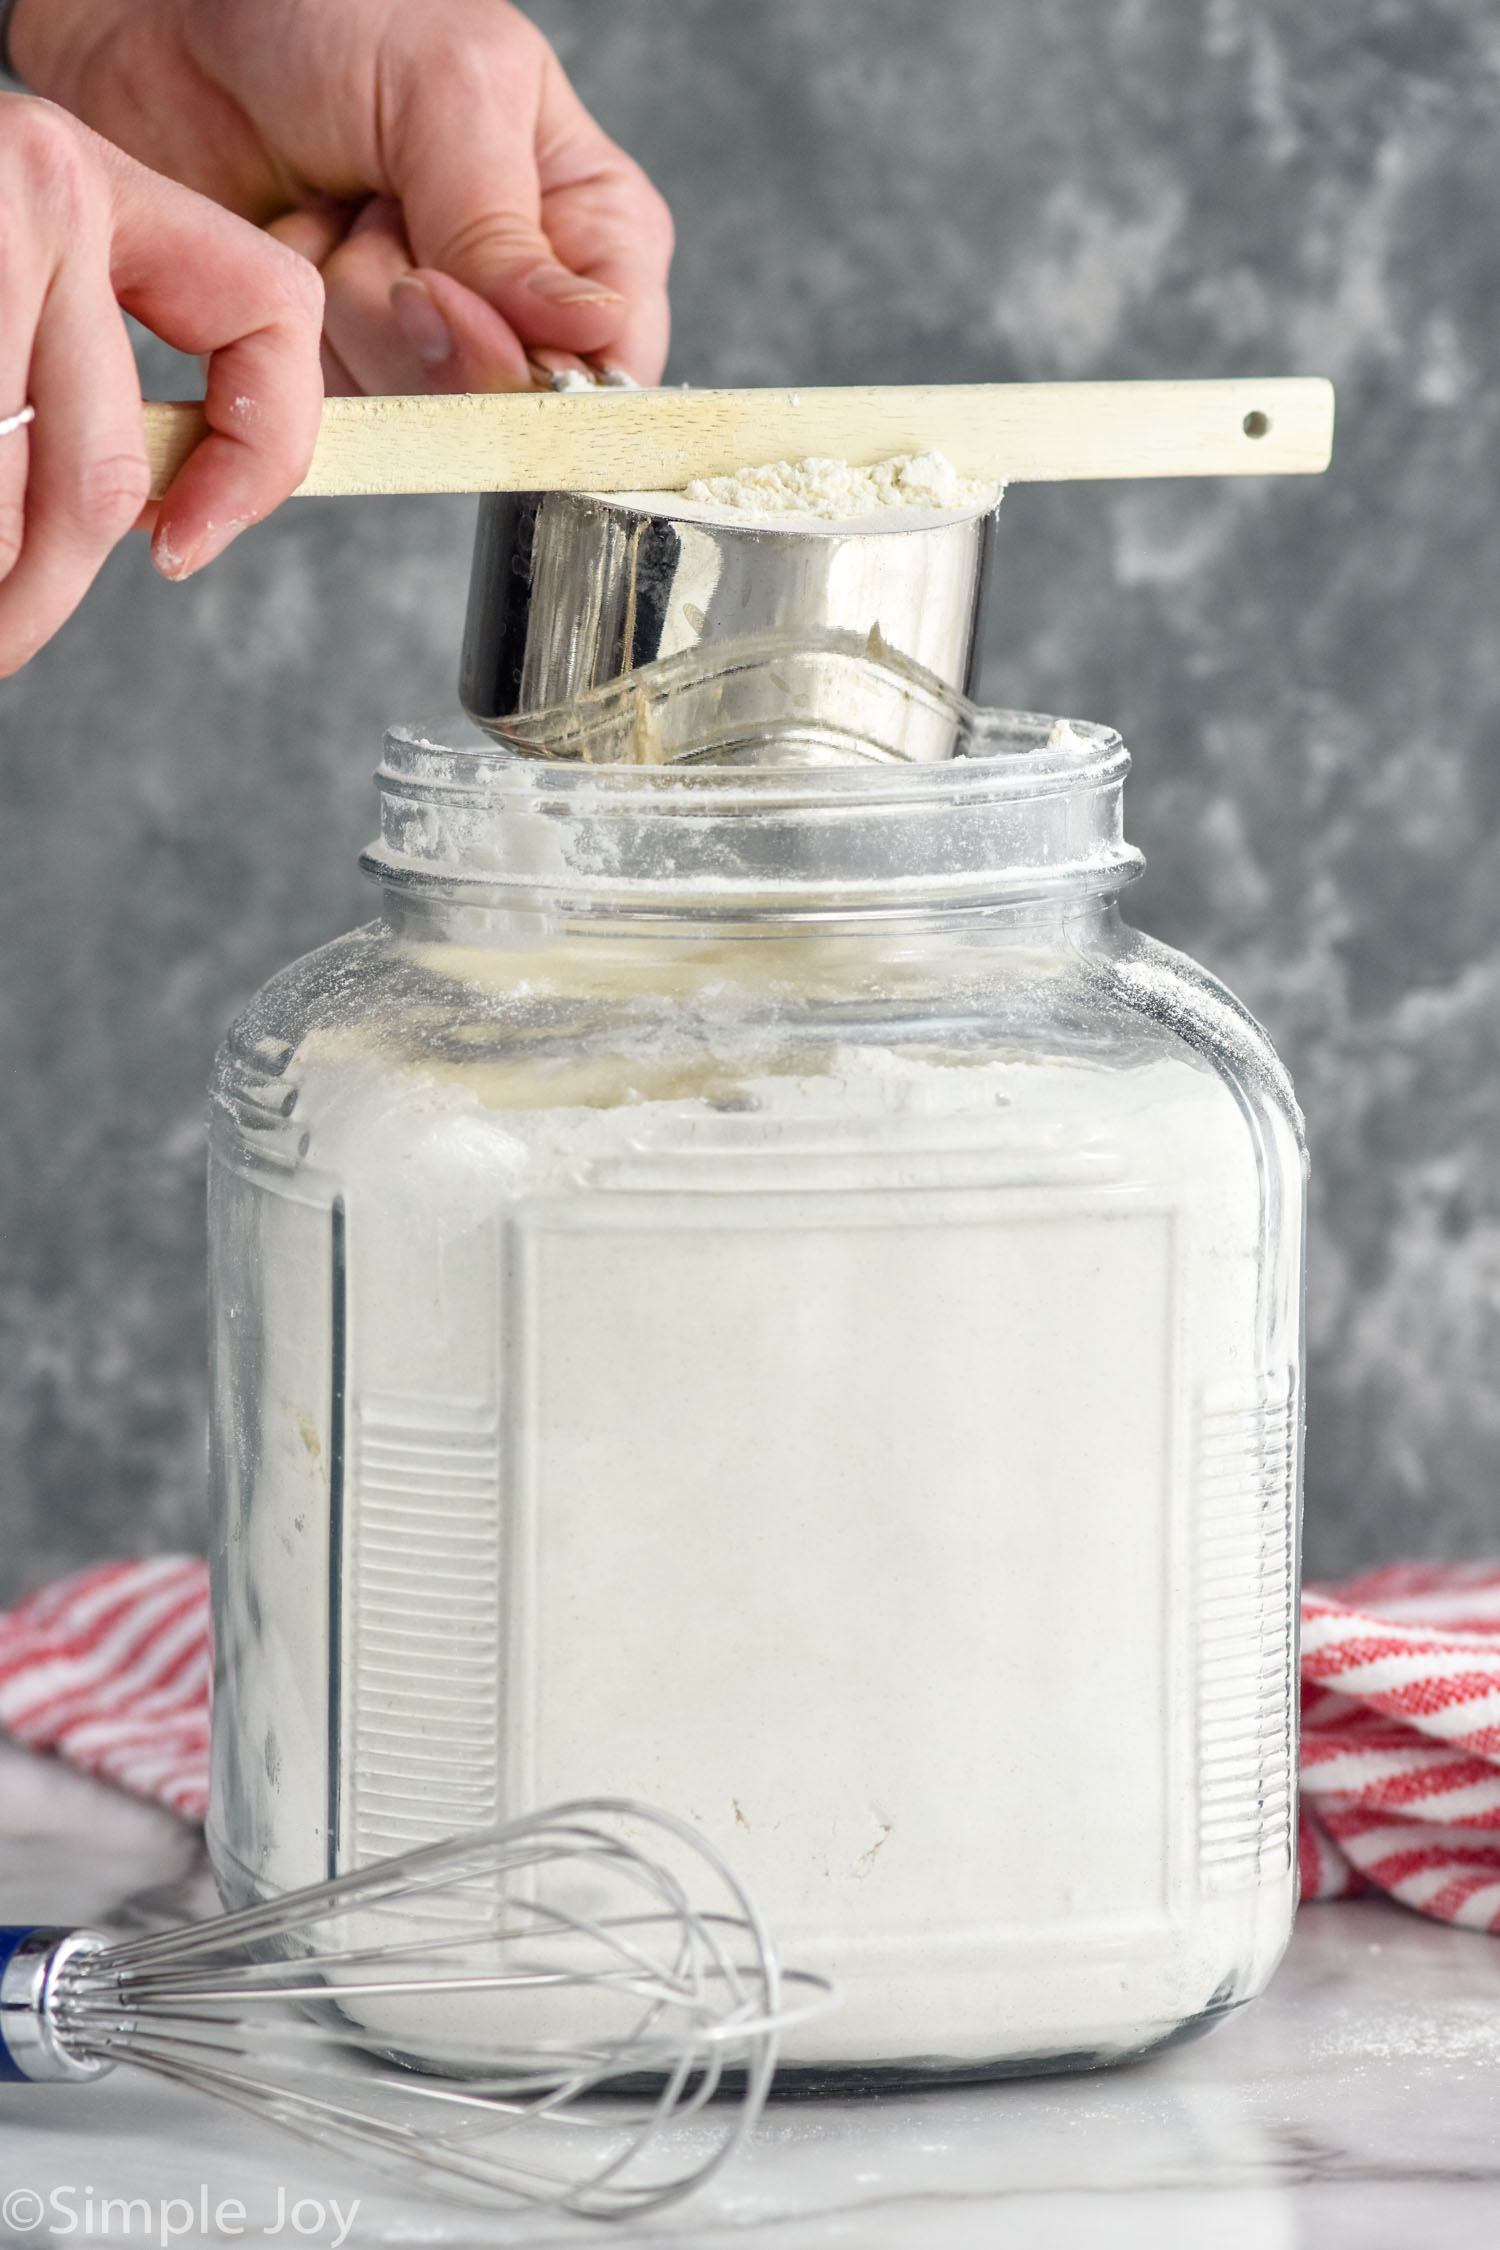
I have a full post on how to measure flour properly, but the basics are that you should whisk the flour in its container before you measure it. Then use a spoon to scoop it into a dry measuring cup (a dry measure cup measures ingredients differently than a liquid measuring cup). Level the flour off with the flat edge of a spatula.
How to Measure Flour
Trouble Shooting Pie Crust
While this recipe is fool proof, if you have a question about this recipe, you will likely find the answer below.
- Replacing Vodka: If you or someone in your family is sober, you can replace the vodka in this recipe with vinegar. The higher the quality of vinegar the less likely you will be to taste it in the final recipe. (Please note that you may still taste it in the dough before baking.)
- No vodka on hand: If you don’t keep vodka in your house, but still want to try this method, buy a small bottle. Most liquor stores have some airplane sized bottles for a dollar which will be enough for this recipe.
- No food processor: It is definitely possible to make this recipe without a food processor. Simply whisk together the dry ingredients in a large bowl (step 2 in the recipe card below). Then use a pastry cutter for steps to incorporate the butter and shortening and again after adding the remaining flour.
- Crust didn’t come together: The most common reason this crust doesn’t come together is because there was too much flour. You can either weigh it or you can refer to my post: How to Measure Flour.
- Trouble rolling it out: If your dough is too stiff to roll out, give it five minutes on the counter and try again. Be really careful not to let it sit out too long before rolling it.
- Only have salted butter: The reason for using unsalted butter is because the salt content varies so much from brand to brand. Using unsalted butter allows you to control the salt content. That being said, if you want to use your salted butter, you can. Cut the amount of salt in the recipe down to 1/4 teaspoon.
- I want to cut out the sugar: I’ve had readers who are making savory pies and quiches ask if they can cut out the sugar. I personally would not. I think it is part of what makes this crust so wonderful.
Storing
Refrigeration
If you are making this pie crust recipe in advance, you can store it in the refrigerator for up to two days. Be sure to wrap it tightly in plastic wrap. I like to wrap it twice.
Freezing
This pie crust can be made up to three months in advance if you plan on freezing it. After wrapping it twice in plastic wrap transfer it to an air-tight container. Store it in the freezer for up to three months. Transfer it to the refrigerator at least 24 hours in advance of making your pie.
Pie Recipes
You’ll be happy to know that I have plenty of delicious recipes for you to use this recipe.
Savory Pie Recipes
Dessert Pies
If you make this homemade pie crust or any of my other recipes, please leave me a comment and let me know what you think!
Fool Proof Pie Crust
Ingredients
- 6 tablespoons unsalted butter cut up (3 ounces or 85 grams)
- 1/4 cup vegetable shortening such as Crisco, cut up (46 grams)
- 2 tablespoons vodka see note (1 fluid ounce or 29.6 ml)
- 1 1/4 cups all purpose flour divided, see note (3/4 cup/90 grams & 1/2 cup/60 grams)
- 1 tablespoon granulated sugar (12.5 grams)
- 1/2 teaspoon salt (3 grams)
- 2 tablespoons ice water (29.6 ml)
Instructions
- Please read the instructions through before starting and note that this recipe crates enough dough for one bottom crust of a deep dish 9 inch pie pan. The recipe can easily be doubled if you want to create a top or if you are looking to make a lattice top. Simply double all of the ingredients and separate them into two disks in step 7 below.
- Cut up the 6 tablespoons butter and 1/4 cup shortening into 1/2 inch pieces. Place the cut up butter, shortening, and 2 tablespoons vodka into the freezer. Fill a measuring cup about a 1/2 cup full of cold water and ice cubes and put it in your refrigerator. Leave the butter, shortening, vodka and water in the freezer/refrigerator for 30 minutes.
- To the bowl of your food processor, add 3/4 cup all purpose flour, 1/2 teaspoon salt, and 1 tablespoon granulated sugar. Pulse until just combined. (Please see notes in the post under troubleshooting pie crust about making this without a food processor.)
- Add the chilled butter and shortening. Pulse until it is combined and there are no streaks of flour left.
- Add the last 1/2 cup of flour. Pulse until it is combined, broken up, and evenly distributed around the bowl.
- Pour the mixture into a large bowl and add 2 tablespoons of cold vodka and 2 tablespoons ice water. With a stiff spatula work the dough into a ball.
- Turn the dough out, shape into a disk, wrap with plastic and refrigerate for an hour. If you are making the dough in advance, you can keep it in the refrigerator tightly wrapped for 2 days. It can be frozen at this point (wrapped tightly and put into an air-tight container) for up to three months.
- Well flour a clean surface to roll out the dough. I like to rotate the rolling pin to create as close to a circle as I can. Pause occasionally to lift your dough, adding more flour if necessary.
- Once the dough is rolled out, use the rolling pin to roll it up and transfer it into the pie plate. Roll up the dough onto the rolling pin, lift it and put it over the pie plate.
- Press into the pie plate, trim off the extra dough, and pinch the edges. To crimp the edges of the pie crust, put one finger between the dough and the pie pan and two other fingers on the opposite side to press and create a ridge.
- Use the pie crust as instructed in the recipe you are following, or see notes in the post about how to blind bake (pre-bake) the crust.
Notes

did you make this
Fool Proof Pie Crust
Recipe from America’s Test Kitchen




Mi says
For someone who doesn’t like pie crust, you sure make a pretty amazing looking one, Lisa! I’m all for easy pastry. Who wants to deal with anything else, especially when fillings are the most fun?
Thanks Mir!
Nancy Brown says
Thank you! I wanted a simple but flavorful receipt! You gave me a great one!
I made the best pumpkin pie ever! I will use this many, many times for the holidays. Thank you again!! Nancy Brown
I’m so happy you liked it Nancy!
Theresa says
Can I use all purpose Gluten Free flour for this receipt?
Thank you,
Theresa
I don’t have enough experience with gluten free flour to tell you how to substitute it in this recipe. It isn’t a 1 to 1 exchange for most baking recipes.
Carl+Pirro says
Recipe sounds like a winner Lisa, thanks.
Amy @Very Culinary says
You don’t like pie crust? Whaaaaaat? Lalalalalalalalalalalalalala. Sigh. Ok. I still love you. Maybe a little less knowing this, but…. LOL.
Hahahahaha! Oh, Amy. As if your love for me could lessen. Who are you kidding?? ;)
Annie @Maebells says
Beautiful!! I love a good flaky pie crust!
Thanks Annie!
Dorothy @ Crazy for Crust says
This crust looks so good I MIGHT forgive you for saying you don’t like crust! ;)
Hahahaha! Thanks Dorothy!
Julianne @ Beyond Frosting says
This is great! I might try using vodka instead of vinegar next time. I love making pie crust, but they usually still fall apart on me. So I will have to try this one!
Julianne, I have tons of struggles with pie crusts, but this one totally held up! And so flaky and sweet!
Linda Belnome says
In the recipe it calls for 1/4 cup shortening, in the instructions it says 1/2 cup shortening. Help!! What is correct? Thank you much.
Good catch Linda! Thank you!! It’s 1/4 cup :)
Judy Wood says
What can I use instead of shortening?
Hi Judy, I would suggest you do a search for an all butter pie crust. This one really needs the shortening. It is great because it helps the crust keep it’s shape. But you also have the butter for the flavor!
Jane says
Can I roll it out before putting in fridge,, it’s so hard to roll out when it’s hard
I would just give it a few minutes if it’s super hard when it first comes out.
Aline says
I make an extremely familiar pie crust. The ingredients are the same, but I use butter & lard. The larger dose is the lard. I also don’t use the sugar. I have made the pie crust for many different pies & all love it. I made one today. I have used this recipe for many years.
Jennifer says
Oh my goodness I thought I was the only person on the planet who did not like pie crust!!! Thank you for this recipe, I cannot wait to try it!
mimiMH says
Hi! It looks lovely. But I’m wondering is there a substitute to vodka since I can’t take alcohol??
Hi there! As mentioned in the post, my good friend over at Crazy for Crust has used this recipe with vinegar as a good substitute for the alcohol. :)
Sylvie Kivrizis says
Lisa,
I have a bottle of Vanilla Vodka in my freezer. I would guess that for sweet pies it will work, right?
I think that would totally work Sylvie!
Daniela says
Could someone tell me for how long this crust needs to be baked? You bake it before you fill it right? Im from germany bit I love those american receipes ;-))
Daniela, it totally depends on the pie you are baking in the shell. It is used just like any other pie crust, so any recipe should have instructions regarding the crust. An apple pie, for example could just have the apples thrown in and baked. A custard pie would likely need to have the shell baked for a little bit before adding the filling.
Janet Bertelli says
Is this recipe for a single crust. Can you double it for a two crust pie?
It is for a single crust, Janet, and yes, you can just double it to make two.
Shelby says
Just was wondering what size of a pie pan this is for? 8 or 9 inches? I didn’t see a specification in the instructions! Thanks (:
I used this in a 9 inch deep dish pie pan, and it worked perfectly, so I’m sure it will work for an 8 inch as well. Thanks for reading Shelby!