This Easy Fudge Recipe is the easiest way to make chocolate fudge. You only need three ingredients; it turns out so smooth and delicious.
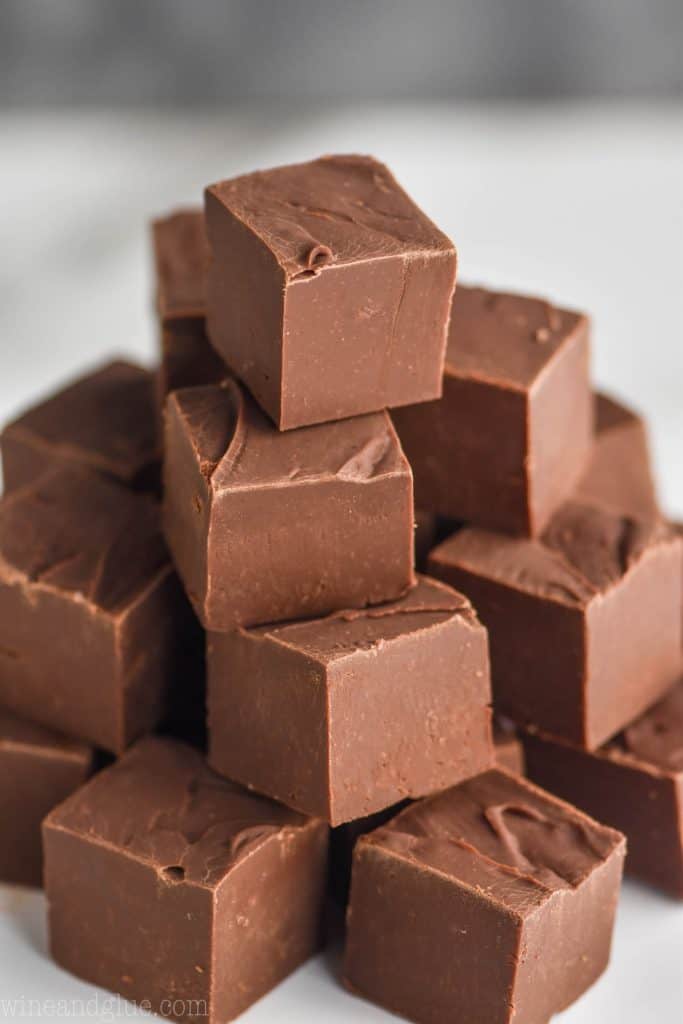
I have been working away in my kitchen, whipping up treats while listening to Christmas music for weeks now! It is my happy space this time of year.
(How lucky am I to have a job where I get to live in my happy space?!)
And as we get near the end of this parade of goodies – treats that are fun to make, and perfect to give – I needed to include an easy chocolate fudge recipe.
I have been making spins on this Easy Fudge Recipe for years! It is one of my favorite recipes to twist up because the possibilities are endless. With just three ingredients there is a lot you can do with this.
But the foundation fudge recipe is just as delicious.
Make this fudge anytime you need a quick treat to set out at a party or to gift. Your friends and family will thank you!
Ingredients for Easy Fudge
You only need three ingredients to make this fudge recipe. It’s like the cheater’s fudge, and I’m all about it. For the full measurements, scroll to the bottom of the post or click “jump to the recipe” above the first photo.
- Chocolate Chips: You can use either milk chocolate or semi-sweet, it is just a matter of preference. While this works with all brands of chocolate, you might want to get a higher end chocolate for the best quality and taste.
- Sweetened Condensed Milk: Not only do I think that Eagle Brand works best here, I will go so far as to say that if you use another brand it won’t work out as well. If you do deviate from Eagle, I suggest another name brand like Carnation. I do not recommend using store brand sweetened condensed milk.
- Vanilla Extract: Pure vanilla extract adds a perfect layer of flavor here. This is another ingredient that I wouldn’t skimp on.
How to Make Fudge
While a lot of my fudge recipes are made using the microwave, I encourage you to make this on the stovetop. Because of how few ingredients there are, you want the low and even heat of the stove top.
- Combine the chocolate chips and sweetened condensed milk in a small sauce pan. Place the sauce pan on the stove top over low heat.
- Stir consistently while the chocolate melts. After the chocolate has mostly melted, stir in the vanilla extract.
- Continue to stir until the chocolate is completely melted and the mixture is smooth and shiny.
- Pour into a prepared 8 x 8 inch pan. Let the fudge set at room temperature (covered) for at least four hours.
- Cut the fudge into 36 equal pieces. You can see my video for an easy way to divide it into equal pieces or read below.
Cutting Fudge
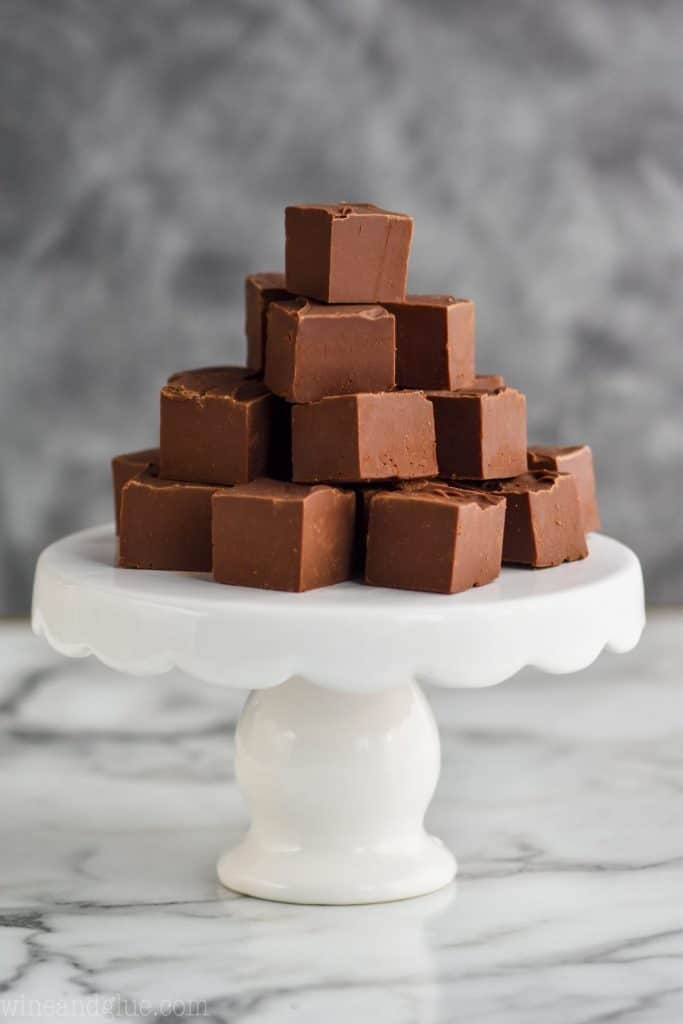
After your fudge has completely set (this usually takes about four hours on the counter top), remove it from the foil and cut it into squares.
- If you use a rounded baking pan, cut off just enough of the edge so that the fudge no longer has a rounded edge. Doing this will give every piece of fudge a nice flat bottom. Or you can using a baking dish with straight sides like this one.
- Cut the remaining block of fudge into four equal squares.
- Then cut each of the smaller squares into 9 pieces by cutting it into thirds one way, turning it and cutting it into thirds again.
- This will result in 36 equal pieces of fudge. (The video in the post demonstrates this perfectly.)
How to Store Fudge
Store your fudge in an airtight container for up to two weeks. Fudge doesn’t need to be refrigerated. If you need to make it more than two weeks in advance, follow my instructions below for how to freeze it after making.
Freezing this Easy Fudge Recipe
This fudge recipe freezes really well. In fact, I have a batch or a variation of this recipe in my freezer all the time.
- Place the batch of cut fudge into a one gallon freezer bag in a flat layer.
- An entire recipe will fit in a one gallon bag perfectly if place in this way and the fudge will not stick together before freezing.
- Store in the freezer for up to three months. If you use a vacuum sealer, the fudge can last for 6 months to a year in the freezer.
- When you are ready to eat it or gift it, let it thaw on your counter for an hour or two.
FAQ
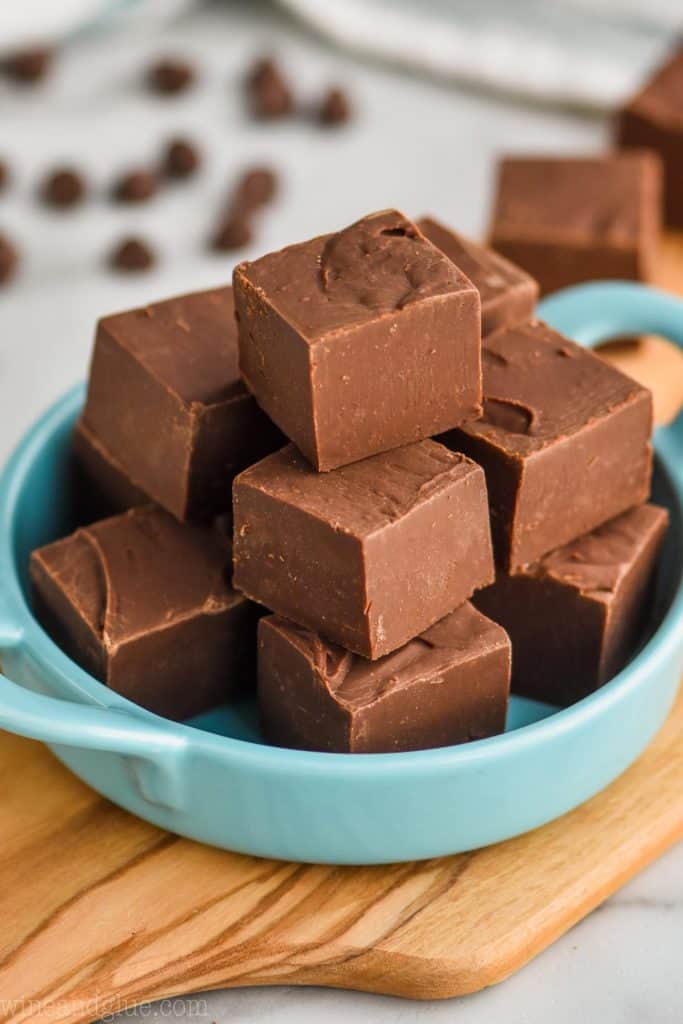
No, it does not. In fact, I think fudge tastes best when it is stored at room temperature.
Absolutely! Freeze it in a single layer in an airtight container for up to three months.
Fudge lasts for 2 weeks when stored in an airtight container at room temperature.
You can! Just make sure to heat the chocolate with the sweetened condensed milk on half power for short intervals (like 30 seconds) and stir way more than you think you need to before putting it back in the microwave.
Absolutely. Stir in about 1/2 a cup of your favorite chopped nuts and you don’t need to change anything else about the recipe.
Yes! We have several types of boozy fudge listed (and linked) in the section below. The recipe does need to be changed to accommodate the extra liquid, so make sure you check out the recipes listed below for the adjusted formula.
You can replace the sweetened condensed milk in this recipe with Sweetened Condensed Coconut Milk and use vegan chocolate chips.
Easy Fudge Made Boozy
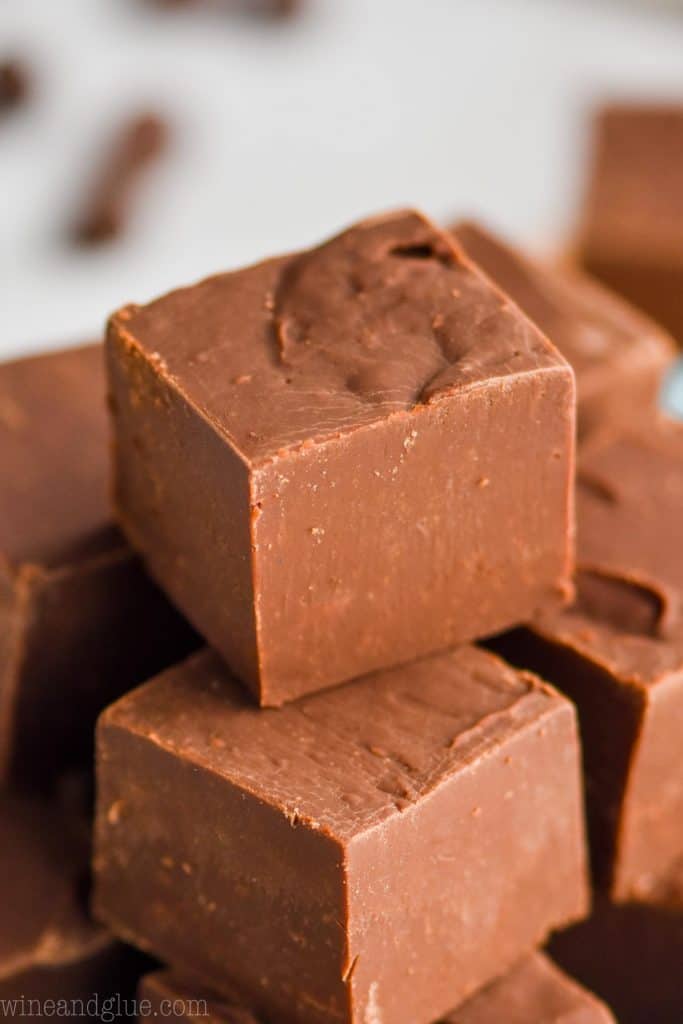
This fudge is very easy to add liquor to with just a few tweaks. You can use really any liquor, the sky is the limit. The key is to reduce the amount of sweetened condensed milk, and stir the whole can before measuring out 1 cup.
Here are the different versions we have so far:
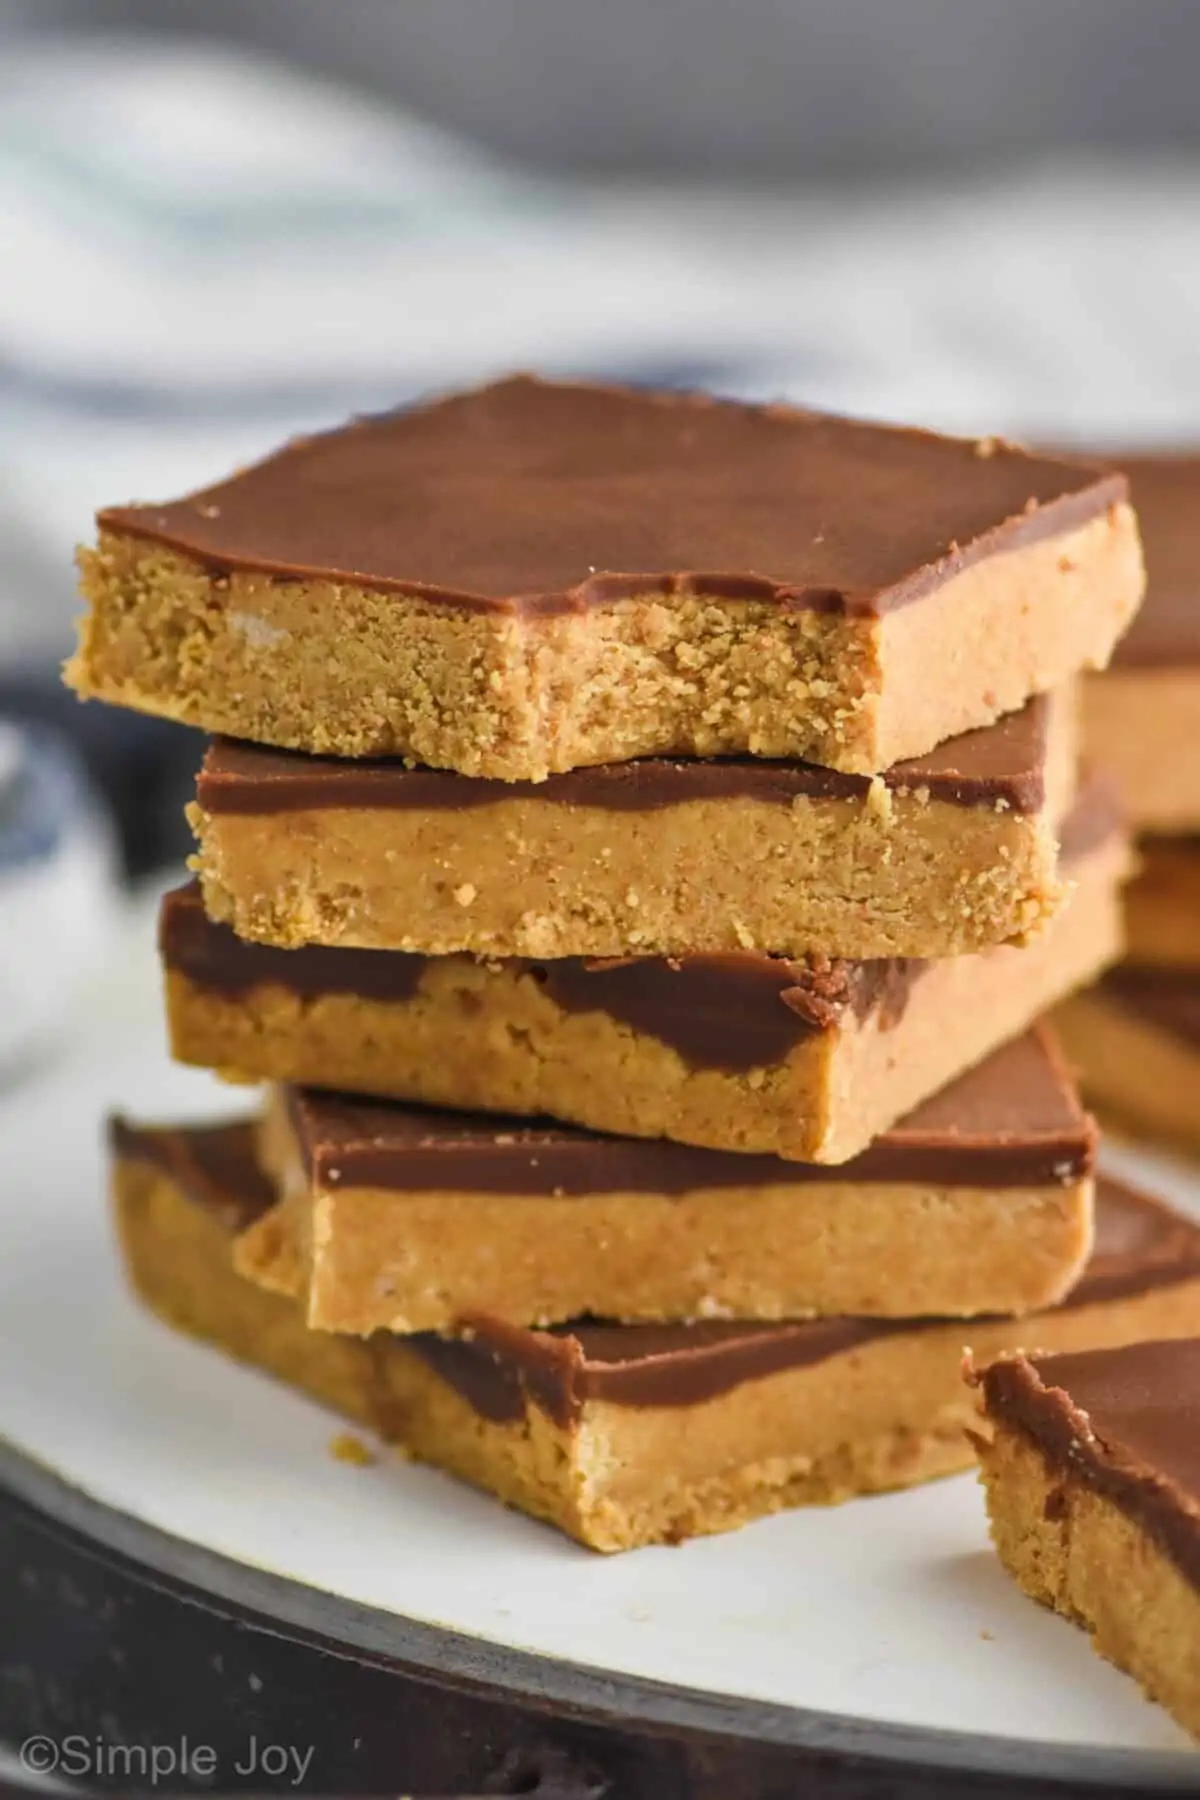
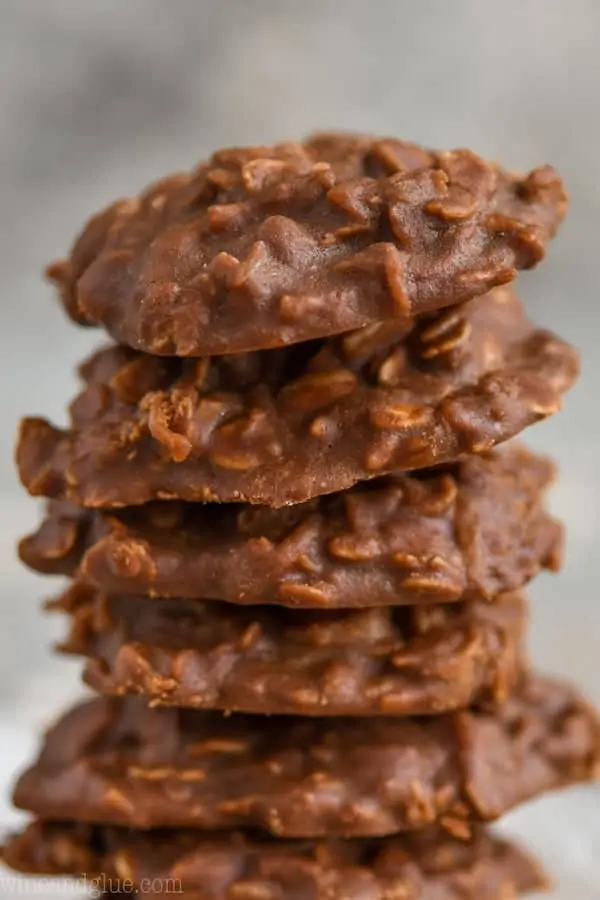
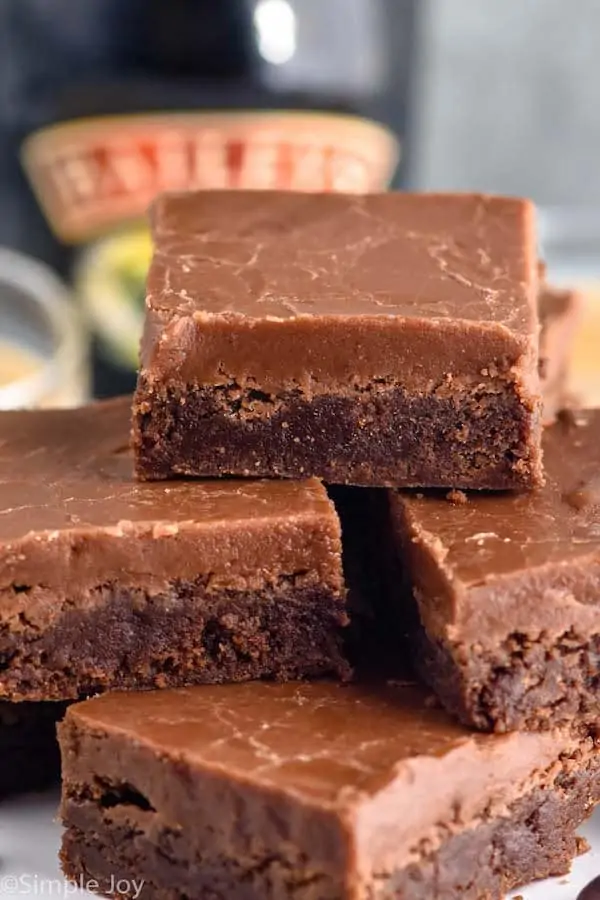
Variations on this Easy Fudge Recipe
Of course if you want to make fudge the kids can enjoy too, here are some other ways I’ve spun this fudge.
If you make any of these easy fudge recipes, leave me a comment in the space below the recipe card and let me know what you think.
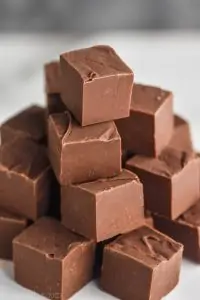
Easy Chocolate Fudge
Ingredients
- 3 cups chocolate chips either semi-sweet or milk chocolate (18.6 ounces) see note 1
- 14 ounces sweetened condensed milk (see note 2)
- 1 teaspoon vanilla extract
Instructions
- Line an 8 inch by 8 inch baking dish with aluminim foil or two pieces of parchment paper overlapping to make an X.
- In a medium saucepan, combine the chocolate chips and sweetened condensed milk.
- Place the pan over medium low heat. Stir consistently until the chocolate is partially melted. Stir in the vanilla extract.
- Continue stiring until the chocolate is fully melted and the mixture is smooth and starts to turn shiny.
- Pour the mixture into the prepared pan. It will be very thick – if it doesn't pour well because of the thickness, don't stress, you're still on the right track. Once it is all in the pan, you can gently shake the pan back and forth to help it settle. You can also use a rubber spatula to spread it.
- Allow the fudge to completely set. This can be done on the countertop and will take about four hours.
- Remove the fudge from the pan and take off the aluminum foil. Trim off the rounded edges from the pan. Cut the fudge in half one way and then the other to make four equal squares. Cut each small square into 9 equal pieces by cutting into thirds one way and then the other. This will result in 36 equal pieces of fudge.
- Enjoy right away or store in an airtight container for up to two weeks. (See the post for instructions on freezing.)
Notes
- You will see the best results with higher end chocolate like Godiva and Ghirardelli, but this absolutely can be made with Nestle baking morsels.
- This recipe works best with Eagle brand sweetened condensed milk. I’ve tried this with other brands, and always get the best results with Eagle. Not all sweetened condensed milk is created equal. Additionally, double check that you are buying sweetened condensed milk and not evaporated milk












Leann says
Could I use white chocolate chips for this recipe.
Yup! White chocolate seizes more easily than regular chocolate so be really careful to not overheat it or get any moisture in it (i.e. start with a completely dry sauce pan for the stovetop or bowl for the microwave).
Elicia says
Can you double this fudge recipe?
You can, but you will want to divide it into two pans.
Sandra says
I’m going to try this fudge!! Hope it turns out for me!!
Linda dance says
I.
Just made the easy fudge recipe. It is now cooling once it is cooled and cut. Can it also be stored in the refrigerator for a few days? What is the best storage for this fudge?
I always store this at room temperature, unless I want to keep it for more than two weeks and then I freeze it.
Michael says
Add cashews and raisins
Tish says
Might be a silly question but can I sprinkle the top with candy decorations once I pour the mix into the pan? I’m going to make this for a Christmas cookie exchange and wanted to make it look “festive”.
Not silly at all! That’s a great idea!
Jenn says
I made this recipe and it didn’t come out smooth. I don’t know if I cooked it too long, but it didn’t take long for the consistency to get kind of “grainy”. I’m not sure what happened. I used good ingredients too. I saw a similar recipe that included 1/4 cup butter. Is that necessary?
Graininess could definitely come from cooking too long, but it can also come from the heat being too high. I have never used butter in this recipe and if it was added to this particular recipe I’m concerned the fudge wouldn’t set.
Margo Stretch says
So I am in Alberta Canada. Our eagle Brand comes in 10 oz (300ml) cans. Do I just need to adjust the other ingredients accordingly and find a smaller pan? If others had any difficulty with it setting I’m wondering if this could be an issue ~ not realizing the EB can is smaller. Thoughts?
You would need to either adjust the other ingredients, or buy two cans and weigh out 14 ounces.
Corina says
Can these be molded in silicone molds?
I haven’t tried that. I think it could work but I would be worried that it would start to cool too much before you got it in all the molds.
Grainne says
I have tried making this recipe twice and both times it’s extremely sticky. How long on average did it take for fudge to be ready to pot into trays? Have I not left it on the heat long enough? It was in for about 15 mins
Fifteen minutes sounds like a really long time. As soon as it is all melted, it should be ready to pour into pans and then it will dry firm.