This Easy Lego Halloween Costume for Kids takes about 10 minutes to make, and ends up so cute! It is the perfect cheap Halloween costume idea!
Even if you don’t think of yourself as a crafty person, I promise this is a DIY project that anyone can tackle.
Caution: Do not wait until the day of trick or treating to make this. Paint often needs two coats with 24 hours in between coats.
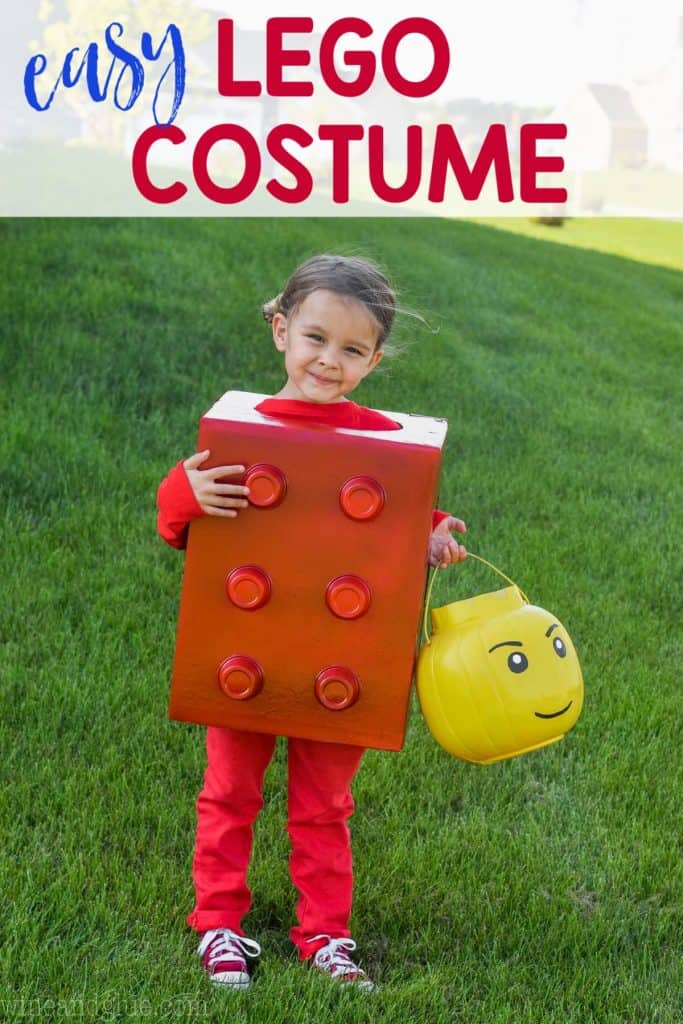
It can be so hard to come up with Halloween costume ideas for kids! And you are not alone in feel like you don’t want to break the bank in buying one. There are lots of DIY Halloween Costume ideas that come together in an inexpensive way, and some that are super easy. This amazing Lego Costume happens to be both!
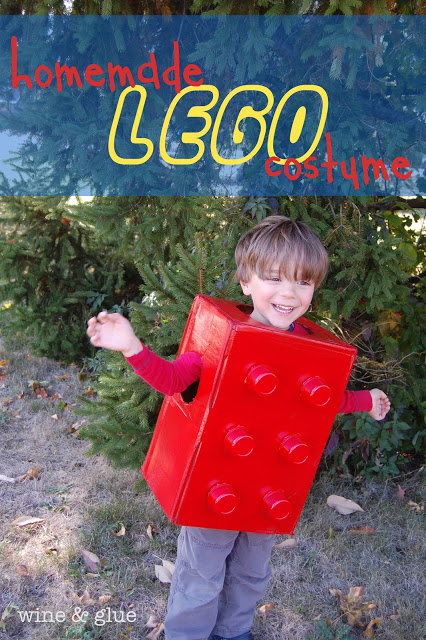
Years and years ago, I made this easy lego Halloween costume for Gavin, and since then it has been such a popular Halloween costume post on my blog. I once had a reader ask me if it was really as easy as it looks.
It is absolutely as easy as it looks. Even if you aren’t a crafter, you can do this project.
I decided to recreate it a few years ago, this time for Piper, and make a video (check that out at the bottom) to show you just how easy it is. Plus now we have the Lego Head Treat Bucket to go with!
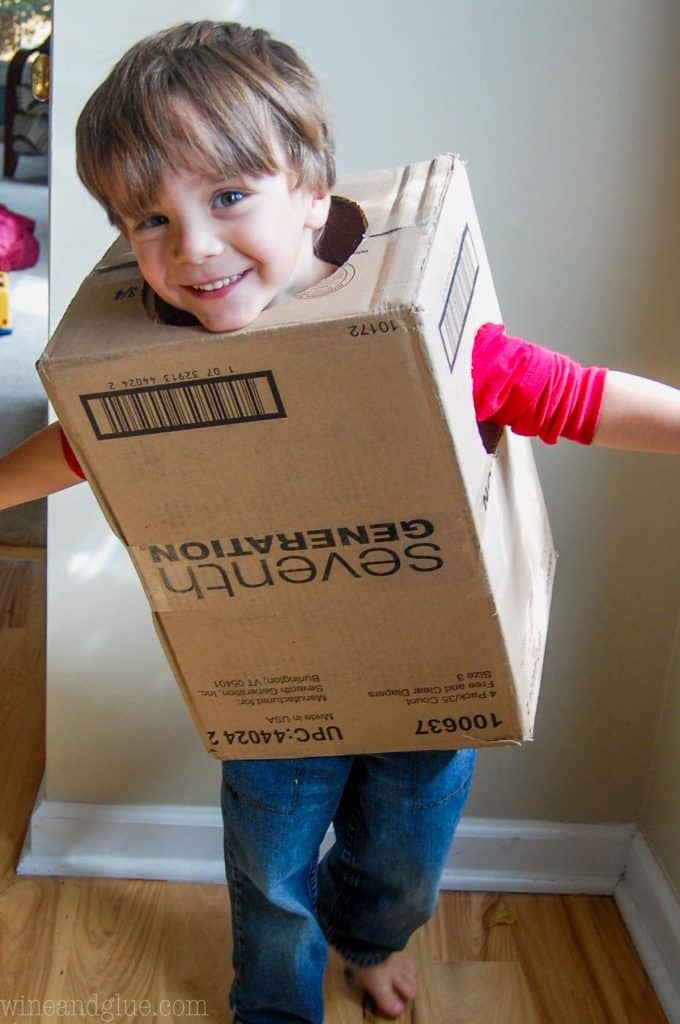
Lego Costume Supplies
- Cardboard Box: Be sure to pick one that will easily fit your kids. I try to get one that won’t go too far down on their legs so they can easily walk.
- Box Cutter: Or something else that will easily cut cardboard.
- Small Plastic Cups or Containers: These are for the Lego studs. I used dressing cups found with the paper goods my grocery store.
- Glue: I’ve used both hot glue and E600 and prefer the E600. It is just stronger.
- Spray Paint: Your kid can pick any color Lego they want to be. It would even be fun to make multiple kids different color and sizes of Legos.
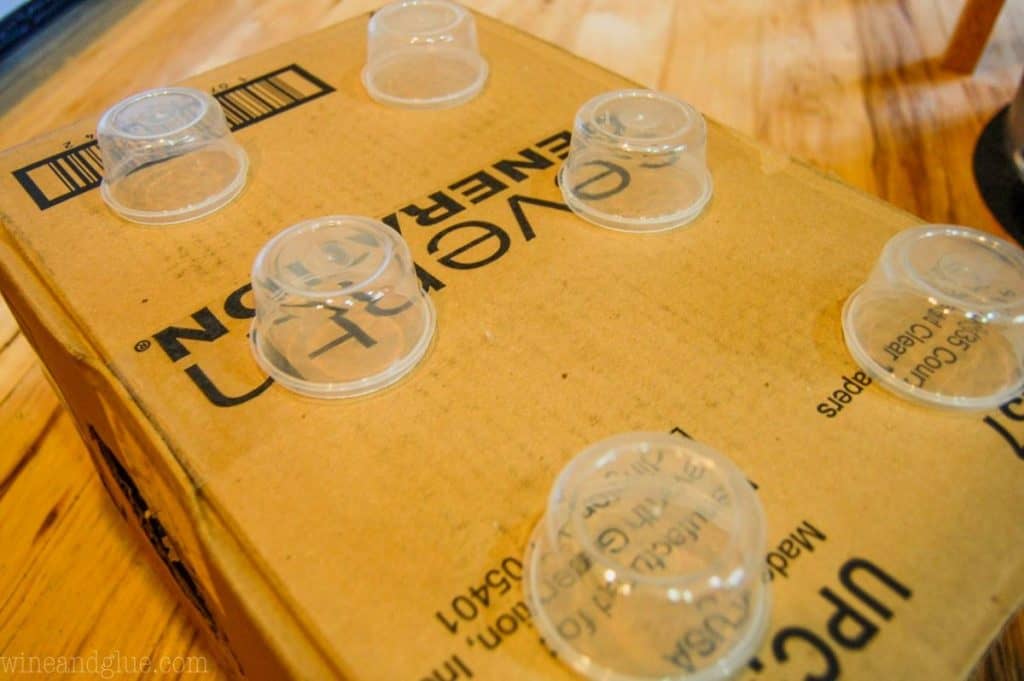
How to Make a Lego Halloween Costume
- Reinforce the box. You may want to add more packing tape to the seams of the box. Especially if it is a little worse for the wear.
- Cut holes in the box. Start by making holes for the head and arms. I like using a bowl and tracing it and then cutting with my box cutter. (You can see that in action in the video in this post.)
- Glue on the Lego studs. Now glue on the dressing cups.
- Spray paint the box. Make sure to follow the instructions on the can of paint. You might need to do two coats and wait a day in between, so don’t start this the day of Halloween.
Lego Halloween Treat Bucket
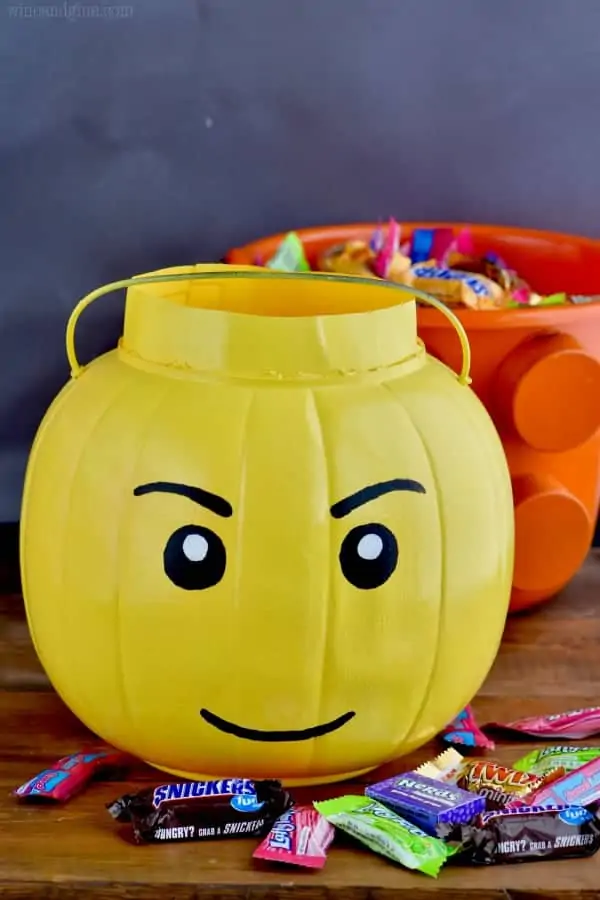
If you want to further the theme, you can make a yellow lego head treat bucket to go with this costume. It is easier than it looks!
Lego Halloween Treat Bucket
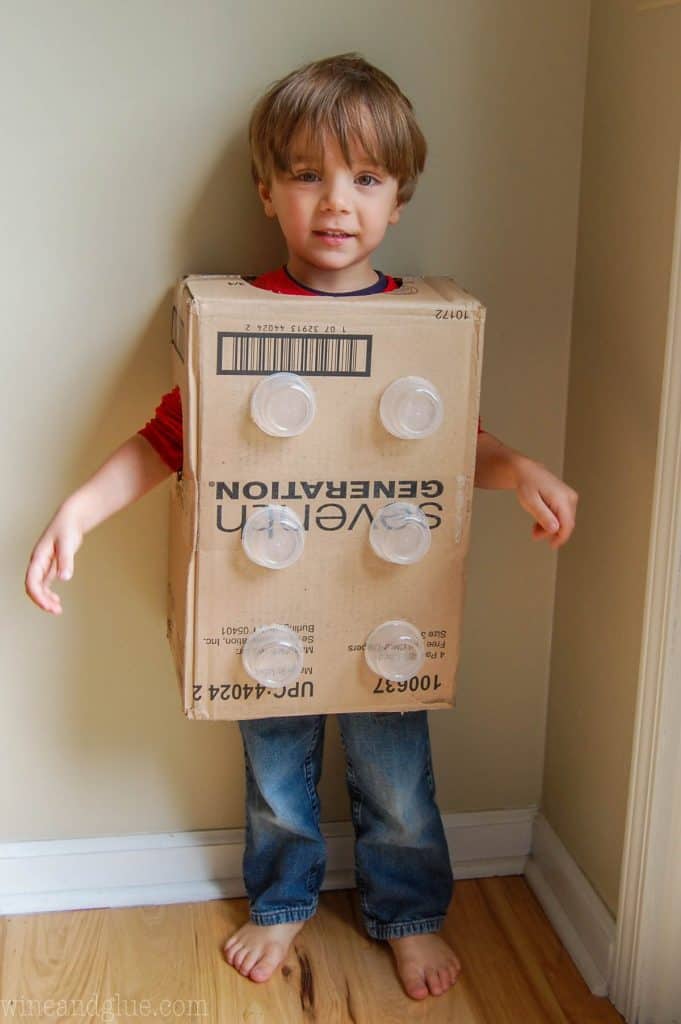
And that is it! Pretty simple, right?? I love how cute this one turns out!
Lego Costume
Equipment
- Packing Tape
- Box Cutter
- E600 Glue
Ingredients
- cardboard box big enough for your child, but short enough they can walk in
- 6 small plastic dressing containers
- spray paint
Instructions
- Using packing tape, reinforce the seams on the box.
- Cut holes for the arms and the head. I like using bowls to trace the holes. Then use the box cutter to cut them, being careful with the blade coming through the other side.
- Glue the plastic dressing containers on upside down to look like the studs of the Lego piece.
- Spray paint the box, making sure to cover completely. For best results, allow the paint to dry completely and then add a second coat.








The Bean Sprout Notes says
Never doubt the validity of a cheap and easy project. Your lego costume is adorable! The majority of us are also wannabe crafty moms, so this is the perfect project to share. Pinning this now.
Lisa says
Great point!! Thanks for pinning it! I love love LOVE when I get pinned. : )
Patricia Purcell says
He looks adorable! Homemade costumes always turn out to be my favorites – I like putting smiles like that on my kid’s faces!
Lisa says
This is my first attempt at homemade costumes, but given the price difference, it is going to be the way to go every year!! That . . . and the smiles : )
Bonny Yokeley says
This turned out so cute, and I adore the name of your blog! So fun! My middle two sons’ school’s theme this year is Lego-related, so I’m thinking we could find some purpose for this costume besides Halloween. Thanks for sharing!
Lisa says
Thanks Bonny!
Jessi @ Practically Functional says
Fabulous, he clearly loves it! Whenever we have kids, they had better absolutely love Legos or both my husband and my dad are going to be super disappointed. Dad’s just waiting at this point to bust out all our childhood toys again and have an excuse to play with Legos and Lincoln Logs. :-) Thanks for sharing this at The Fun In Functional!
Jill @ Create.Craft.Love. says
I love this! He looks so happy! I’m hosting a Halloween Costume Contest over at my blog. Would love for you to stop by and enter this! Prize package over $125!
http://www.createcraftlove.com/2012/10/handmade-halloween-costume-party.html
Hope to see you there!!
Classy Clutter says
How stinkin’ cute!!!! I’d love if you’d link up this cute costume to my party going on now!
http://www.classyclutter.blogspot.com/2012/10/spotlight-saturday-34.html
XOXO Mallory @ Classy Clutter
Michelle's Tasty Creations says
Lisa,
Your talent with costumes is amazing! I wish I had thought of this when my son was into legos. Thanks so much for linking up to Creative Thursday. Can’t wait to see what you share this week! Have a wonderful week.
Michelle
Christina says
I LOVE this costume and am planning to make it! How much time did it take from start to finish? My husband is concerned that this is one of those “looks easy, but is actually really hard” projects and will be more than what I bargained for in wanting to make this for my son.
Also, did you happen to spray paint the box white first, so as to get a “true” red color or did you have to spray paint the box with more than one coat of red to get it that color?
Thanks, in advance!
Christina, so funny you ask, I was just lamenting to my husband last night that I wish we could find a costume for our little guy this year that was as easy as the lego costume last year! Lol! I don’t know the timing start to finish, especially because I did need to do more than one coats of paint, but the cutting, gluing on of the pieces and painting the first coat of red was probably an hour. I didn’t spray it white first, I think I did two or maybe three at the most coats of red. If you use hot glue to put on the pieces, you should be able to spray the first coat pretty quickly after you glue them on.