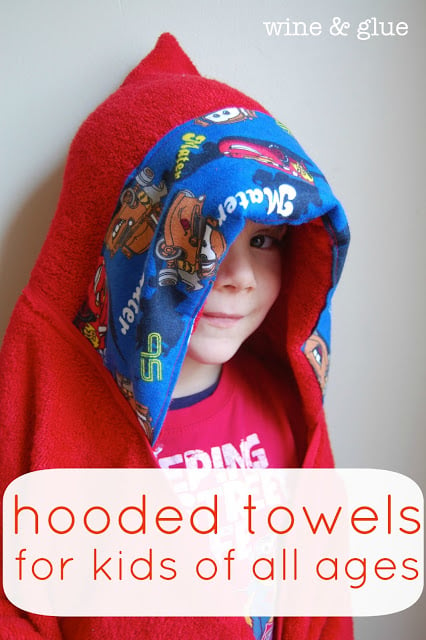
These Hooded Towels work great for kids of all ages. A free pattern that makes a great hooded towel that will fit your kids from the baby stage all the way up through the older kid stage!
Please be respectful of the time, energy, and supplies I put into making this tutorial. This tutorial is intended for personal use only and is not for commercial sale or manufacture, even on a home based scale.
Please use this for yourself or to give as gifts, but not for profit. Thank you!
Please use this for yourself or to give as gifts, but not for profit. Thank you!
When I was pregnant with Gavin, my aunt gave me one of my all time favorite baby gifts. A hand made hooded towel. It was AWESOME. Soft, cozy, and warm, it fit Gavin perfectly as a newborn, and it still fits him five and a half years later!
I recently tried a different hooded towel pattern, and it didn’t even come close to fitting my five year olds head. So I pulled out my measuring tape and the old favorite towel.
After measuring those awesome towels (she made one for Quinn too), I duplicated the pattern (which will probably send me to seamstress hell where my bobbins will jam and my tension will be off for all eternity), and I’m sharing it with you!
Welcome to your new go-to baby gift.
When I told my sister-in-law I was making these, she gasped and asked that I make some for her kids too, since the hood towels from Aunt Debbie are the only ones they ever use.
Seriously, this is the best pattern ever.
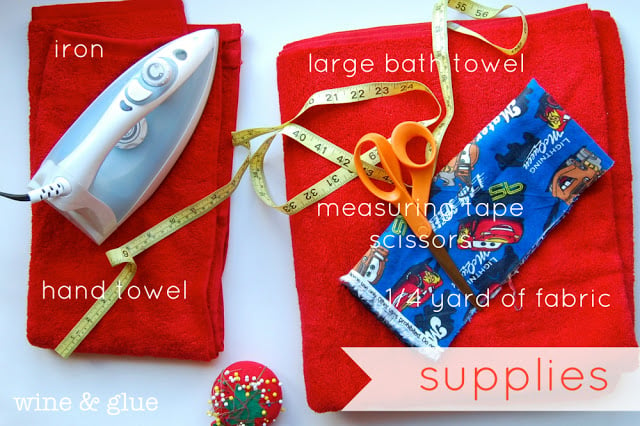
Start with:
I got my towels at Target. They were both soft and inexpensive. The supplies for this project cost me less than $10. Not bad for an item that will work for your kid for five plus years.
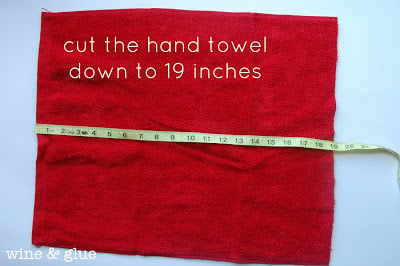
Then cut your hand towel down to 19 inches wide.
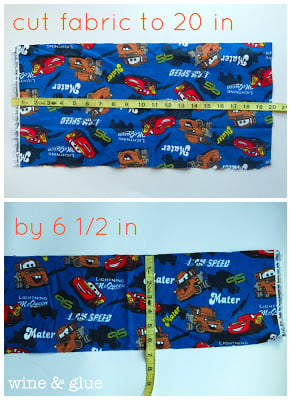
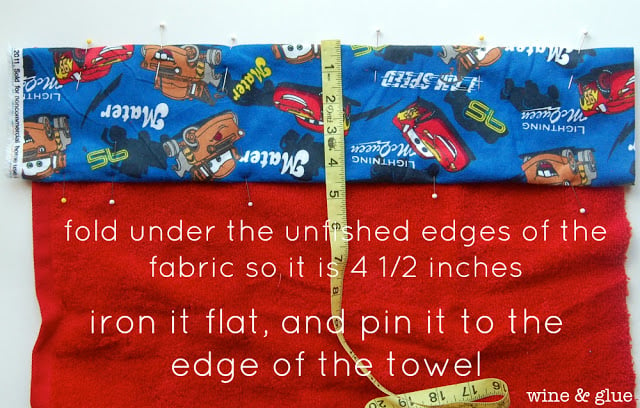
Now cut your accent fabric to 20 inches by 6.5 inches (a quarter yard will give you enough for two towels. And of course you could always use something like ribbon instead.
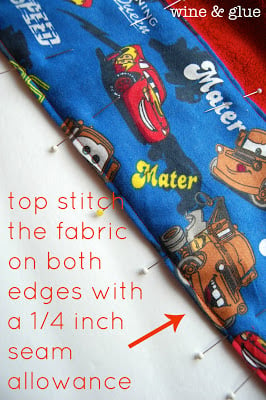
Now fold unfinished edges of the fabric under so that it measures 4.5 inches across, and pin it to the hand towel making sure to line it up perfectly to the edge. Using an iron and pinning a little, then ironing a little, then pinning some more helps make it more accurate.
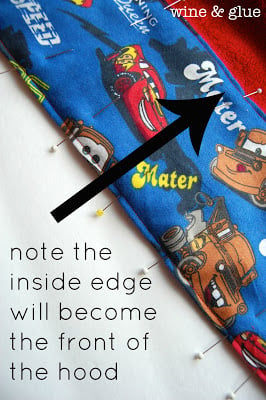
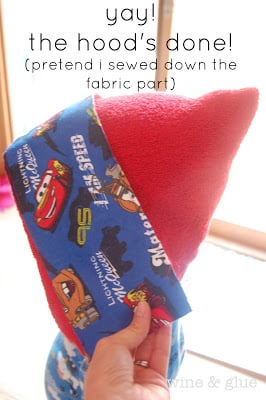
The side that is currently facing up is going to be the inside of the hood, and the edge of the accent fabric that is towards the middle of the towel will be the front of the hood, as you are going to fold the towel on to itself. Keep that in mind when placing the fabric and considering orientation.
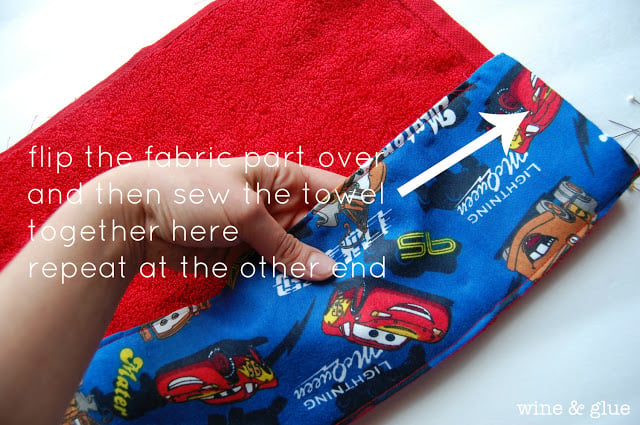
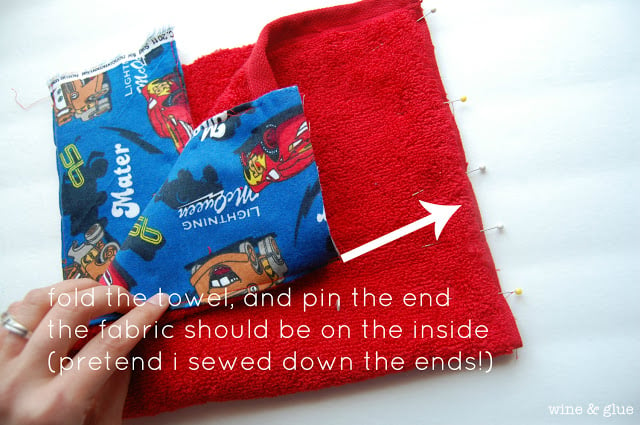
You are going to want to fold over the towel, so the fabric strip faces up, and then sew the towel together. This will make it easier when attaching the hood to the large bath towel. Yeah, totally didn’t do that with Gavin’s towel and learned the hard way that this a step not to skip
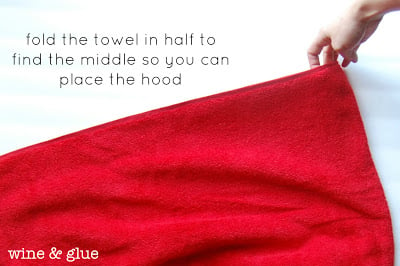
Now it’s time to sew it to the large bath towel. Fold the large towel in half to find the middle.
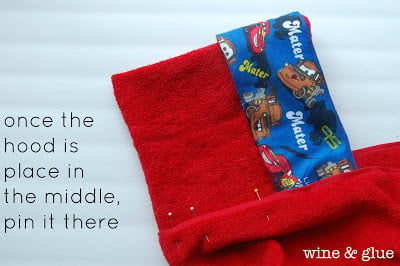
Place the hood there and pin it, making sure that you don’t pin the whole thing together. Like so you can’t open it up to sew it.
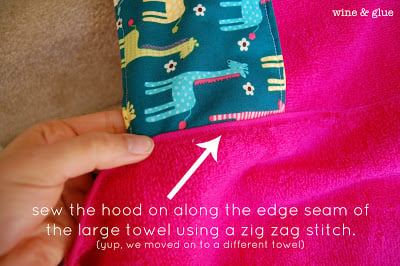
Now working with the outside of the towel and hood up, feed it through your sewing machine doing a zig zag stitch along the outer seam of the large bath towel. It’s the perfect width for it.
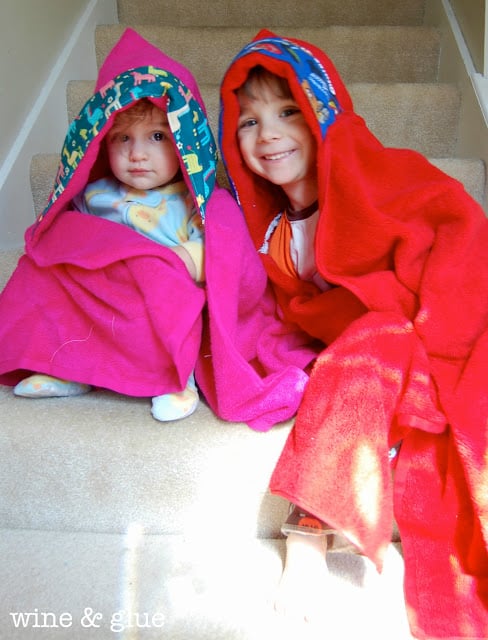
And now you have a sweet little towel that will fit your baby for years to come.
Thanks Aunt Debbie for this gift! We think of you every time we use them!




LEAVE A COMMENT