This DIY Pikachu Costume is maybe the cutest Pokémon Costume ever! And a sweatshirt that the kiddos can wear over and over. Free PDF pattern files for the different pieces!
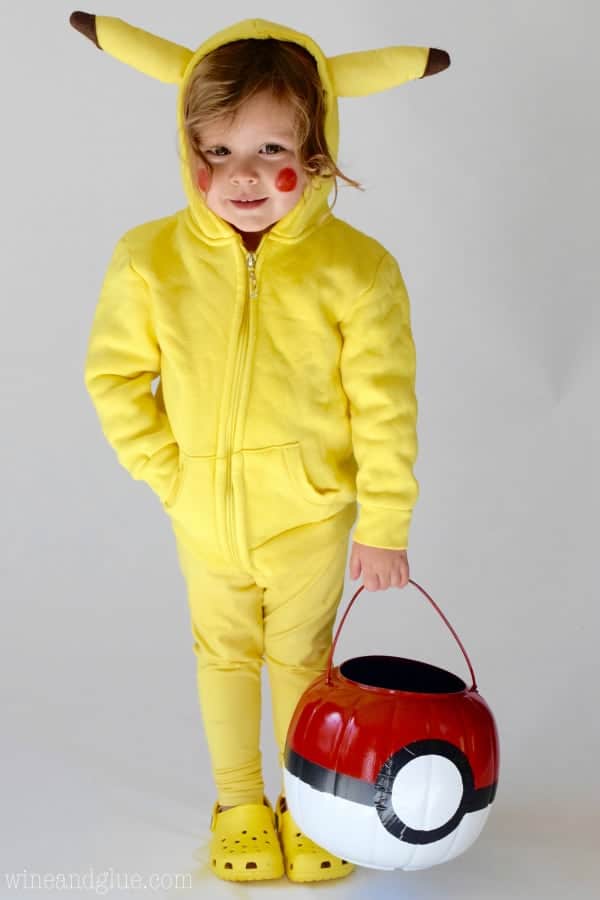
I’m so proud to be partnering with Crocs to bring you this awesome DIY Halloween costume!
My kids (sure just my kids . . . .) were totally obsessed with Pokémon Go this summer. OBSESSED. And, honestly, it was a really fun thing to do as a family. Even little Piper got into it! So when I suggested that she be Pikachu for Halloween, she *flipped.* Like she could not have been more excited.
I love this costume because it’s totally doable to make it, and the sweatshirt and the leggings are both things that Piper can wear again and again and again. She actually started crying after the photo shoot when I had her take it off!
She freaked out even more when I told her to take off her matching yellow Crocs! My kiddos love Crocs! They are easy to put on and totally comfortable and best of all, when they are running around like the maniacs that they are, they don’t fall like they do in flip flops! So I love them too. Plus when they get all muddy, you give them a quick hose down and they are ready to roll again. They are so durable that we have a few pairs that have been passed down through all three kids . . . after being given to us as hand me downs!! Don’t these yellow Crocs really complete Pikachu??
So, it’s doable to make this from home, but detailed, so let’s jump in!
You will need:
- yellow Crocs
- yellow sweatshirt and yellow pants
- yellow fabric
- brown felt
- brown thread
- fiber fill
- yellow thread
- red face paint
- Poké Ball Treat Bucket
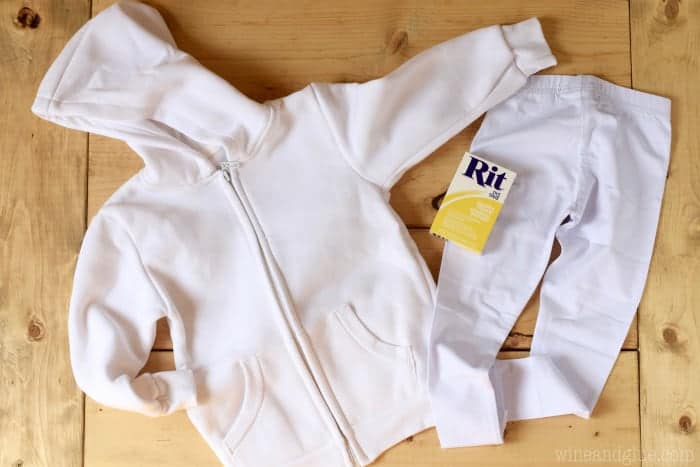
I couldn’t for the life of me find a yellow sweatshirt and pants set when I was starting this project so I bought this white sweatshirt and these white leggings and ordered some yellow dye. NOTE: If you get this sweatshirt, it is 100% polyester and you need special dye. (Ask me how I know, GAH!) After the fact, I found out about this site and I could have just ordered from there, lol.
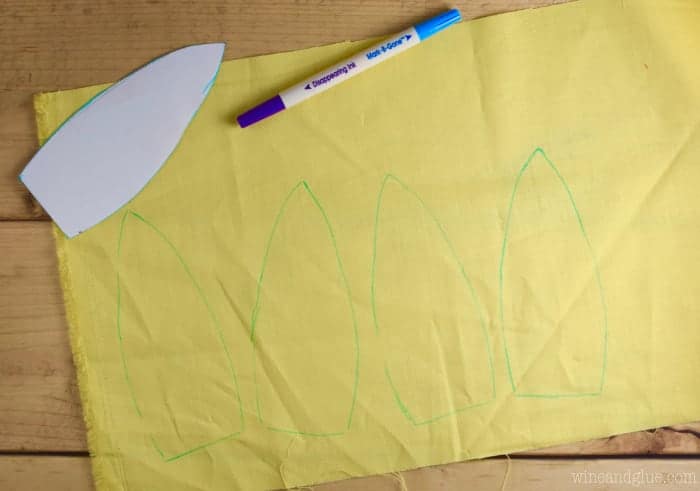
Buy some yellow fabric that matches your yellow sweatshirt (I definitely suggest bringing it with you) and download the PDF for the ears HERE (pssst, it’s the same one as above). Trace them on the yellow fabric with a washable marker or one of these fancy fabric pens with the disappearing ink.
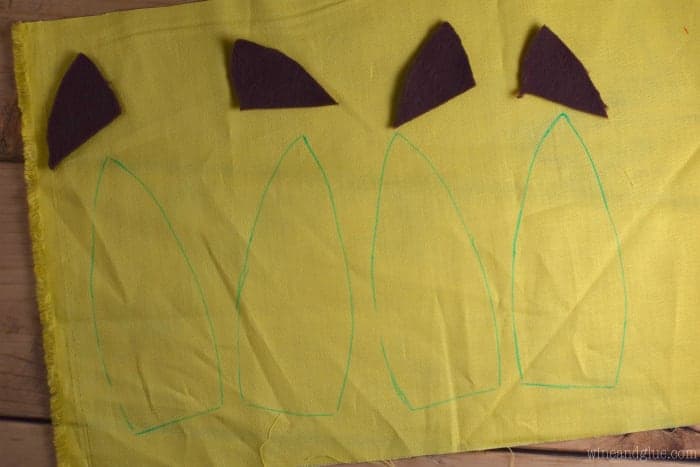
Now click HERE to download the PDF for the brown spots on the ears and cut those out of brown felt.
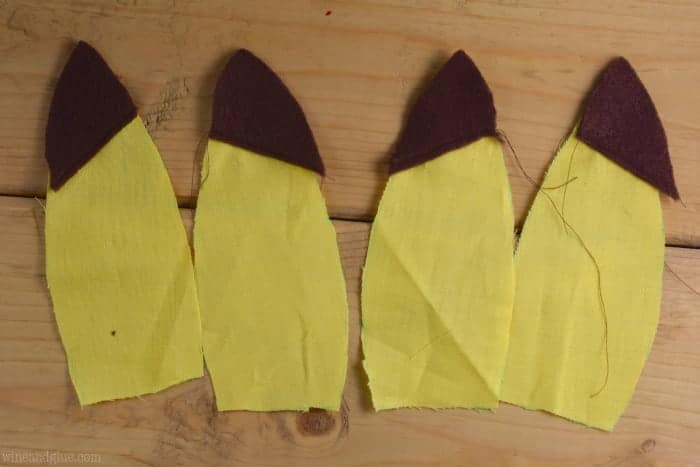
Sew the brown felt onto the ears. If you notice in the picture above, the felt is angled down and the ears look like how they will look on the costume. Those two pairs got folded over onto each other to make two ears.
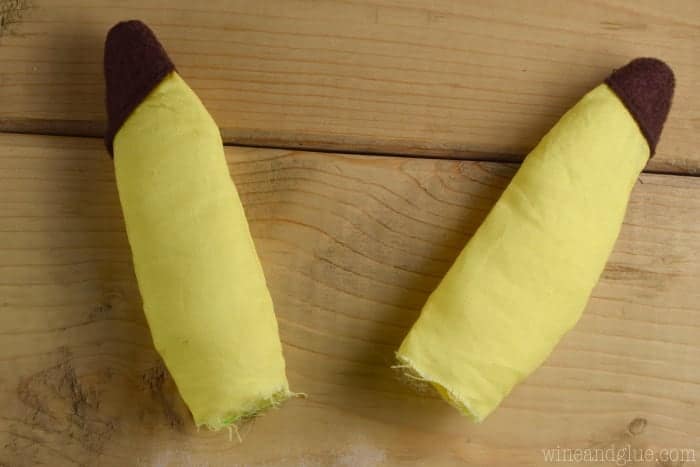
Now sew together the ear sets with the brown felt on the inside, turn them inside out, and stuff them.
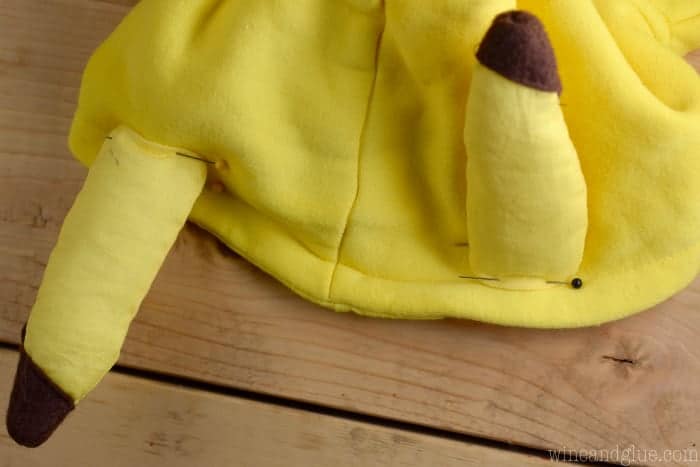
Now you need to hand stitch them onto the hood. The way I did this was tuck the rough edge of the bottom of one ear underneath and pin it to the hoodie. Then make the hoodie flat by folding it by the top seam (the seam that falls right at the top of the head), and then you can see exactly where to pin the other ear. (They are ears, right? Not horns? I’ll have to ask Gavin.)
NOTE: When you are pinning on the ears keep track of which way the brown felt angles, it angles down.
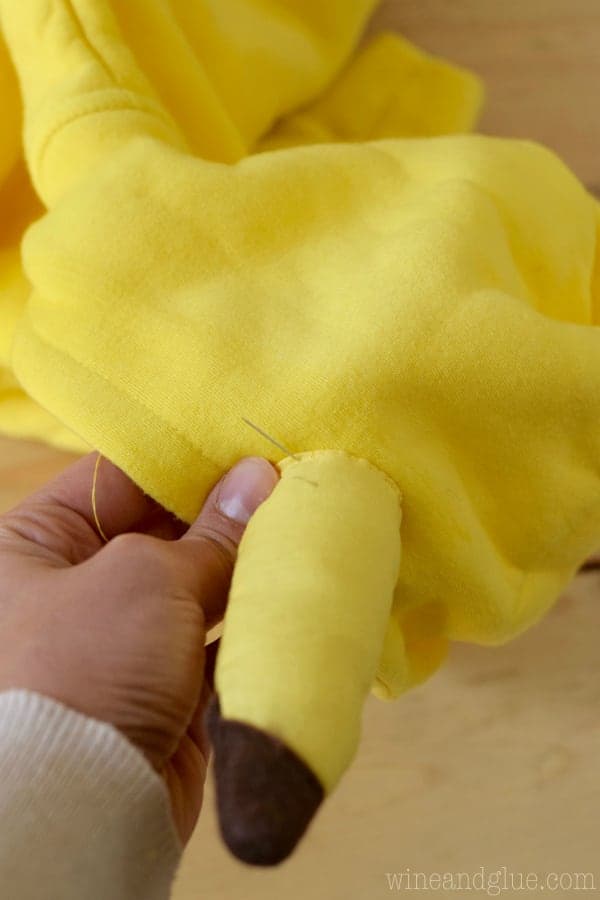
Then you hand sew them on with some yellow thread.
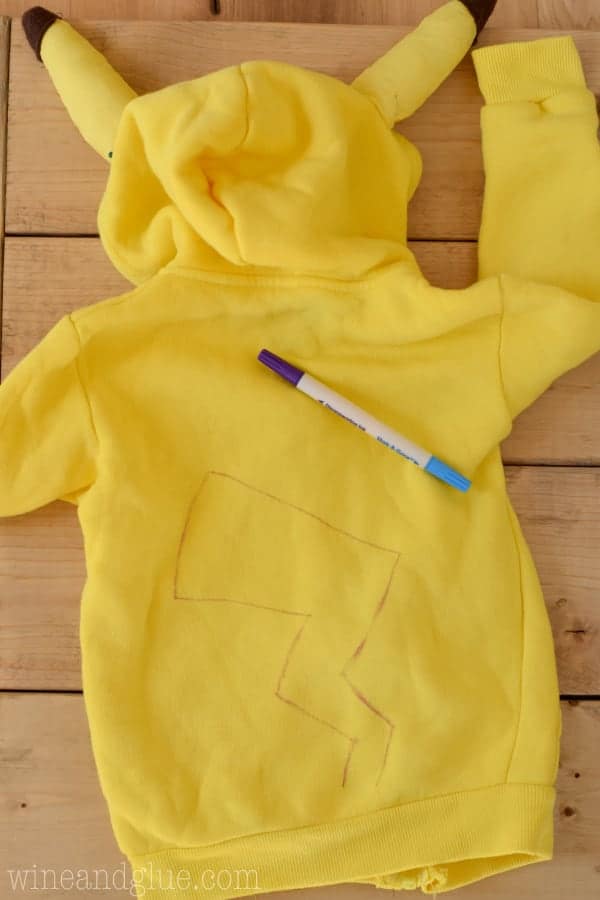
Now hand draw on the tail with your fancy marker. I liked using the side that disappears after 24 hours so you don’t have to worry about washing it. Or you can download this PDF HERE and then trace it.
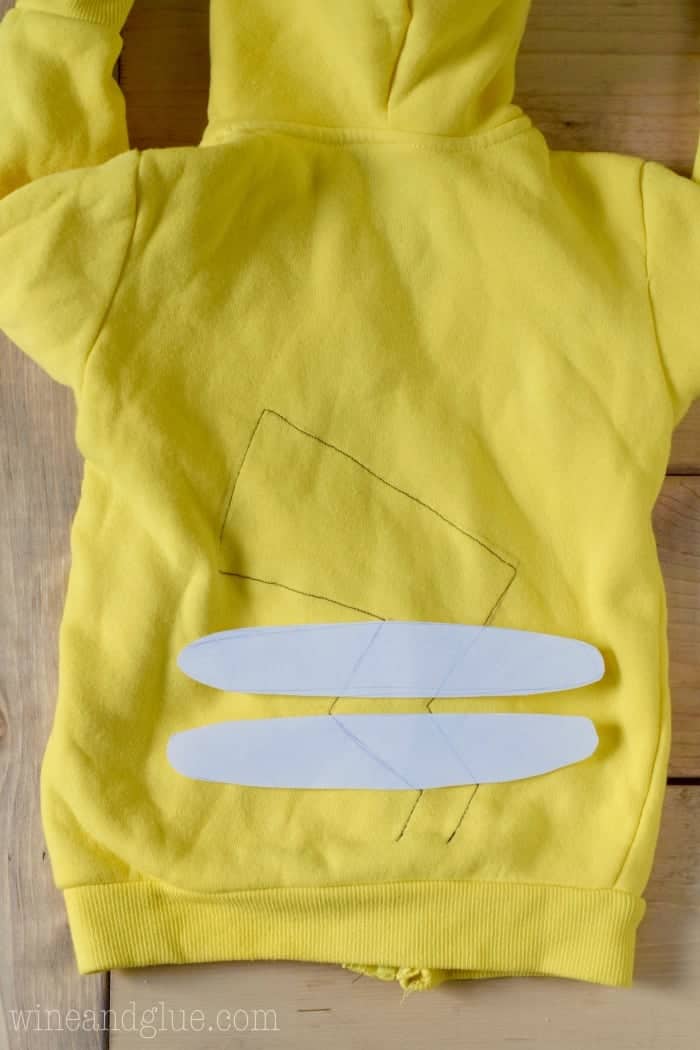
Sew with brown thread over the drawn tail.
Now cut out the two stripes for the back, or you can just download the PDF template HERE and trace. (Mine ended up being a little thiner than what you see here.) Lay them over the tail and draw over in pencil where the tail is. Cut the brown marks apart so that you have four pieces (discard the pieces of paper that went over the tail). Use those four pieces to trace the brown felt and make four brown pieces.
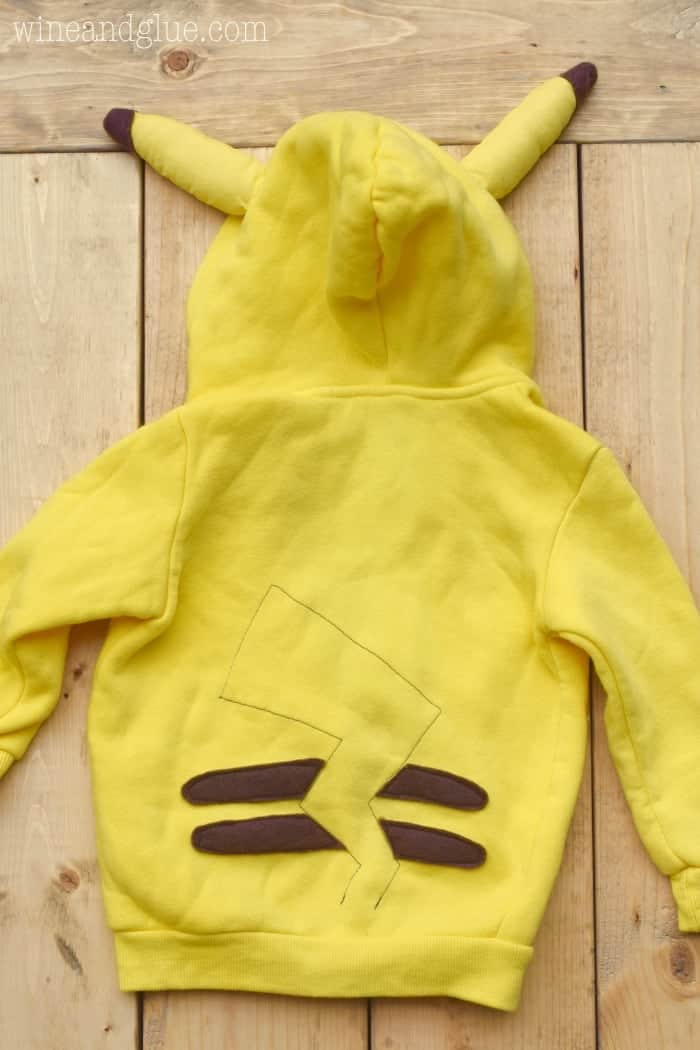
Rather than position the brown stripes with pins and sewing on, I basted (long loose stitches by hand) them on and then used the sewing machine to sew them on. Because the felt is so thick, it’s really easy for it to move while sewing with a sewing machine, so the basting really helped keep them in place.
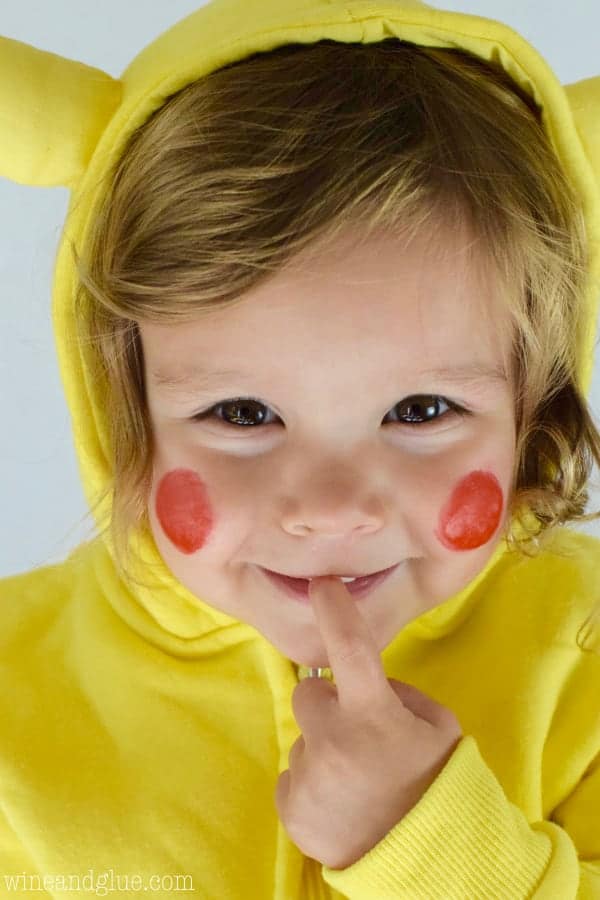
Buy some red face paint (I found mine at Target), and paint some cute little red circles on your little Pikachu’s face!
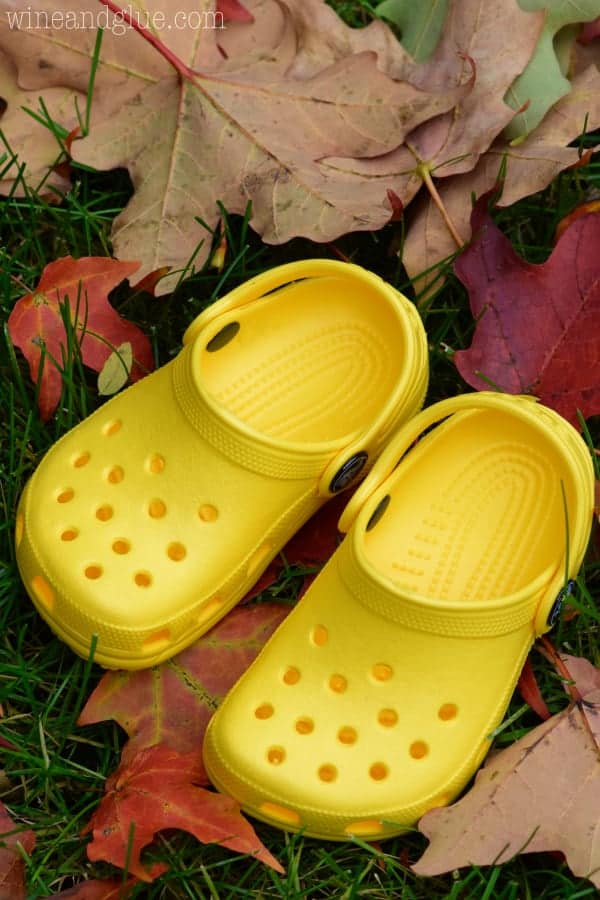
Then throw some yellow Crocs on them for some cute Pikachu feet!
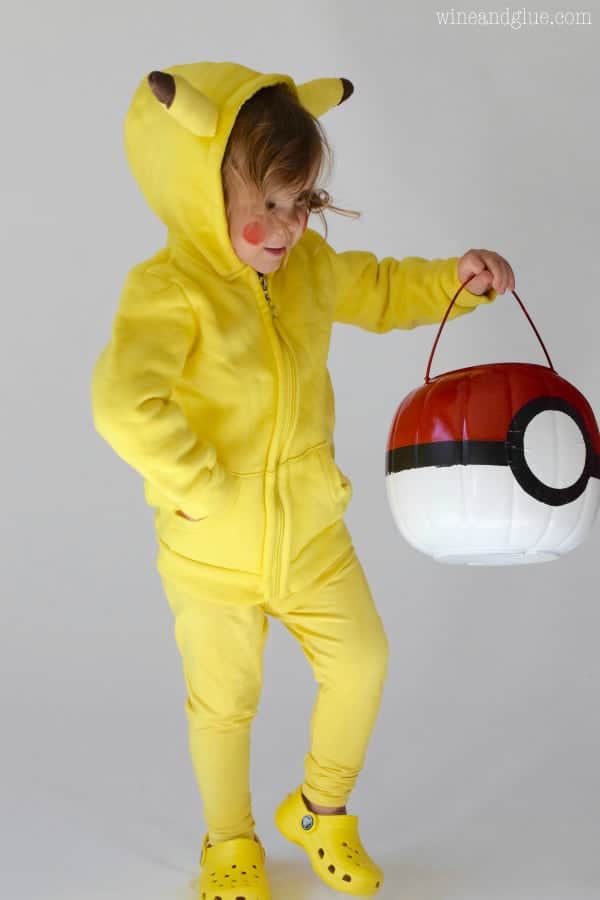
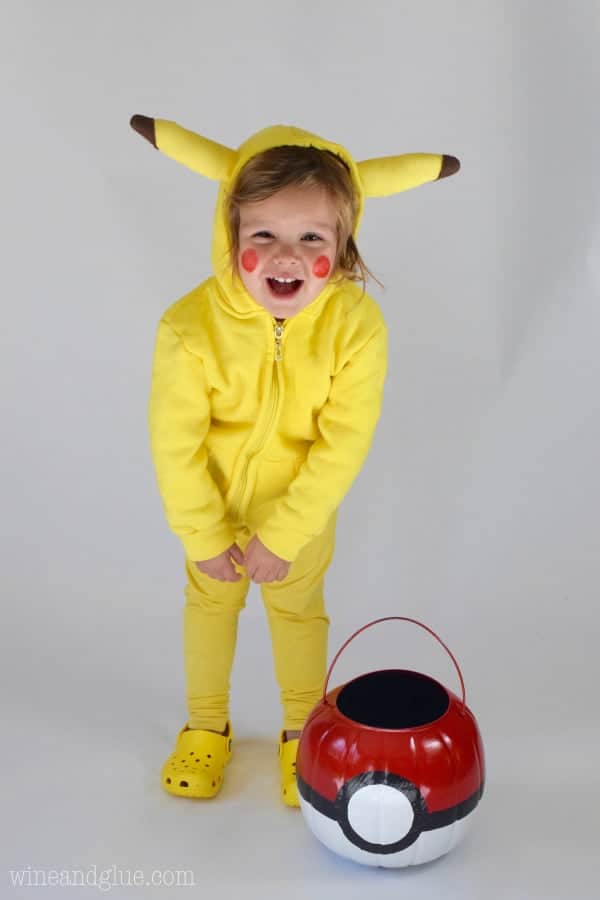
Then you hand them a Poké Ball Treat Bucket, and you are ready to go! Seriously, you guys. I had to refrain from adding ALL the cute Piper the Pikachu pictures because she could not have been cuter. I know I’m biased, but seriously. SO CUTE. And she just kept yelling, “I Pikky! I Pikky!!” Who wouldn’t want to throw a big Poké Ball at her and catch her??







Heather Kinnaird says
this is just the cutest thing ever!
Mary Ellen says
Loved this, thank you! I ordered the yellow hooded sweatshirt and warm leggings (and yellow socks) on Primary–I would just recommend that others order an extra sweatshirt to get material for the ears and tail because it was really difficult to color match even in the midst of the garment district in NYC; I ended up getting affordable but not perfectly matching yellow craft felt. Also, instead of drawing on the tail and sewing with brown thread, I cut it out in yellow fabric using your PDF and sewed it on with brown thread, and stuffed it with a little stuffing so that it stands out a bit.
These are SUCH great tips Mary Ellen! Thank you so much for taking the time to come back and share them!
httpkoopa says
The way you did the tail is super clever. Also, I too know the pain of thinking that what I was dyeing was cotton, hahah. Great job!
Thank you!