These S’mores Magic Cookie Bars will disappear almost as fast as you can make them, they are irresistible! Made up of amazing layers of graham cracker, sugar cookie, chocolate, and marshmallows, there is a LOT to love about these!
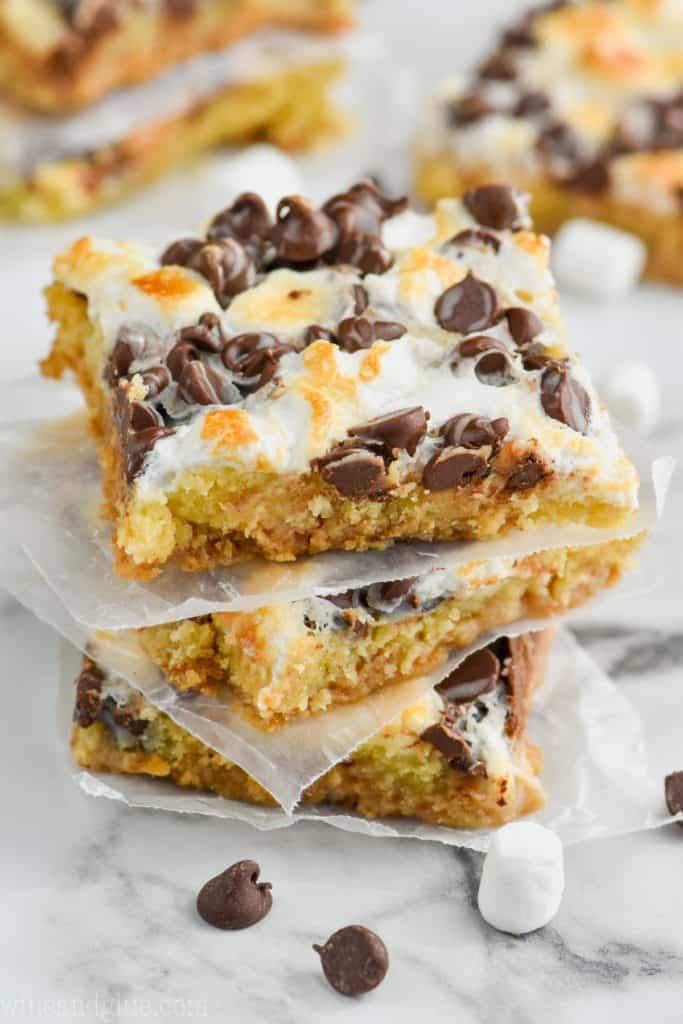
I love making magic bar variations! Because magic bars are actually magical.
But you guys. I forgot how amazing these S’mores Magic Cookie Bars were until I recently decided they needed a video and to be re-photographed.
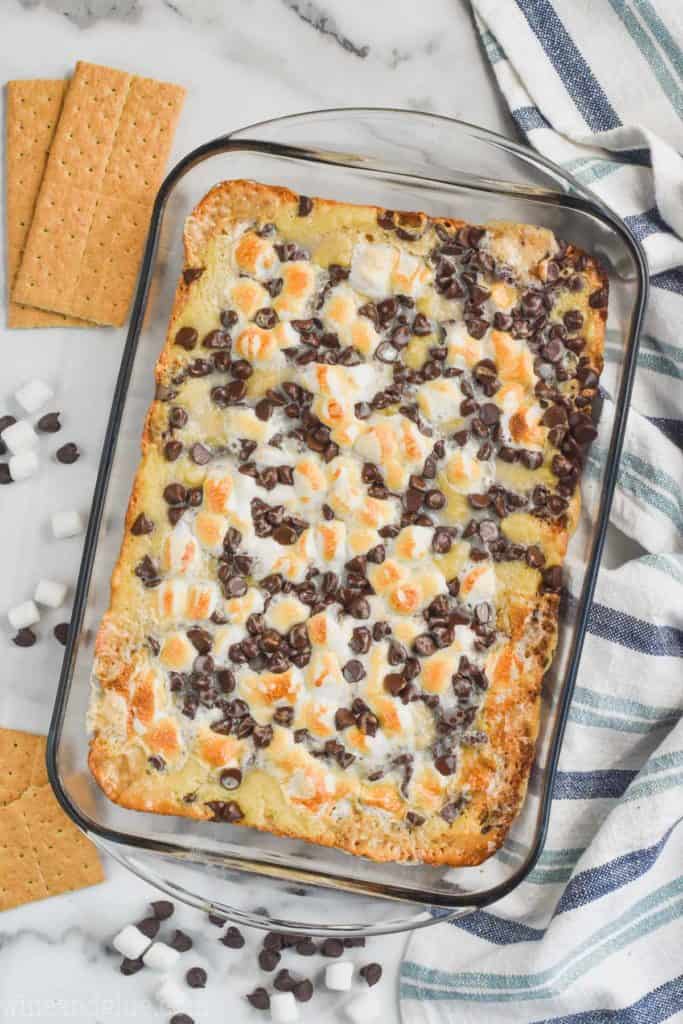
What is the Magic Bar?
Traditionally, magic cookie bars are a seven layer bars with graham crackers, chocolate chips, nuts, coconut, and sweetened condensed milk. There is for sure a reason why these dessert bars are called magical. Because of the make up of the original recipe, it’s easy to come up with a ton of variations on these bars.
I love throwing a thicker layer in the middle of my magic bar recipes. Usually a brownie or cookie layer gives a little something extra. In these S’mores Magic Cookie Bars, I went with a sugar cookie layer. It makes for a truly decadent amazing dessert.
These are rich and best enjoyed when cut into small bites. And then if you are me, go back to the pan over and over and over again until you beg your husband to take the whole pan to work.
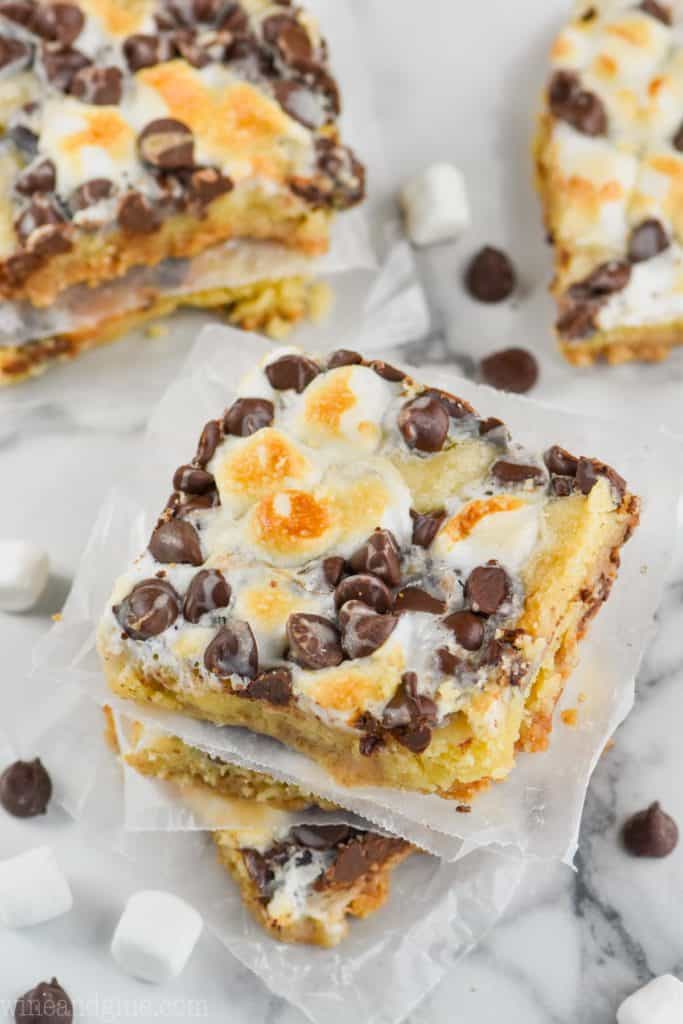
Tips for Making these Magic Bars
You are basically making cookies from scratch to shove in the middle of these magic bars, so these tips might come in handy.
- Room temperature butter means that you can dent the butter easily with your finger but can’t push it all the way through. To bring your butter to room temperature fast, cut it into one inch pieces and leave it on the counter for a half hour.
- Measure your flour by scooping it into the measuring cup and then leveling off. This will prevent the flour from packing (if you scoop right from the container), and ending up with a recipe with too much flour.
- When it comes to the baking time, keep an eye on them. Oven temperatures can vary, making a big difference in how long these need. Mine baked close to 27 minutes, but from 22 minutes on, I was checking on them and waiting to get a nice golden edge around them.
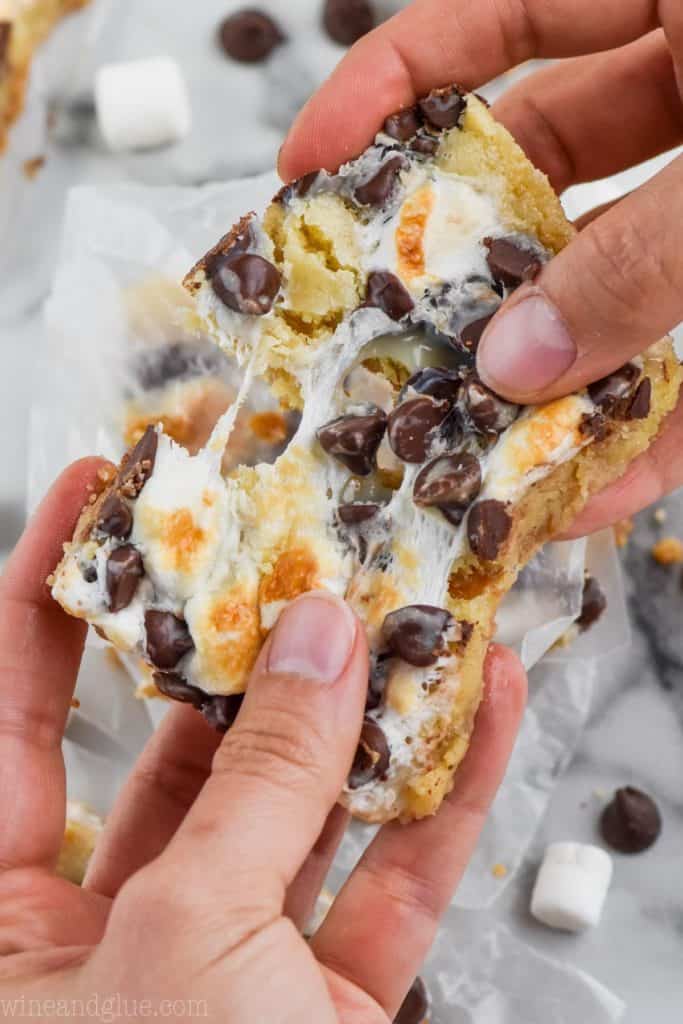
Other Great Magic Bars
Other S’mores that Aren’t S’mores
If you make these great S’mores Magic Cookie Bars or any of my other recipes, leave me a comment and let me know what you think!
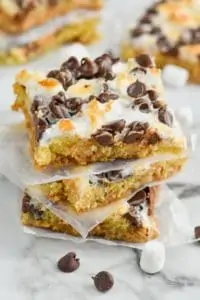
S’mores Magic Bars
Ingredients
Graham Cracker Layer
- 9 graham cracker sheets approximately 5.4 oz worth, crushed
- 6 TBSPs of unsalted butter melted
- 2 TBSPs granulated sugar
Cookie Layer
- 1 1/4 cup all purpose flour scooped and leveled
- 1/4 tsp salt
- 1/4 tsp baking powder
- 3/4 cup granulated sugar
- 1/2 cup unsalted butter room temperature
- 1 tsp vanilla extract
- 1 large egg
- 1 cup milk chocolate chips
- 1 cup mini marshmallows
- 3/4 cup sweetened condensed milk
Instructions
- Preheat your oven to 350 degrees. Spray a 9 by 13 inch pan with cooking spray well and set aside.
- In a large bowl, mix together the graham crackers, the 6 TBSPs of butter (melted) and the 2 TBSPs of sugar. Press into the bottom of the pan.
- In a different bowl, mix together 1 1/4 cup flour, 1/4 tsp salt, and 1/4 tsp baking powder, set aside.
- Beat together 3/4 cup of granulated sugar and 1/2 cup unsalted butter until creamy, about two minutes. Add in the egg and then the vanilla until just combined. Slowly add in the flour mixture until it is fully combined.
- Very carefully spread the cookie dough mixture on top of the graham cracker crust. The easiest way to do this is to take small amounts, flatten it in your hands, and set it on the crust. You may not be able to entirely cover the graham cracker crust, that’s okay.
- Evenly spread the mini marshmallows and the chocolate chips over the top of the cookie dough. Then evenly pour the sweetened condensed milk over the top.
- Bake for 22 to 27 minutes or until the edges are golden brown. (Mine required closer to 27 minutes.)
- Let the bars cool overnight before cutting. Or just take a fork and go for it.

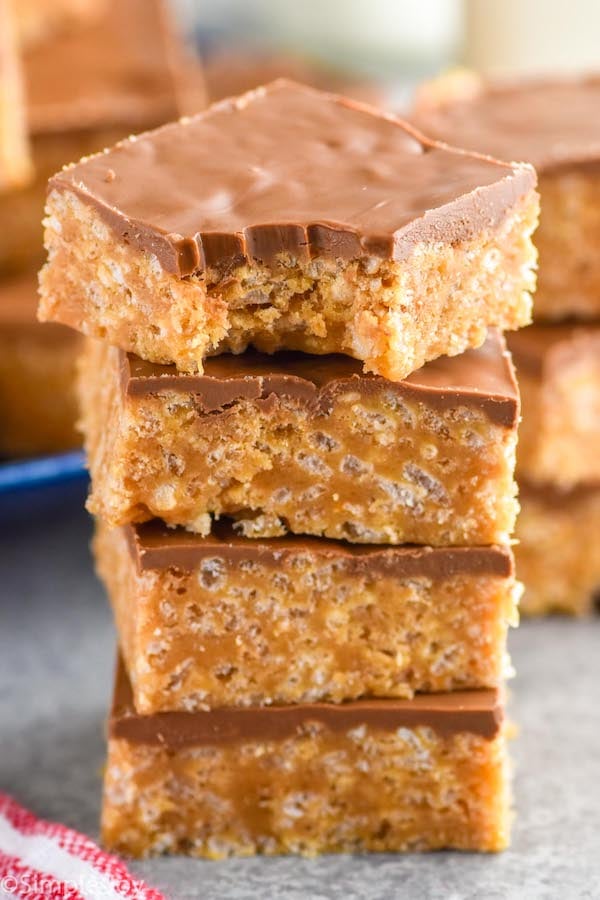
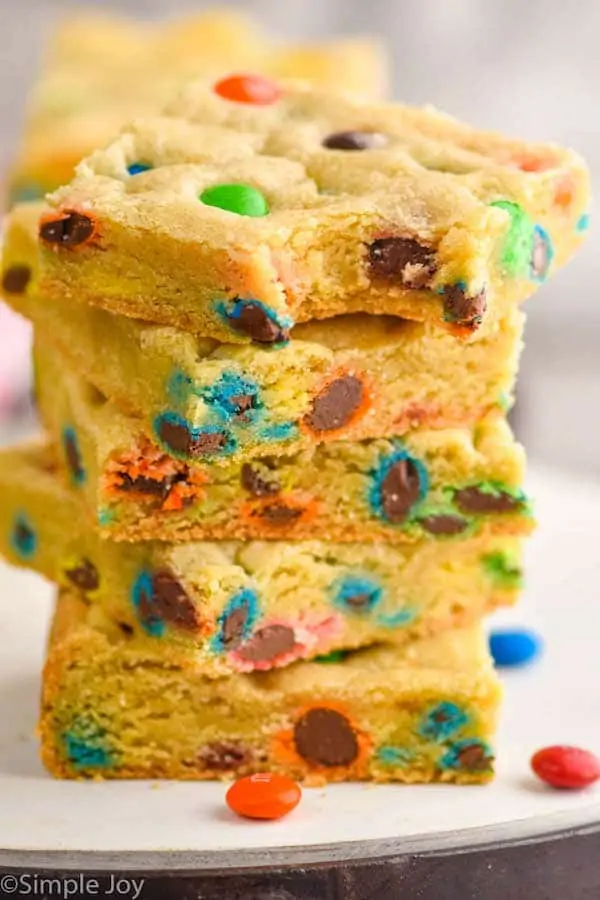
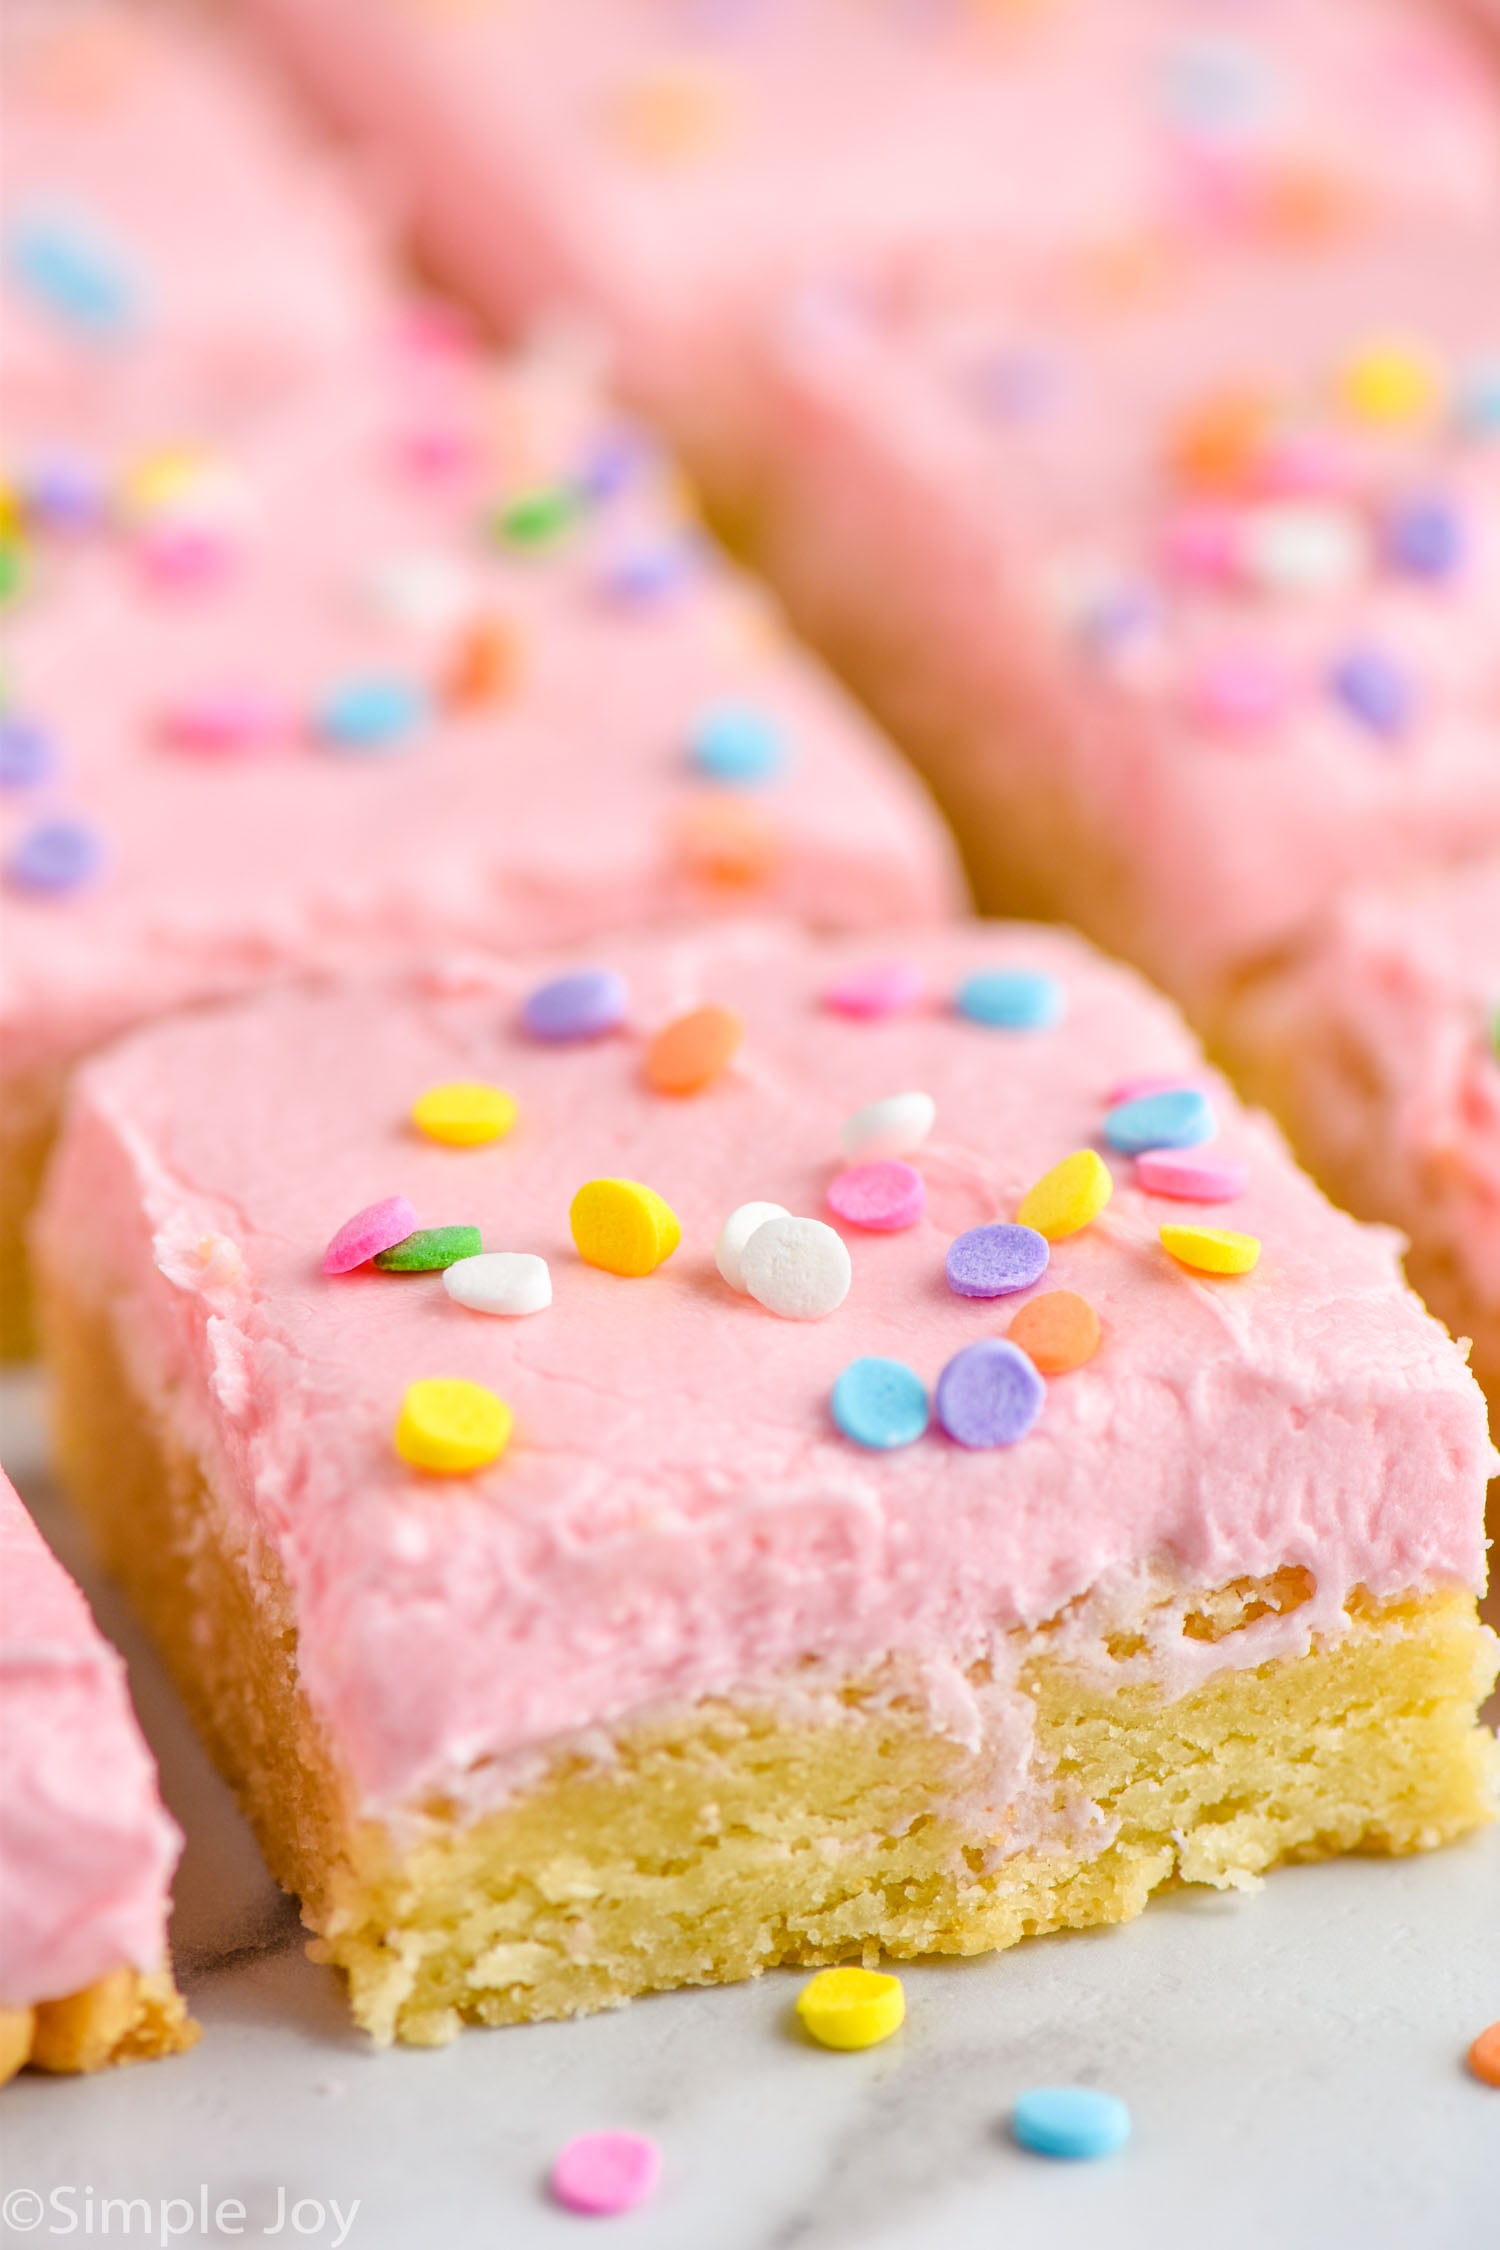




Allison says
Hi do I need to let Cool In fridge before cutting??
They do need to cool before cutting, but they can cool overnight on the counter. Just cover once they aren’t piping hot anymore.
Stephanie says
Do I let them cool on the counter or do I stick them in the refrigerator?
I just let mine cool on the counter over night.
Lynette says
They don’t need to cool if you eat them with a spoon and blow on ’em! Yummy!
Lynette, this comment ABSOLUTELY made my day yesterday. Thank you!
Sue says
I made these bars a couple of weeks ago and everyone loved them. My husband brought home graham crackers yesterday. Just a subtle hint to make more lol. My base did not set, though we did not mind. Not sure why not. Thank you for the recipe! Goimng to try again :)
LOL! I love this comment, Sue!! Tell your husband I get it.
Daynica says
Making these right away! Yum Yum Yum!
I hope you like them Daynica!
Jenny says
This is just a personal preference but I like the marshmallows less brown. I found pouring the sweetened condensed milk over the marshmallows made them too brown. I think I would put the marshmallows on last.
Alicia says
These are seriously one of the BEST deserts I’ve ever eaten, much less made!!! And they are so easy. They are totally addicting. Thanks so much for sharing! They are my new favorite desert. ????
Thank you Alicia!
Donna says
Love these bars!! Don’t add extra sweetened condensed milk or it will make them gooey. I cooked mine a little longer than the recipe called for and they were perfect. Everyone loves them!!!
Carolyn says
My company does a periodic baking competition and this week’s category was camping foods. I live on a sailboat and it can be tough to find delicious desserts that fit into my smaller oven, but these worked out great in my 2 qt glass pan. Thought you’d like to know that I beat out the other 12 entries and won the competition! :-)
This totally made my day, Carolyn! Thank you!
Jennifer says
You have condensed milk on the list but it doesn’t say where to add it in.
It’s in step 6.