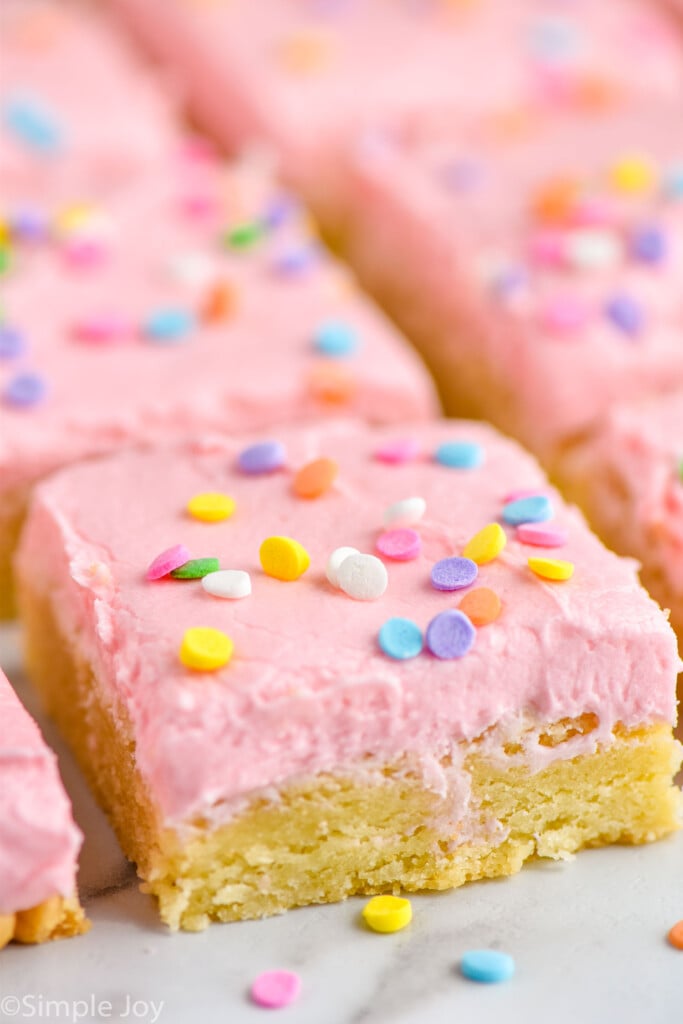
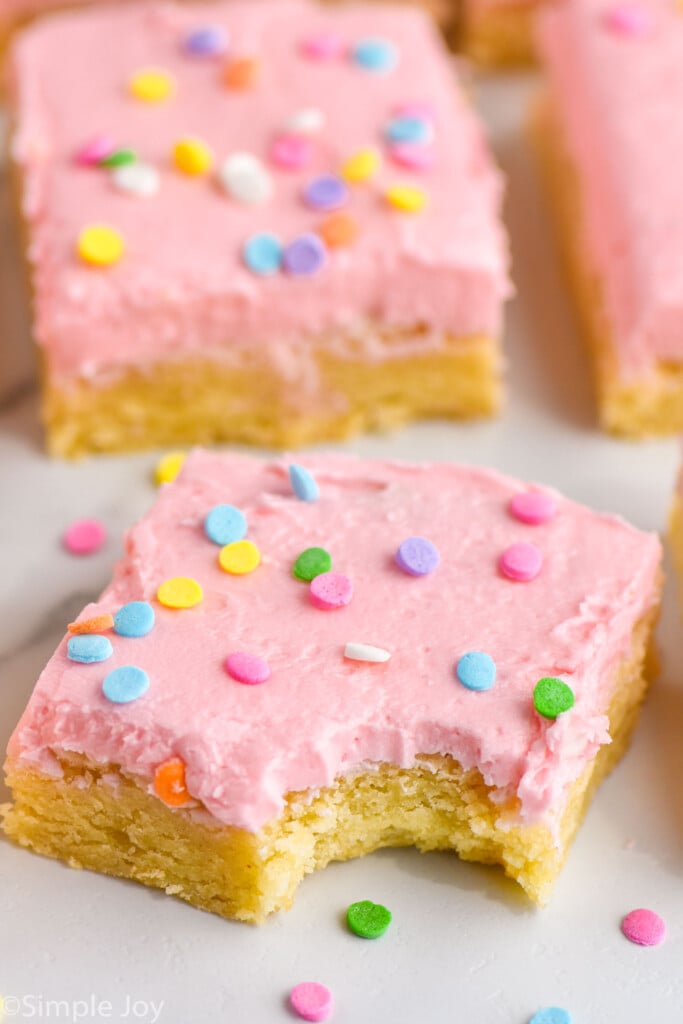
These Sugar Cookie Bars are melt-in-your-mouth delicious. Baked from scratch with the best homemade frosting, they will become a new favorite!
I have this theory that cooking for people that you love can fill your heart with joy. And I think that is even more true for baking.
Back when I was at the end of my pregnancy with my first kiddo, my mom was really sick and near the end of her life. I felt overwhelmed with anxiety, sadness, and fear.
One way I dealt with it? Baking sugar cookies. I baked this sugar cookie recipe probably 80 times in those difficult months. It was such a great way to focus that energy.
If you need a way to channel your energy or just want something really tasty for a treat, make this amazing sugar cookie bar recipe! It is that sugar cookie recipe that I loved turned into cookie bars with my perfect vanilla buttercream frosting.
This receipt was a hit! The taste of a sugar cookie in an easy to make bar! With no rolling and cutting this recipe was a breeze. The frosting is hands down the best buttercream I’ve had and the whole bar just melts in your mouth. I will absolutely be making these again. And again!
How to Make Sugar Cookie Bars
This is just a brief overview of how to make this delicious dessert. For the full recipe with all of the measurements, please see the recipe card at the bottom of the post.
- Combine the dry ingredients. In a medium bowl, whisk together the flour, baking powder, and salt.
- Cream the butter and sugar together. Beat together the sugar and butter until light and fluffy. I like doing this in the base of a stand mixer, but you can also do this with a mixing bowl and a hand mixer.
- Add the eggs and vanilla to the butter-sugar mixture. Mix in the eggs one at a time, and then add in the vanilla.
- Add the flour mixture to the wet ingredients. I like to do this all at once because it makes it less likely that we will over-mix.
- Bake the bars. Transfer the dough to a baking dish and bake.
- Frost the bars. While the bars are baking and/or cooling, make the frosting by beating together butter, powdered sugar, vanilla extract, and food coloring. Then frost the cooled bars and add some sprinkles.
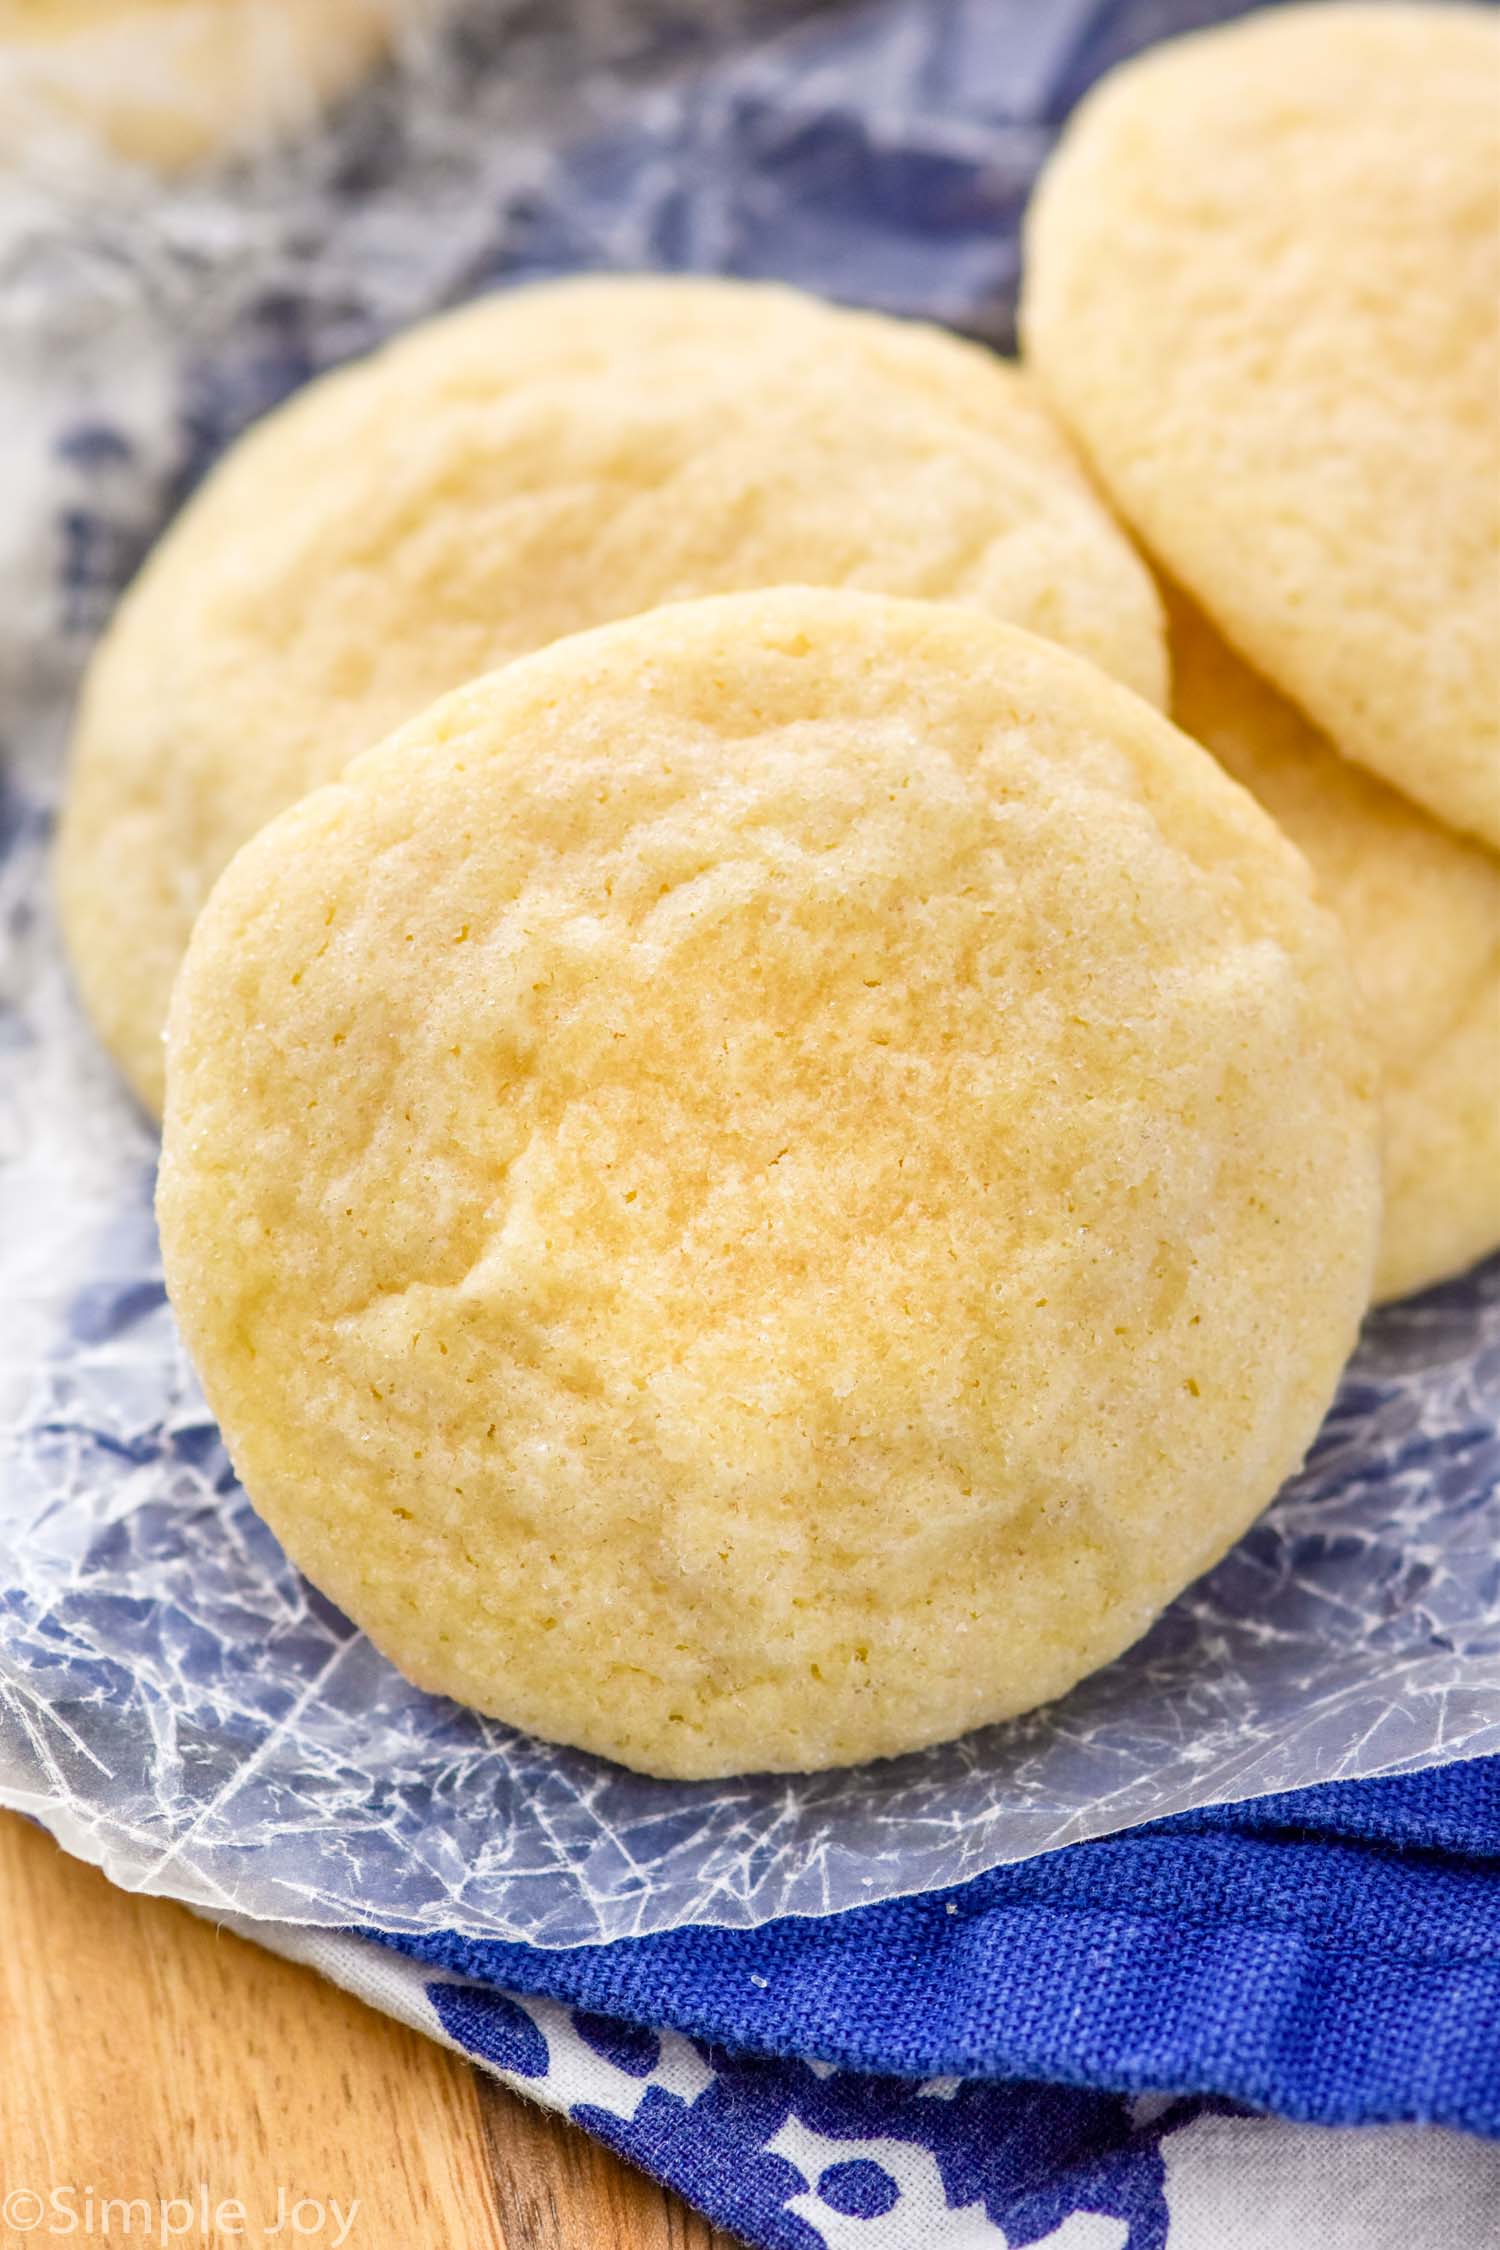
Best Sugar Cookie Recipe
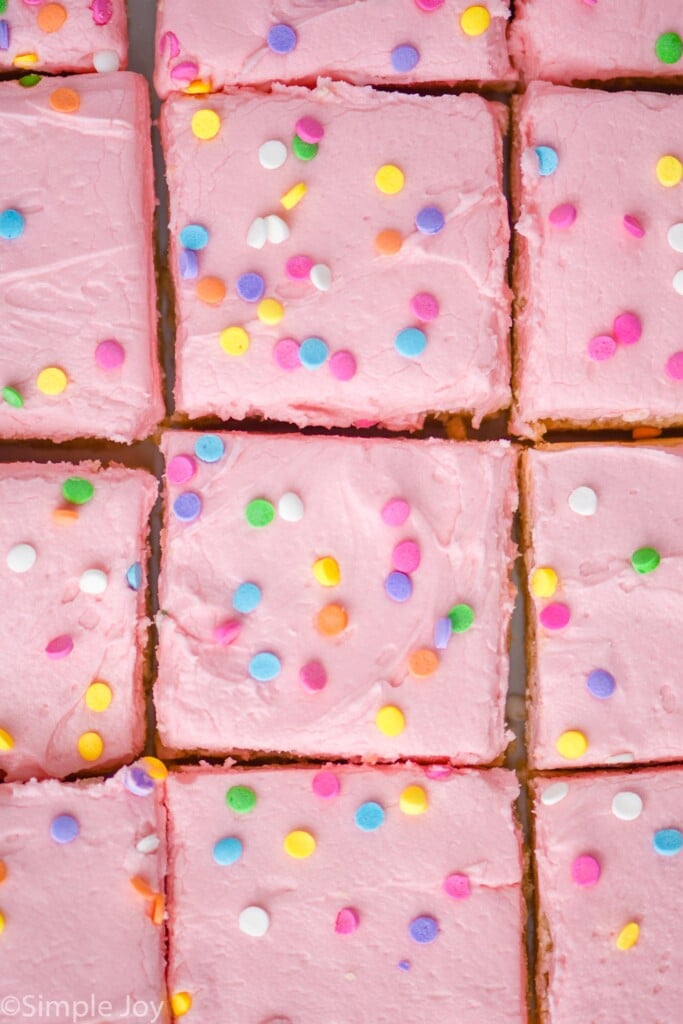
Frosted Sugar Cookie Bars
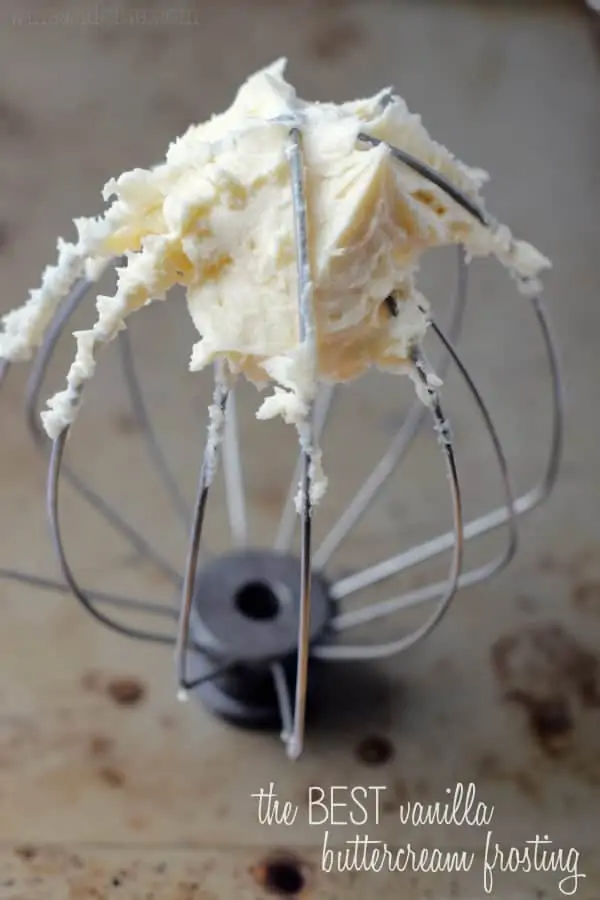
I am a firm believer that what really sets these cookie bars apart is the buttercream frosting. This vanilla frosting is the only frosting recipe that I will ever use, and it is so simple to make.
It is a matter of just beating together butter and powdered sugar. This frosting recipe typically sets pretty stiff, and I wanted this to be softer, so we are using 1/2 cup less powdered sugar than in the original recipe.
We are also adding some red food coloring and sprinkles on top so that they look as happy and joyful as they make me feel. Of course these are optional, and you could frost these any color that fits what you are celebrating. These would be great in green with red and white sprinkles for Christmas.
Vanilla Frosting
Tips and Tricks
As always I have a list of tips that will ensure that this recipe comes out perfect. These are tips that work great for any baking recipe.
- Baking is a science and changing one little thing can result in disaster. So read the whole recipe through before you start, use fresh ingredients, and do not make swaps or leave out ingredients.
- Use room-temperature butter. This means you should be able to dent the butter with your finger, but not push all the way through. It will feel cold to the touch.
- Ensure that you are using baking powder, not baking soda. They are not the same thing.
- Make sure that your baking powder is fresh. Baking powder should be replaced every six months. You can test its freshness by putting a little in water. It should bubble and react vigorously right away.
- Properly measure your flour. Scoop the flour out of the container with a spoon and into your measuring cup. Then level it off. Scooping with the measuring cup can lead to 25% more flour and mess up your recipe.
- Beat together the sugar and butter for at least three minutes. To really ensure a light cookie bar, the sugar needs to beat air into the butter. Make sure it is light and fluffy before you move on to the next step.
- Use room-temperature eggs. To achieve this, get a bowl of lukewarm water and let your eggs sit in it for at least five minutes.
Measuring Flour for Baked Goods
Improperly measured flour is likely the number one villain behind baking fails. Like I said above, baking is a science. If you add too much flour, this will greatly change the science of the recipe and result in failure. While we went over how to properly measure flour above, it bears repeating.
While the best way to measure flour for baked goods is to weigh it, I know that not everyone has a kitchen scale. If you follow these steps for this recipe, you will end up with the proper amount of flour for these perfect bars.
- Whisk the flour inside of the container you keep it in. Whether this is a jar or the flour bag, lightly whisk the flour before you do anything else. This will help loosen it up and avoid packing.
- Spoon the flour. Using a simple kitchen spoon, transfer the flour from the container you keep it in to a dry measuring cup. Dry measuring cups are the cups you use to measure dry ingredients. They typically come in 1 cup, 1/2 cup, 1/3 cup, and 1/4 cup sizes as a set. These are not the same as what you use for liquid. Liquid measuring cups are clear glass with markings on the side. Only use them for liquid.
- Level off the flour. Once you have scooped it into the dry measuring cup, use the flat edge of a spatula to level it off.
Adding Dry Ingredients to Wet Ingredients
When adding your flour mixture to your wet ingredients, you want to make sure this process goes quickly. You don’t want to over-beat your dough and end up with cookie bars that are chewy in a bad way. In the past, I did this by adding a little at a time, but I’ve since learned that adding it all at once actually makes the process go more quickly.
Start by adding the flour all at once to the wet ingredients. Beat it in on low just long enough so the flour is folded in. This way it won’t fly out of the bowl in the next step. Now turn the mixer up to the highest speed and beat just until it is fully incorporated. You may need to scrape down the sides and beat for another few seconds.
Best Baking Pan
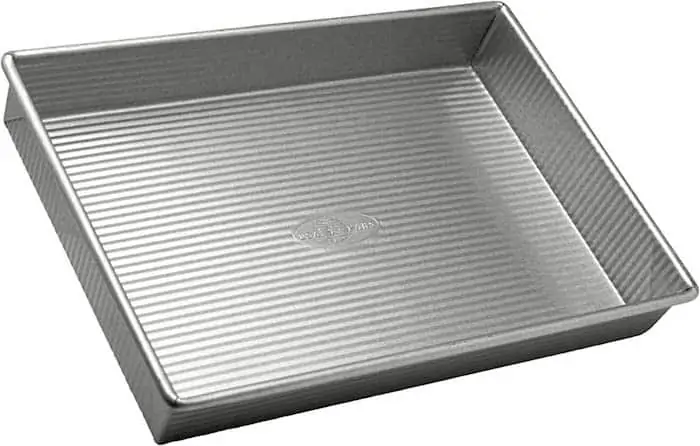
When you are picking a baking pan to make desserts in, I highly recommend going with a metal baking dish. They conduct heat the best, resulting in bars that cook evenly. Metal baking dishes are just a better option than ceramic or glass. Not only that, but it will give you those great sharp edges that make my Type A heart sing.
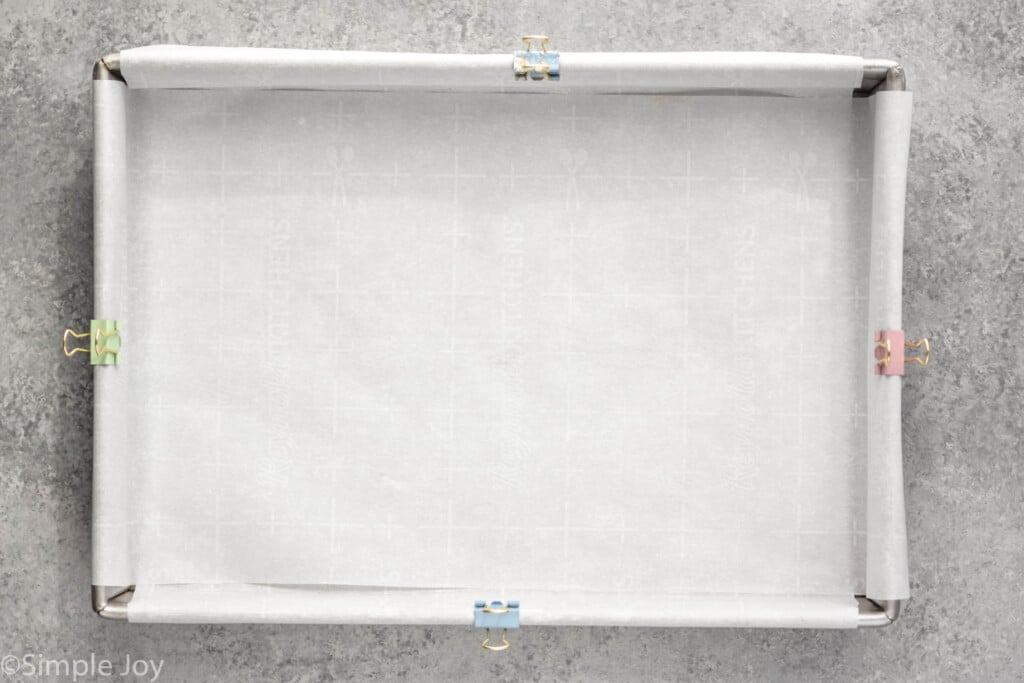
When using the pan linked below, I like to cut two pieces of parchment paper: one will go the length of the pan and one will go the width of the pan. Then I hold them in place with alligator clips from my office drawer, as you can see in the photo above. The parchment paper keeps my bars from sticking to the pan and it makes for easy lifting of the bars out of the pan so that I can frost and cut them evenly.
My Favorite 9×13 Baking Dish
Storing and Freezing Sugar Cookie Bars
These sugar cookie bars will last in an airtight container for up to one week. They will do best if you store them in a single layer. They can be stacked, but after a few days will begin to stick together. As with all recipes, use your best discretion when it comes to leftovers.
These bars can be frozen (even after you have frosted them) by being placed in the freezer in a single layer for one hour. Then transfer them to an airtight container. Freeze for up to three months.
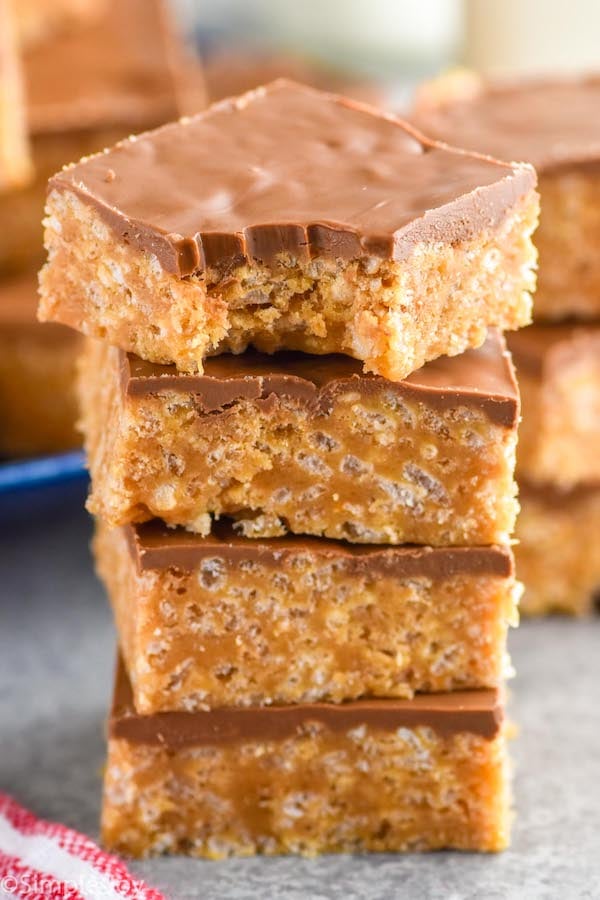
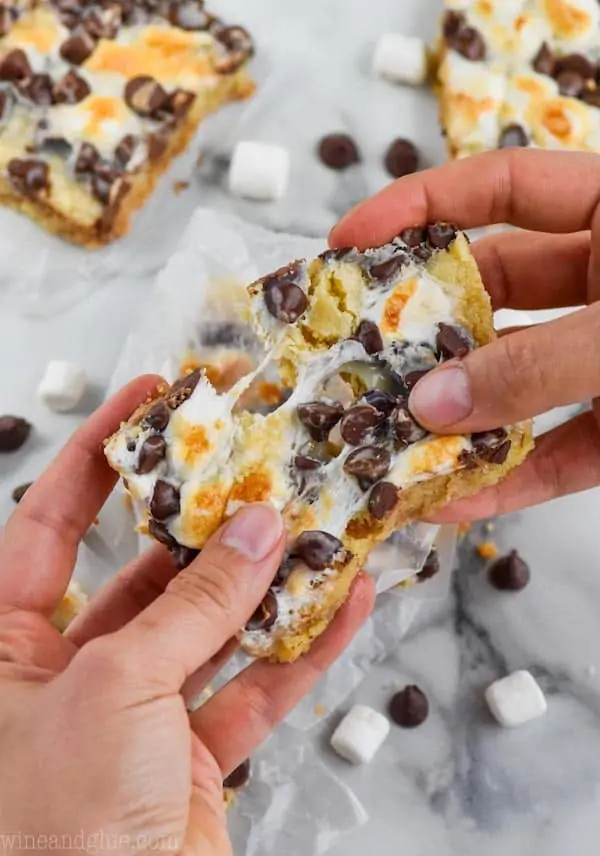
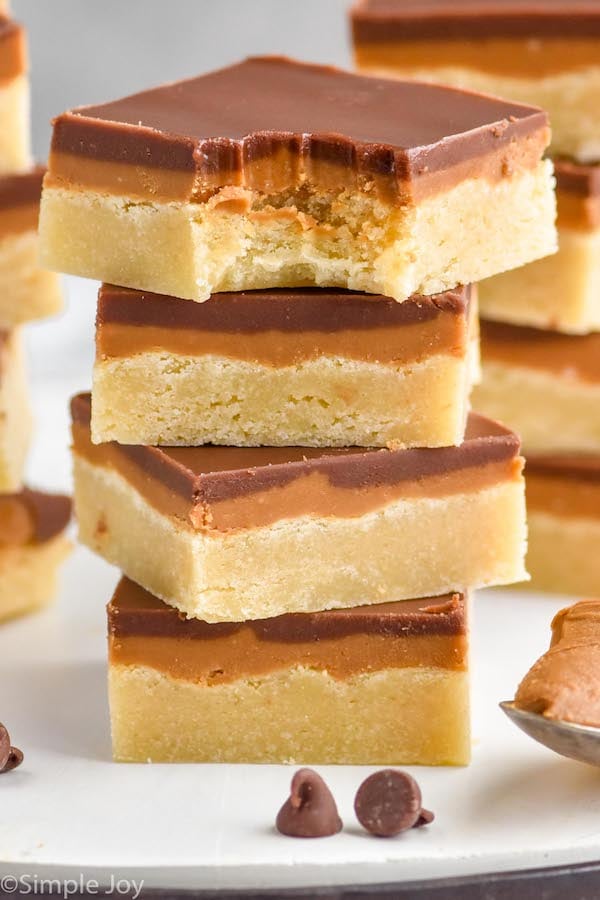
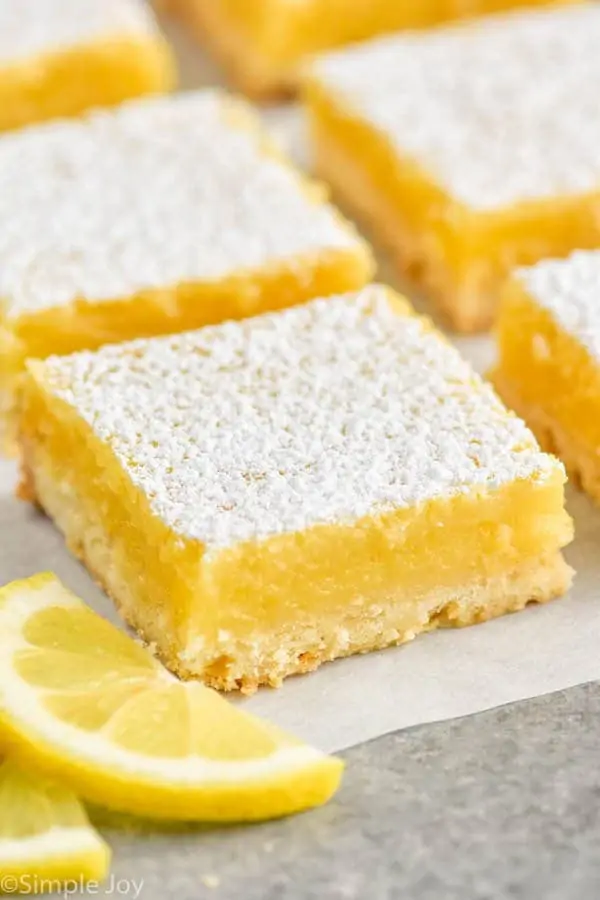
Other Great Cookie Bar Recipes
If you love how easy it is to make cookie bars, here are some others you should try:
If you make this Sugar Cookie Bar recipe or any of my other recipes, please leave me a comment and let me know what you think!
Sugar Cookie Bars
Ingredients
For Cookie Bars
- 2 1/2 cups all-purpose flour
- 1/2 teaspoon baking powder
- 1/2 teaspoon salt
- 14 tablespoons unsalted butter room temperature
- 1 1/2 cups sugar
- 2 large eggs
- 2 teaspoons vanilla extract
Frosting
- 1/2 cup unsalted butter room temperature
- 4 1/2 cups powdered sugar
- 2 teaspoons vanilla extract
- 1/4 cup milk room temperature
- red food coloring
- sprinkles
Instructions
Sugar Cookie Bars
- Preheat your oven to 350 degrees Fahrenheit. Spray a 9 by 13 inch baking dish with cooking spray or line with parchment paper.
- In a medium bowl, whisk together the flour, baking powder, and salt. Set aside.2 1/2 cups all-purpose flour, 1/2 teaspoon baking powder, 1/2 teaspoon salt
- With your mixer on medium, mix together the butter and sugar until light and fluffy, about 3 to 6 minutes.1 1/2 cups sugar, 14 tablespoons unsalted butter
- Mix in the eggs (one at a time) and then the vanilla until well combined.2 teaspoons vanilla extract, 2 large eggs
- Add the flour mixture to the wet ingredients. Mix on low until combined enough that it won't fly everywhere. Then turn up the mixer to high just long enough that you don't see streaks of flour. Scrape down the bowl and on the bottom to ensure that all the flour is added. Only mix long enough to combine the flour. (See more detailed instructions in the post.)
- Press the batter into the prepared baking dish. The dough will be thick and sticky. This may make it difficult to press it into the baking dish. You can spray your hands with cooking spray or wet them with water to make this easier.
- Bake for 25 to 27 minutes or until the edges are golden brown. Remove from the oven and allow to cool for 1 hour.
Frosting
- Using a hand mixer or a stand mixer beat the butter. Add in 1 cup of the powdered sugar, scraping down the bowl as necessary.1/2 cup unsalted butter, 4 1/2 cups powdered sugar
- Beat in the milk and the vanilla extract.2 teaspoons vanilla extract, 1/4 cup milk
- Add the powdered sugar in a cup at a time until you get the consistency you are looking for. I used 4 1/2 cups.
- Finally add in the red food coloring, a few drops at a time, until you get the color you are looking for.red food coloring
Frosting the Bars
- As soon as you are done making the frosting, spread it on the cooled bars. An offset spatula works best to create a nice even layer.
- Immediately after spreading the frosting, add the sprinkles before the frosting begins to harden.sprinkles
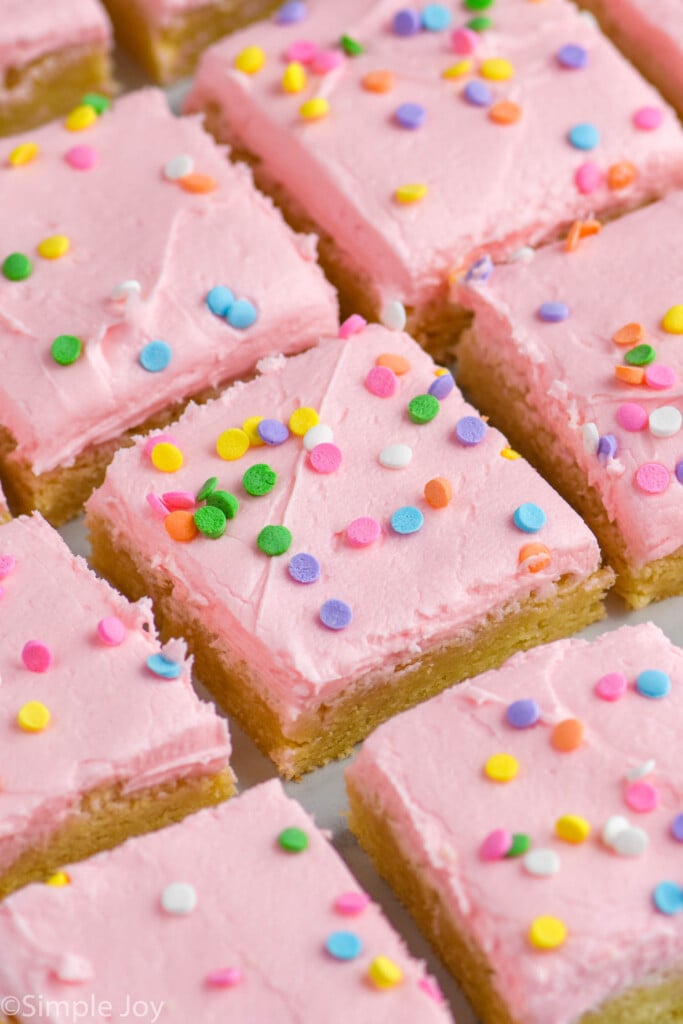
- Cut the bars into 24 equal squares.
Storing
- For best presentation of frosting, do not stack the cookie bars, but store them in single layers.







Lori Armida says
These look so good! I’m wondering is it possible there’s enough frosting to make frost 2 batches (spreading thinner of course) I don’t like lots of frosting ?
I’m a little worried that it would be a bit too thin. But it’s all personal preference and you might just want to go for it.
Siouxz says
So easy and quick especially for summer oicnics
Yes!
Christie says
Hi,
Can the dough be made ahead of time, frozen, then thawed out, and baked?
I haven’t attempted that with this recipe. I have, however, used this recipe to make dough balls for cookies. Those freeze great as balls and I bake them right from frozen.
Brenda says
Could the sugar cookie bar recipe be doubled and baked in a 10×15 pan or jelly roll size pan?
I haven’t tested that. Rimmed baking sheets are a lot more shallow than 9 by 13 inch baking dishes. So I’m not sure that would work. I think two 9 by 13s might work better.
Janet says
I just have to tell you that you have a great website. So easy to navigate without a lot of “stuff” in the way. I have printed two of your bar recipes (cookie and magic) as I’m taking a respite from soo many cookies this year. Your recipes sound wonderful, and again your tips, ideas, etc., go a long way to make this one of the best foodie sites on the internet. I’ll be back many times.
Thank you so much for your kind words, Janet!