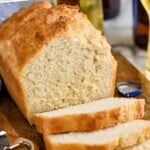
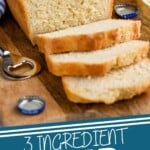
This Beer Bread recipe could not be more simple to make or delicious! Made with only three ingredients, it is the easiest way to make homemade bread.
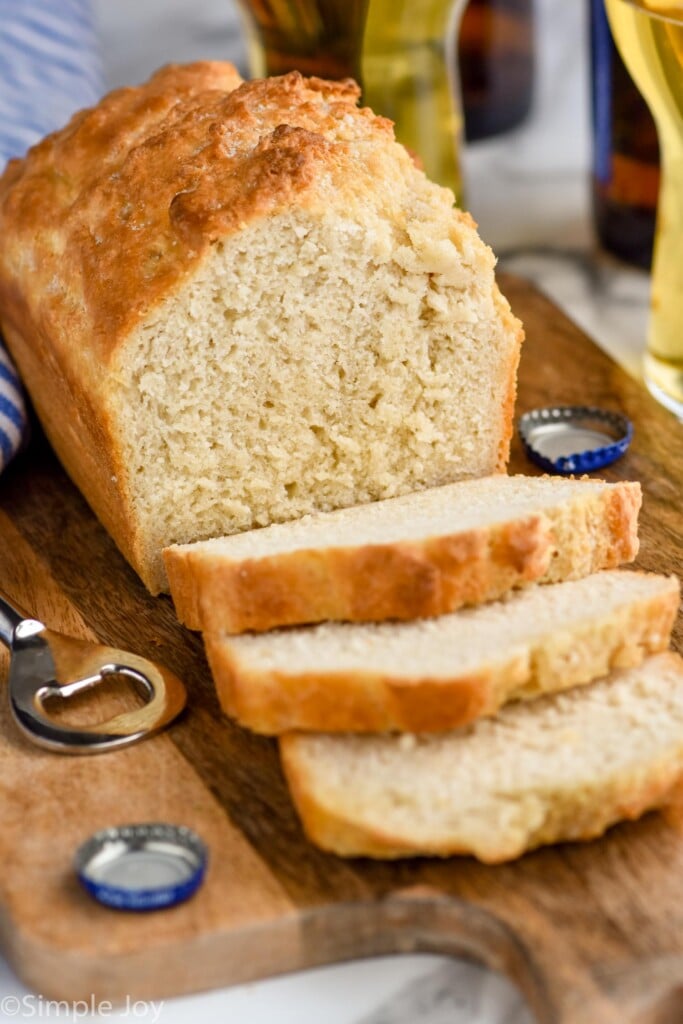
Three Ingredient Beer Bread is so much better than what you get using a mix, and it is just as easy to make! It doesn’t require you to proof yeast and it’s only three ingredients. Plus it’s so easy to add in other mix-ins, like honey or cheese! As an added bonus, you don’t even need a bread machine.
Was looking for a simple bread recipe, and it cant be any simpler. Love it, love it, love it.
Why this Beer Bread Recipe Works
This homemade beer bread recipe starts with self-rising flour. Self-rising flour is a combination of flour, baking powder, and salt. The combination of the baking powder and the salt work together to act as a leavening agent.
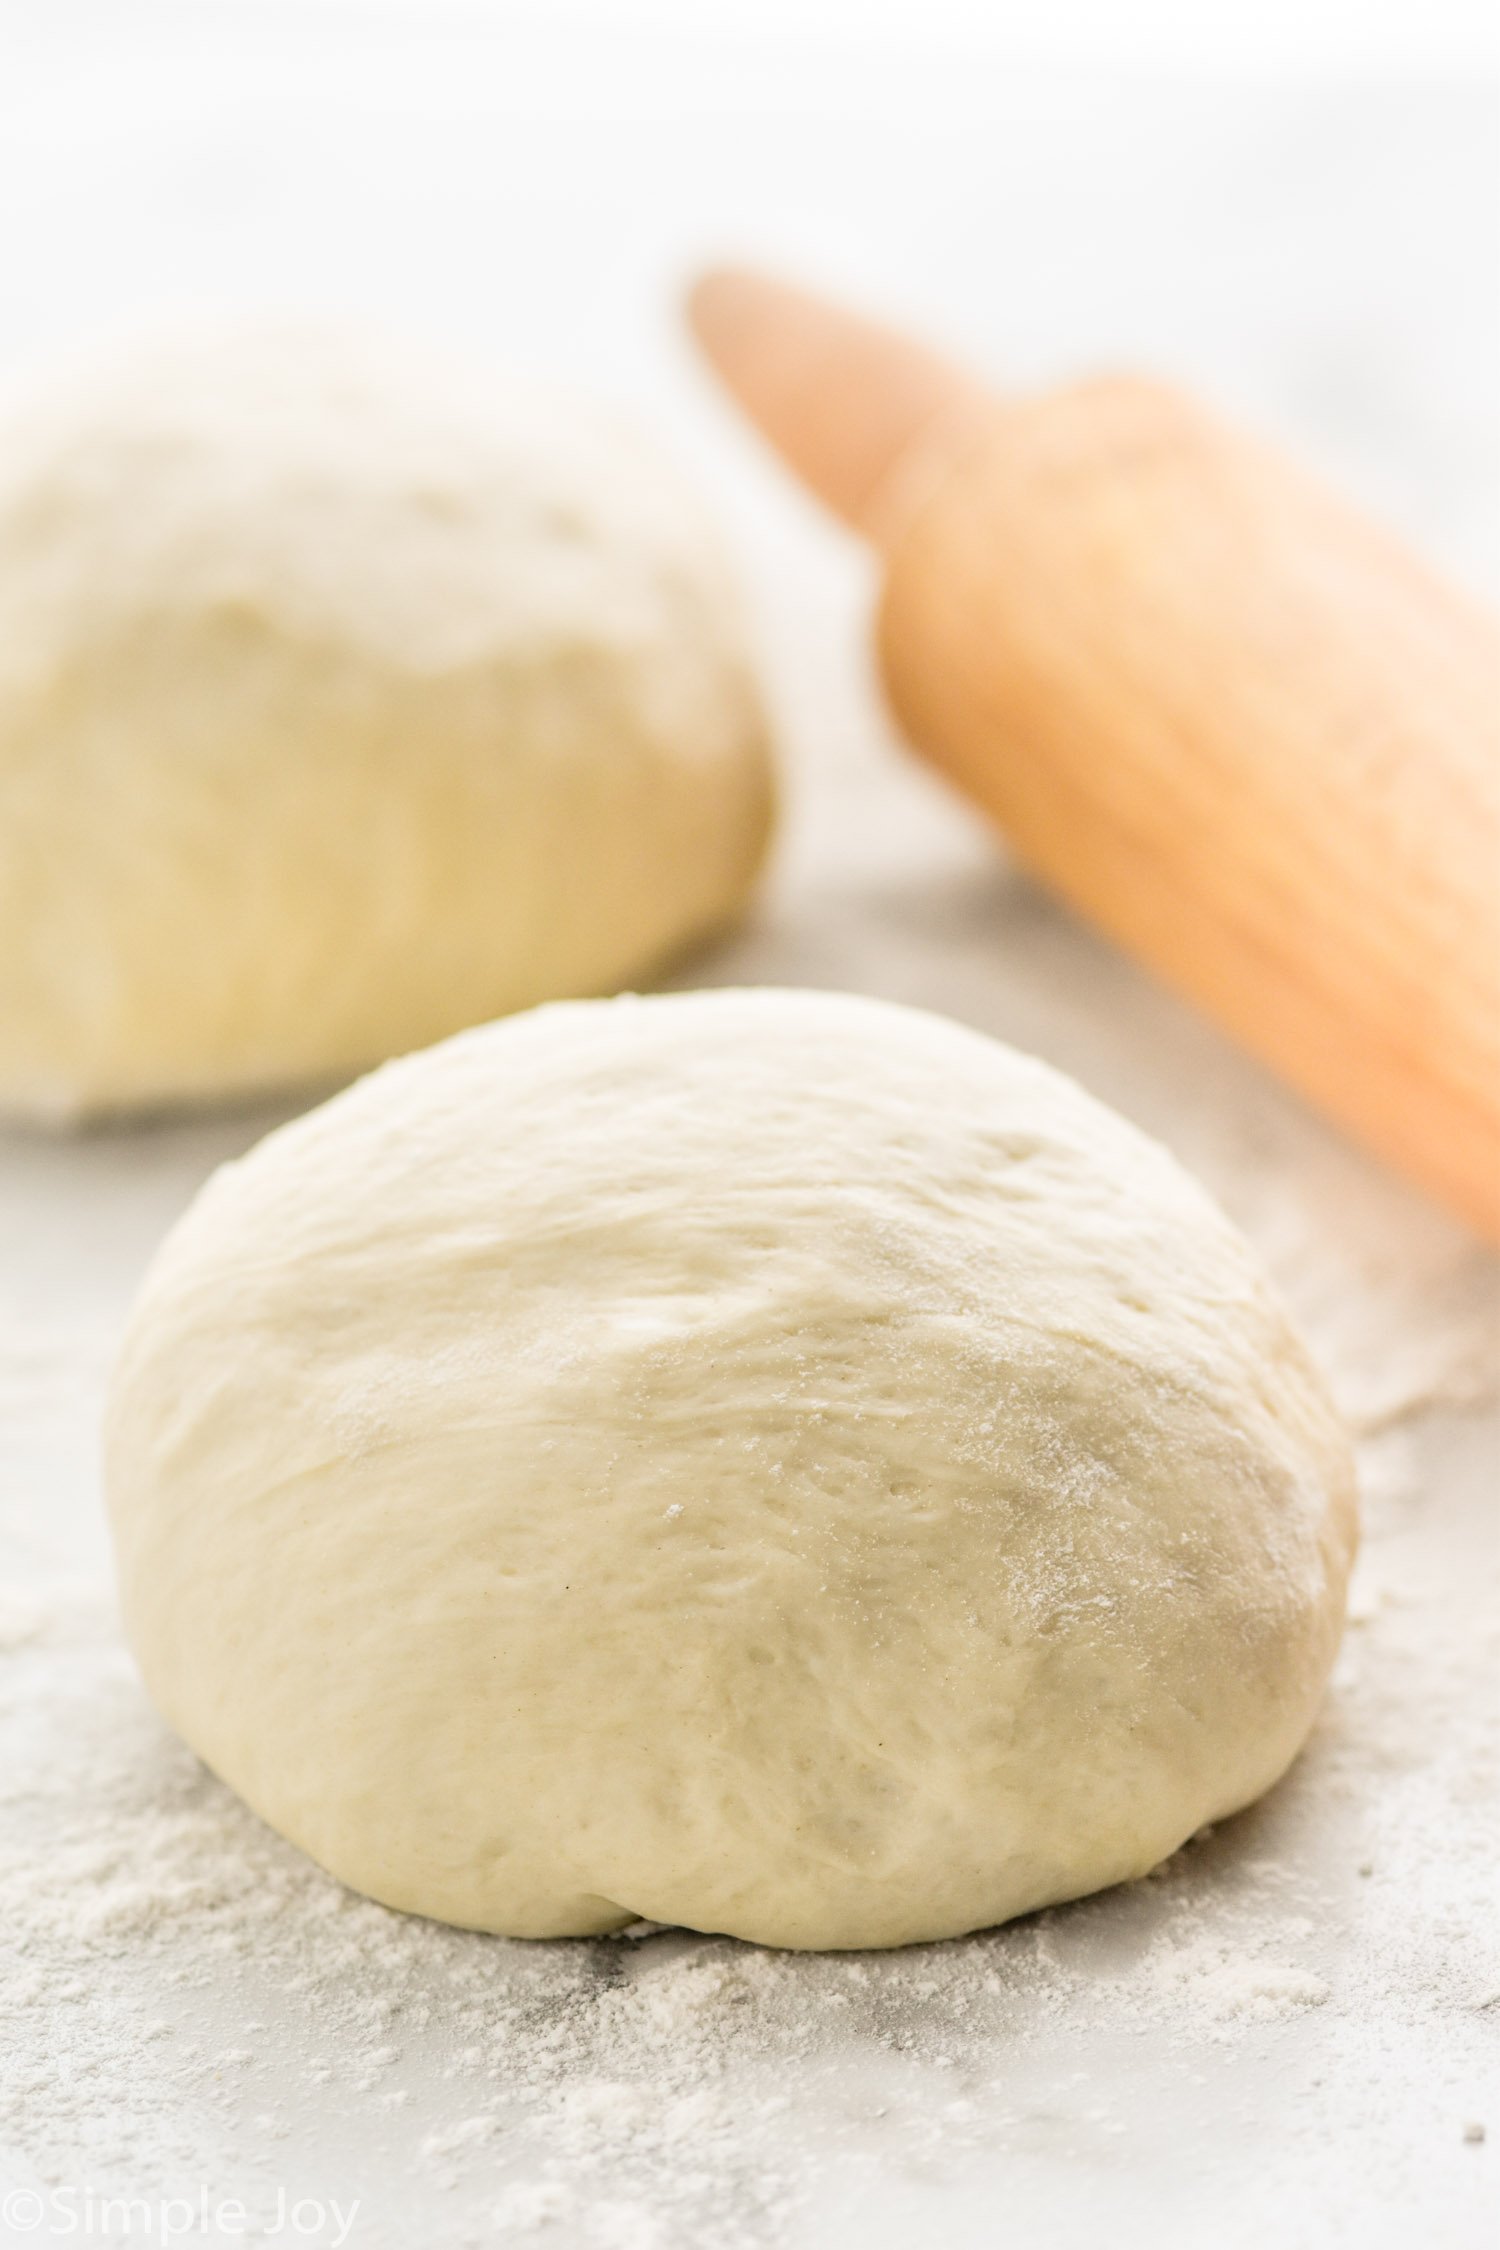
In my Pizza Dough recipe, you can see how we add yeast (the leavening agent) to warm water and wait for it to proof before adding it to the flour mixture and letting that dough rise. By using self rising flour, we skip that step in this recipe.
How to Make Beer Bread
This is just a brief overview of this delicious and easy bread recipe. For the full recipe with all of the measurements, please see the recipe card at the bottom of the post.
- Prepare the bread pan. Spray a 9 by 5 inch bread pan with cooking spray. Be sure to see my bread pan recommendation below, as pans can make a huge difference.
- Whisk together the dry ingredients. In a large bowl, whisk together the self rising flour and the sugar.
- Stir in the beer. Read below for my recommendations on beer and alternatives.
- Bake the bread. After adding the dough to the prepared bread pan bake the bread. In the last three minutes of baking, add melted butter if desired.
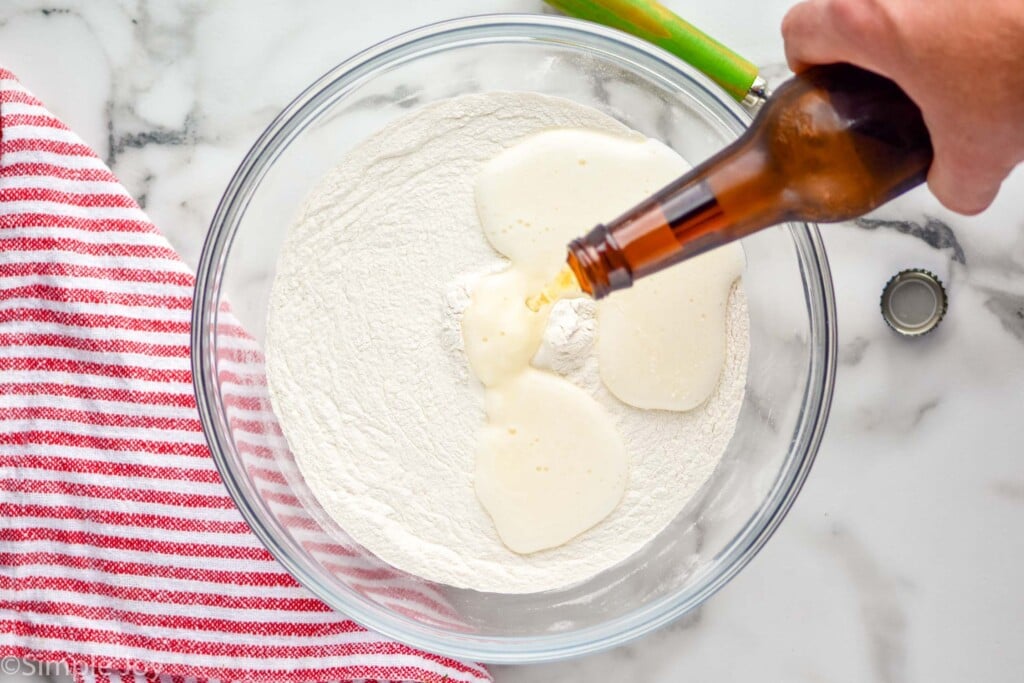
How to Make Self Rising Flour
There are a few differences when it comes to all-purpose flour and self-rising flour. Self-rising flour contains baking powder and salt, all-purpose flour does not. Additionally, self-rising flour is made with wheat and is lower in protein than all-purpose flour.
It is possible to make a substitute for self-rising flour with all-purpose flour, but keep in mind it won’t be exactly the same because you are changing the protein level.
For every one cup of flour you use, you need one teaspoon fresh baking powder and 1/4 teaspoon table salt. So for this recipe, you can replace the self-rising flour with:
- 3 cups all-purpose flour
- 3 teaspoons baking powder
- 3/4 teaspoon table salt
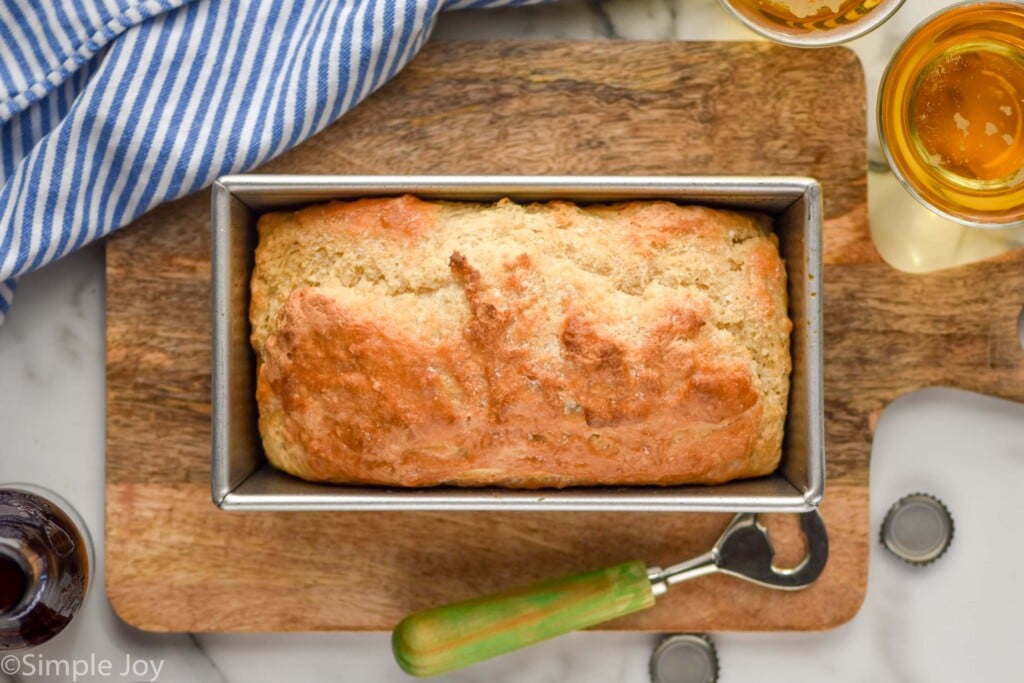
Best Bread Pan
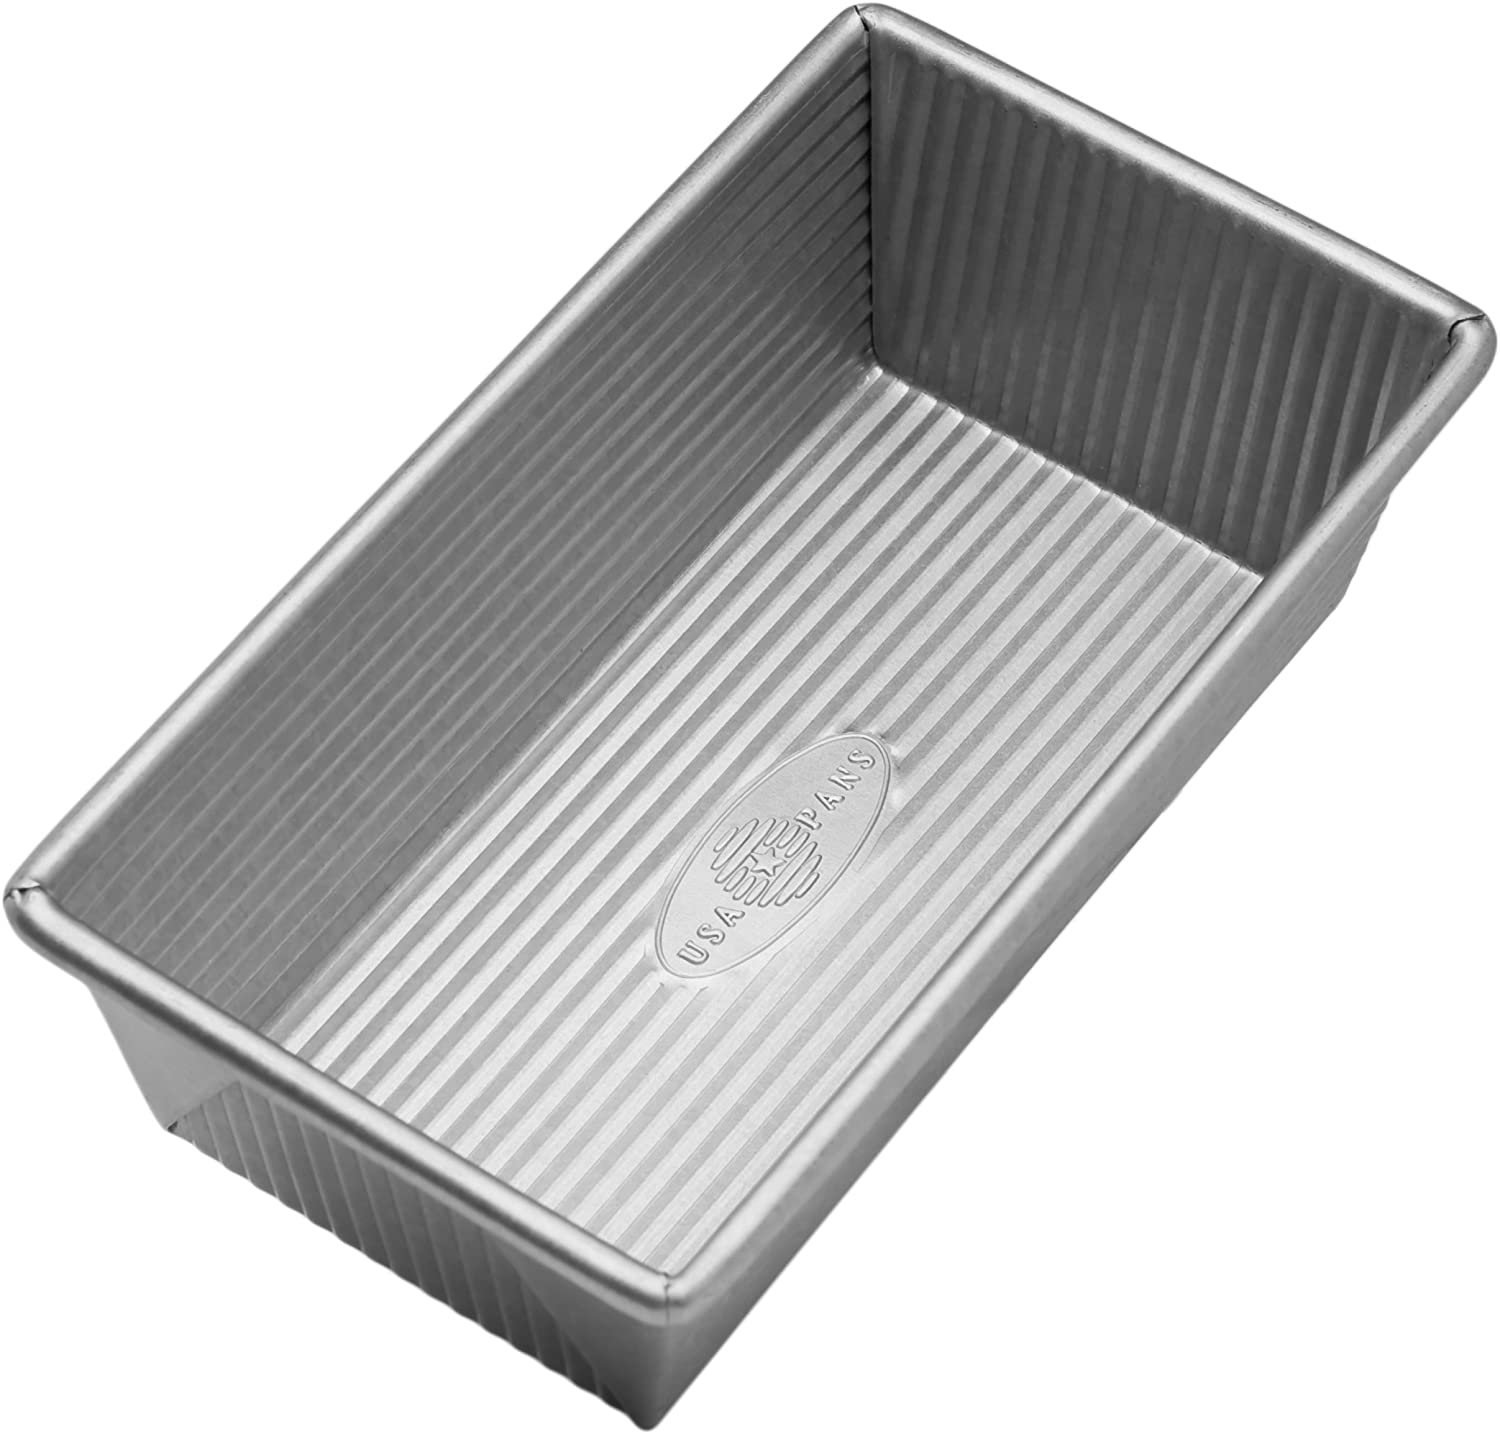
The first question I ask people when they tell me a bread recipe didn’t work was what kind of loaf pan they used. Metal, ceramic, and glass all conduct heat differently and will have a different impact on your baking recipe. I opt for metal for all my baked goods because it conducts heat the best.
The bread pan you see here is this one from USA Pans. It is my favorite and cooks bread perfectly every single time.
Best Bread Pan
Best Beer for Beer Bread
I get that question a lot with this recipe. The answer is: Whatever type of beer you like. It is important to use a beer that you would drink on it’s own because it can be a strong flavor in this bread.
I use a pilsner because it is light and doesn’t have an intense flavor. Though I have only made this recipe with pilsner beers, this bread will work with any type of beer. It also works with soda (read more on that below). This is a great recipe to play around with and figure out what you like.
Making Beer Bread with Soda
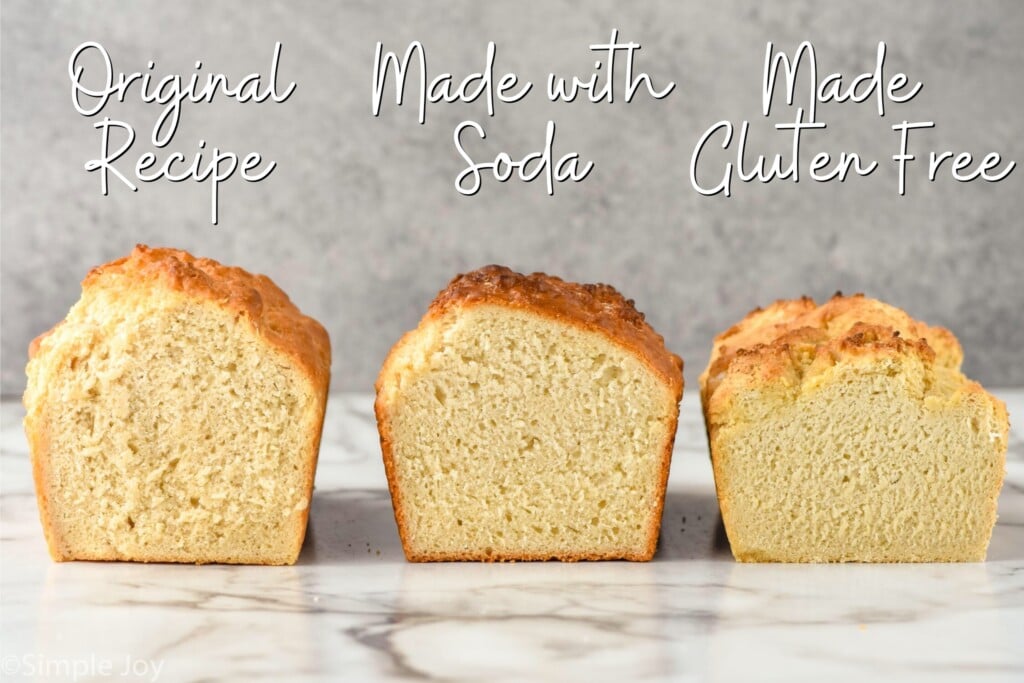
If you have someone in your life who is sober, you can still make this great bread! This recipe works great with soda. I make it with lemon-lime soda (like Sprite or 7-Up). It has just a slightly smaller rise that is barely noticeable. Because of the additional sugar content, it browns just slightly more.
Overall, soda is a great substitute for beer in this recipe. I think that a lemon lime soda is the best choice because it has the mildest taste of sodas.
Making Beer Bread Gluten Free
This recipe can be made gluten-free if you make your own self-rising flour with gluten-free flour. As you can see, it doesn’t have quite the same rise as when you use flour with gluten, but it absolutely does work.
I suggest using a gluten-free flour that is meant to replace all-purpose flour one-for-one. I used King Arthur’s brand in this test. You will want to use:
- 3 cups gluten-free one-for-one flour substitute
- 3 teaspoons baking powder
- 3/4 teaspoon table salt
Butter on Top
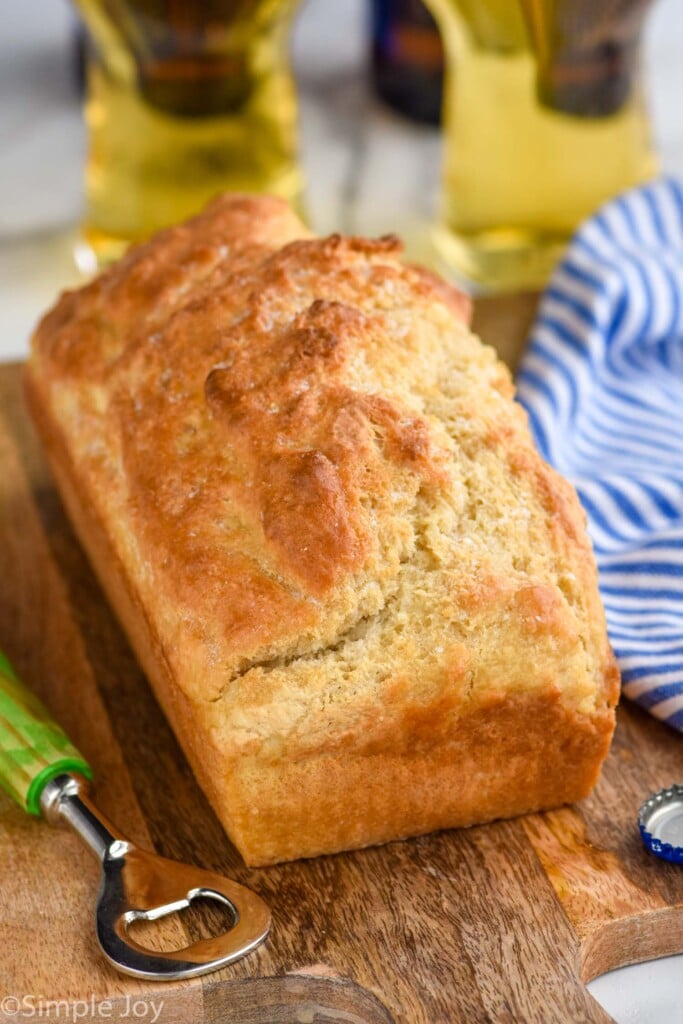
A lot of recipes call for a few tablespoons of melted butter on top of the bread. I call this a three ingredient beer bread because my family loves this recipe without the butter on top. If you want the butter, have at it. I recommend using three tablespoons of melted butter and pouring it over the bread in the last three to five minutes of baking to prevent it from browning or burning.
Tips and Tricks
- Use fresh self-rising flour. Self-rising flour, because of the baking powder, only has about a six month shelf life. The further you get out from that six month mark, the less of a rise you are going to get in your bread.
- Use a great bread pan. See my recommendation above.
- Avoid overmeasuring your flour. This will lead to dried out bread. Make sure you whisk the flour in the container you are storing it in, and then use a spoon to fill your dry measuring cups before leveling it off.
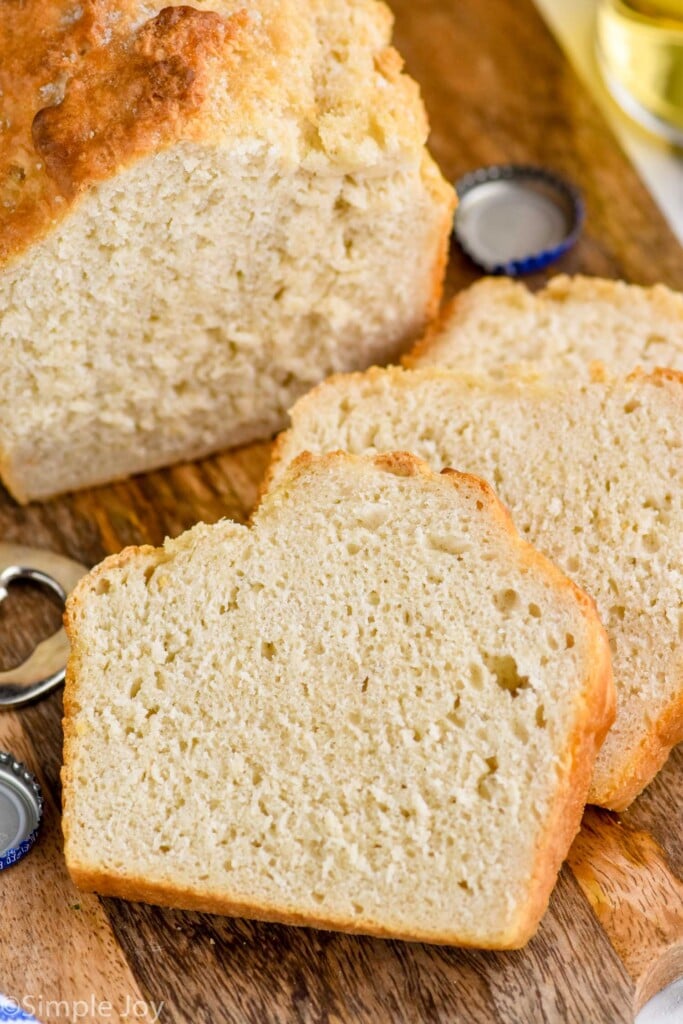
- Resist the urge to slice into it right away. Bread really does need to cool before you can slice into it. It needs almost a full hour to get nice solid slices.
Storing and Freezing
Store this bread in an airtight container, once it has fully cooled, for up to a week. It can be stored at room temperature. As with all recipes, use your best discretion when it comes to leftovers.
This bread freezes great. Store in an airtight container (a gallon ziplock bag works great), and keep in the freezer for up to three months. It will also work great to cut it into slices, freeze them in a single layer for a few hours, and then transfer them to an airtight container.
Beer Bread Mix as a Gift
This would be a fantastic gift for a new neighbor or around the holidays.
- Combine the flour and sugar together in a mason jar.
- Add the mason jar, a bottle of beer, and a bread pan to a basket.
Beer Bread Recipes
Because this recipe is so simple, there are a lot of variations that can be done. Really the sky is the limit when it comes to mix-ins.
- My Bacon Cheese Beer Bread is the simplest of all the variations, but so delicious.
- This Jalapeño Popper Beer Bread is probably my favorite. It really does taste like a Jalapeño Popper as beer bread.
- If you want to try something really different and delicious, then this Buffalo Beer Bread is for you.
- Finally, this Beer Bread Bowl is so fun. Use it as a bowl for my Spinach Dip, and then use the inside of the bowl cut up for dipping.
FAQ
I love making this with a light beer like a pilsner because it has such a mild flavor. That being said, this recipe will work with any beer.
Yes! A can of soda will make a perfect substitute for beer in this recipe.
This recipe can be made gluten-free by replacing the self-rising flour with a one-for-one gluten flour replacement and adding in baking powder and salt. You can see the exact instructions above.
Simply put, no. It takes three hours to completely cook alcohol out of food. That being said, this bread bakes for a little under an hour, so it will bake off about 75% of the alcohol. So you have 1/4 of a low-alcohol content beer over 10 slices of bread.
What to Serve with Beer Bread
Honestly, I want to answer this question with nothing. Just eat it, it’s so good. But! I really do love it as a simple bread to make with my soup recipes. Here are a few of my favorites to serve it with:
If you make my easy beer bread recipe or any of these recipes, please leave me a comment and let me know. I love hearing from you!
Three Ingredient Beer Bread
Ingredients
- 3 cups self-rising flour (339 grams) read here for how to make self-rising flour
- 1/2 cup sugar (99 grams)
- 12 ounces beer (354.88 ml)
- 3 tablespoons unsalted butter melted (optional)
Instructions
- Preheat the oven to 375 degrees Fahrenheit.
- Spray a 9 by 5 inch bread pan with cooking spray.
- Whisk together the flour and sugar. Mix in the beer until it is thoroughly combined. The batter may be thick.
- Pour the batter into the bread pan and bake for 40 minutes. If you want to use butter, pour it over the batter in the last 3 to 5 minutes of baking.
- Take out of the oven and let sit for five minutes in the pan, remove and let cool completely on a wire rack before slicing.
Notes






Lois says
Love the new look! :-)
So glad to hear it, thank you!
vicki Ward says
I make beer batter bread all the time. Mine is generally like yours but I cook 45 minutes, take out pour butter over top nd cook mother 15 minutes. I also add all sorts of additional ingredients like jalapeños. Cheese, and one of my favorites was when I added chopped dried apricots. Delicious.
I love adding bacon and cheddar cheese!
Rajean says
Can you use gluten free flower for this?
Rajean says
**flour
It would require quite a bit of testing, Rajean. You would need to make gluten free flour into self rising flour and play around with the ratios to get the one that works best.
Dolores Rodnick says
Thank you Lisa. Recipes for bread are most appreciated. 😇😇😇😇
Debbie Finkle says
Mine is in the oven now and I think it shall be spectacular. I tasted the batter :0). LOL. Anyway, I made my own self-rising flour (so simple to do, 3 ingredients: 1-cup flour, 1 1/2 tsp baking powder, 1/4tsp salt). I threw a little bit of butter on top to melt. Looks and smells so good. Having it tonight with the Creamy Chicken and Wild Rice Soup recipe from Simply Joy.
Going to be making more of this bread. Also, I’m going to try out the other beer bread with bacon and cheese. Sounds delicious.
Gina Mikolon says
Can this be made in a bread machine? If so, what are the directions to do so (please)?
I’m sorry, Gina, I don’t have a bread machine so I don’t know how how that would work with this recipe.
Nicole Renee says
I just made a GRAIN FREE, GLUTEN FREE, CANE SUGAR FREE version of this bread and it’s delicious, especially fresh out of the oven, warm and topped and slathered with a generous amount of warm butter! For anyone else needing a grain free or gluten free option, here’s what I did…
I used 2 scant cups of Otto’s cassava flour ( it’s the most finely milled brand and doesn’t leave gritty flecks) and 1 cup of chickpea flour.
I added 1 T plus 1 1/2 tsp of baking powder and 1 1/2tsp of real salt, a half cup of coconut sugar and a 12oz bottle of vanilla porter.
Why scant cups of cassava flour? It is far more absorbent than other flours. If you use all cassava you will need to increase the amount of liquid used. I find that it tends to work better in many recipes if you use roughly 2 parts cassava and 1 part some other grain free flour. In addition to being highly absorbent, cassava also sometimes leaves you with a somewhat rubbery texture in baked goods when used alone.
If you wanted to used almond flour for part of it then be sure to add the full 2 cups of cassava flour. While cassava is extra absorbent, flours like almond and coconut are poor absorbers. When combined, the two help balance out liquid absorption. However, I bread made with mostly or all almond flour, other nut flours or coconut flour, will yield a more cake like texture and will likely fall apart. I prefer not to use coconut flour in large quantities in many recipes because the flavor is overpowering.
Be advised that grain free loaves will not shape up the same as those containing gluten. They will not spread out or rise nearly as much. Results will most likely be a low loaf that doesn’t change too much in volume from how it was when you placed it in the oven. That’s kind of standard for grain free in my experience. So shape your grain free bread as best you can according to how you’d like it to be when it’s done. I found that when the dough was mostly mixed it was easiest just to pick it up, work it into a ball and then shape it by hand. I baked it on a lightly oiled ceramic baking stone.
The taste and texture turned out great with this version of the bread and it did rise and spread just a bit. I set a timer for 35 minutes and checked it then. I ate an end slice and decided to put it back in for about 5 more minutes. Ovens vary. If you make a grain free loaf I would recommend checking it a bit early because sometimes grain free baked goods cook a bit faster. If you use nut flours they sometimes take a bit longer.
If you don’t need grain free and only want gluten free, you should be able to use a standard gluten free baking mix in equal portions provided in the recipe- most gluten free mixes contain part rice and/or potato flours and starches, often xanthan gum and stabilizers. You would need to add 1T, plus 1 1/2tsp baking powder and
1 1/2 tsp salt.
If you cannot eat standard baking powder- most contain corn starch- then you can make your own batch of it by combining 4 parts cream of tartar with 2 parts arrowroot powder or tapioca starch and 2 parts baking soda. After mixing up the batch you would then use 1T, plus 1 1/2tsp of it in your bread recipe.
If you’d like to substitute honey or maple syrup for sugar then you would use 1/4 cup of either of those in place of the 1/2 cup of sugar. Using a liquid sweetener sometimes helps a bit to offset the highly absorbent nature of cassava flour as well, in the grain free version.
Play around with it. Using part green banana flour would work as well. I share all of this because I know it can be a struggle for many who find themselves in need of navigating the grain free and gluten free baking worlds. I’ve been at it long enough to have gained some insight. I figured it was worth sharing if it helps others to create and enjoy some more satisfying comfort foods. :) Happy baking!
Calla Smith says
Nice!!!!
Gayle says
Could you possibly substitute for the beer.
Thank you, as I would like to try this recipe.
Sincerely,
Gayle
Others have made with with soda and found it worked well.
Terri says
I want to make this with my students to give to their dads for Father’s Day. Can I use the mini aluminum bread pans? How long and at what temp would I bake?
Thanks for any help.
I haven’t made this in mini loaf pans. I would start checking if they are done around 20 minutes in to baking.
Avette Wing says
This recipe is so delicious & super easy to make. Was still delicious 3 days later. Will put less sugar in when I make some more today. I put a sprinkle of parmesan cheese on top which gave it a lovely crunch
I’m so happy you liked it, Avette!