This easy Cheesecake Recipe is perfect for those who are scared to make a cheesecake from scratch. This delicious and easy cheesecake is rich and perfect.
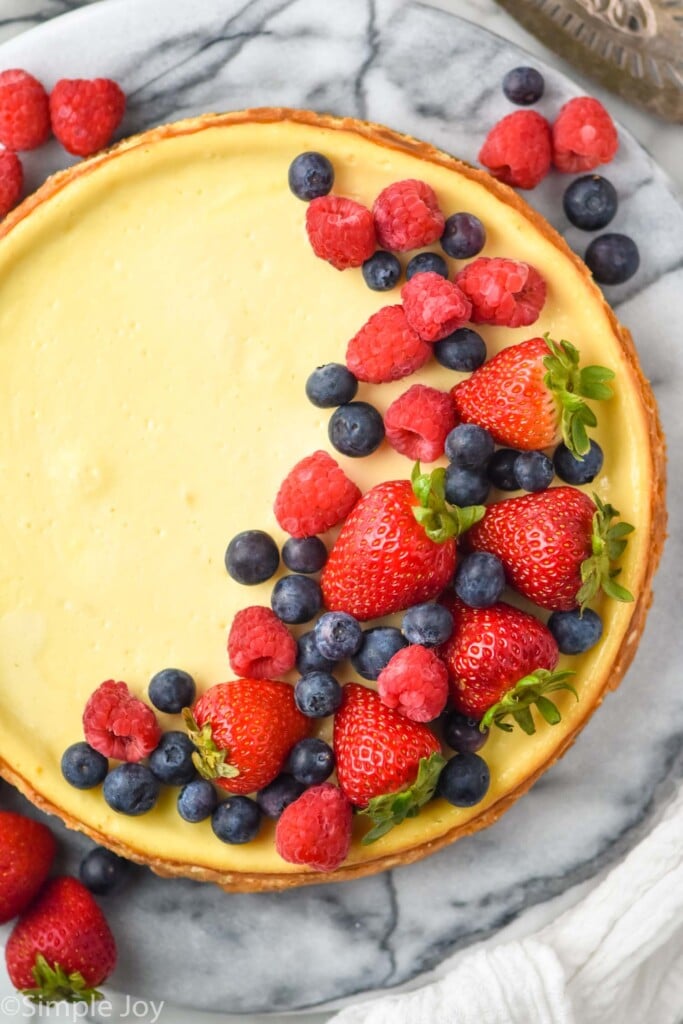
Cheesecake is my husband’s very favorite dessert. He loves it so much, that we actually had cheesecake for our wedding cake. He doesn’t like fancy flavors of cheesecake, so I made sure they had a plain piece for him with cherry topping.
This vanilla cheesecake recipe is reminiscent of that special piece of cake. It is simple but absolutely delicious. It is creamy and rich with the perfect graham cracker crust. This is the perfect easy cheesecake recipe.
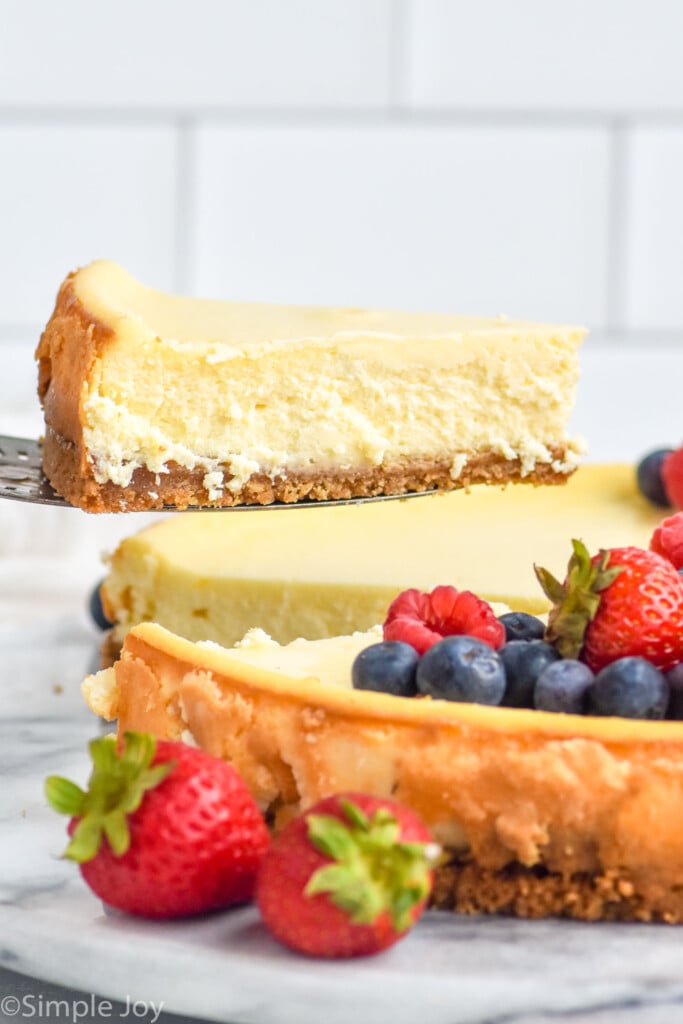
How to Make Cheesecake From Scratch
Here is a brief overview of how this classic cheesecake recipe comes together. For the full recipe including all measurements, directions, and cooking time, scroll to the recipe card at the bottom of the post.
- Make the graham cracker crust. Combine the graham cracker crumbs, butter, and sugar. I like to crush my graham crackers in a food processor and then add the melted butter and sugar. The mixture should resemble wet sand. Press the mixture into the prepared springform pan.
- Bake the crust. Bake the crust for six to eight minutes or until the edges begin to turn golden brown. Then turn down the temperature of the oven.
- Beat the cream cheese. Beat the cream cheese in a large mixing bowl with a hand mixer or in the bowl of a stand mixer until smooth. Be sure to scrape down the sides of the bowl with a spatula as needed.
- Make the cheesecake filling. Beat in the sugar to the cream cheese. Then beat in the eggs, one at a time, followed by the flour. Finally, beat in the vanilla extract.
- Bake the cheesecake. Pour the batter over the hot crust. Make sure the oven temperature has been lowered and bake for 35 minutes.
- Leave the cheesecake in the oven. Turn off the oven, leaving the cheesecake in it for one hour. As the oven begins to cool, it will finish cooking the cheesecake.
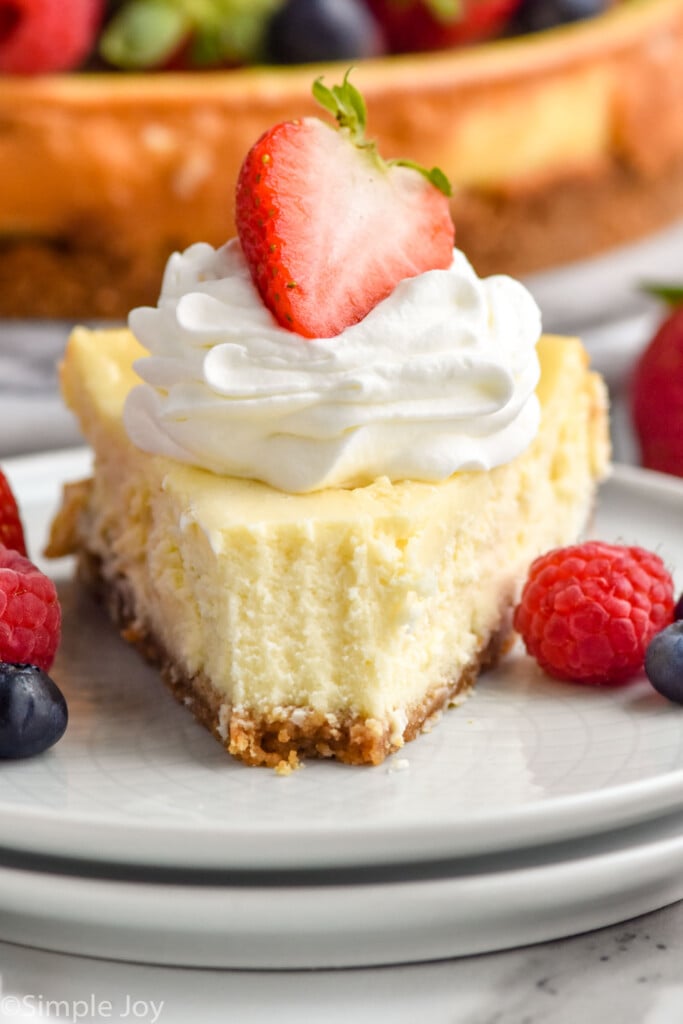
- Cool the cheesecake. Let the cheesecake cool on the counter for one hour and then in the refrigerator for at least four hours. Add fresh berries and stabilized whipped cream if desired and enjoy.
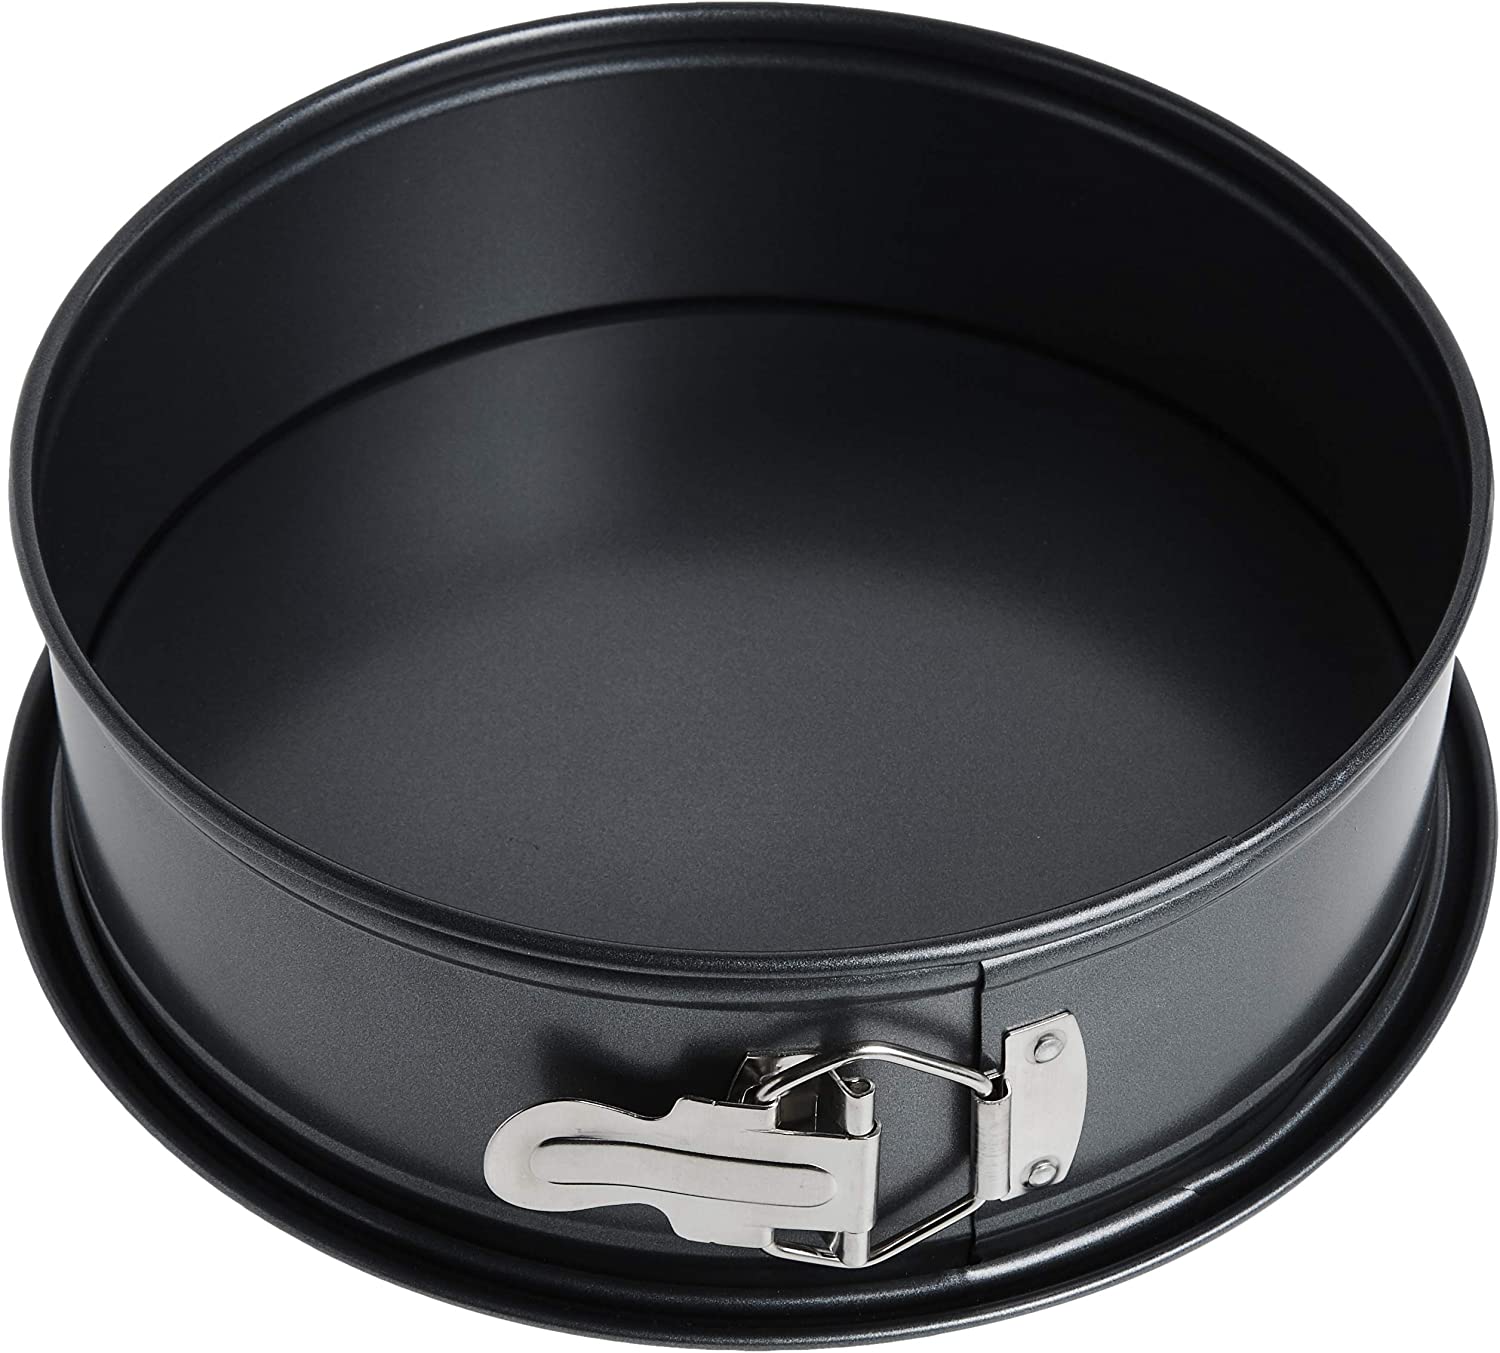
9-inch Springform Pan
Tips and Tricks
- Use brand name cream cheese. A brand like Philadelphia works best I’ve found. Also be sure to use full fat cream cheese, it will give your cheesecake the best flavor and texture.
- Make sure your cream cheese is at room temperature. It will blend and be more creamy than cold cream cheese.
- Use room-temperature eggs. Eggs straight from the refrigerator can actually cool your other ingredients and make the cheesecake batter chunky. To bring your eggs to room temperature quickly, place them in a bowl of lukewarm water for about five minutes.
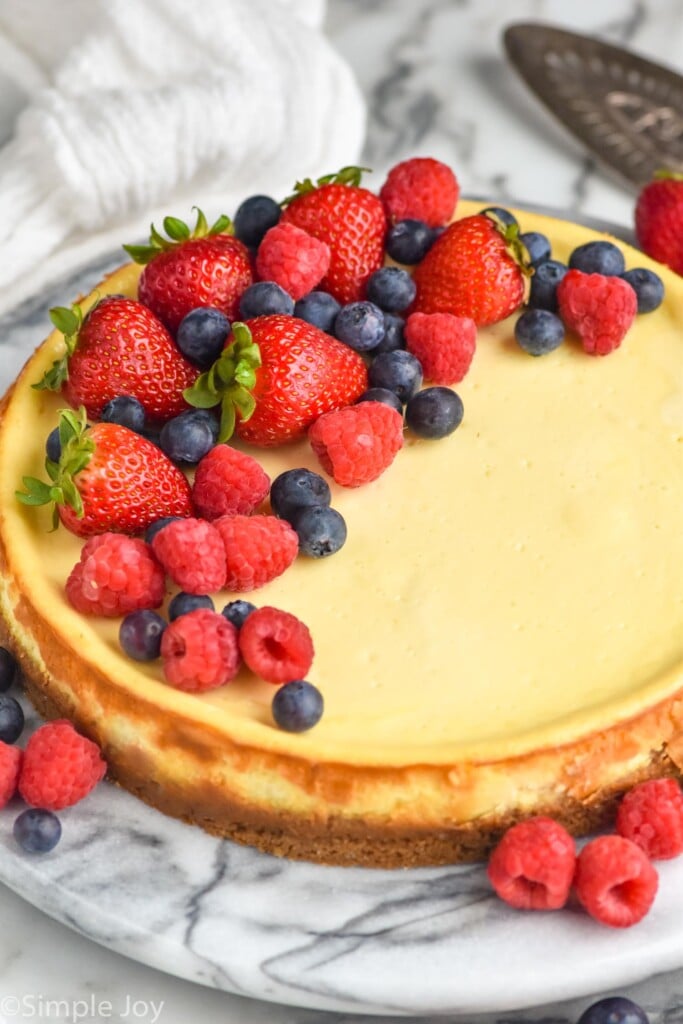
- Follow the steps for letting the cheesecake sit. The success of your cheesecake setting properly (and not cracking) depends on your patience with correctly following the steps. It is very important that you let your cheesecake sit in the oven and then on the counter for the recommended length of time. I promise it’s well worth the wait when your cheesecake turns out perfectly!
- Plan ahead. Since cheesecake has to sit for quite a while to set and cool properly and then chill in the refrigerator, I recommend making it the day before you want to serve it so you don’t feel rushed through any of the steps.
No Water Bath Cheesecake
Many homemade cheesecake recipes call for a water bath to prevent the cheesecake from cracking. Part of what makes this the best cheesecake recipe is that we don’t need that step! I really wanted to create an easy cheesecake recipe that didn’t need a water bath. So, follow these steps to prevent the top of your cheesecake from cracking without needing a water bath!
- Adding flour: A small amount of flour prevents the eggs from solidifying which helps keep the cheesecake from shrinking and cracking.
- A shorter baking time: Because this cheesecake is only actively baking for 35 minutes, it can avoid drying out and shrinking which can lead to cracking.
- Leave the cheesecake in the oven: The hands-on time for this recipe is fairly short, however, it is extremely important to use patience with the cooling of your cheesecake. By leaving the cheesecake in the oven after you turn it off, it can continue to slowly cook and slowly cool. This gradual process is important and what makes this recipe different. With some patience and planning ahead, you will have the best homemade cheesecake ever!
Serving Cheesecake
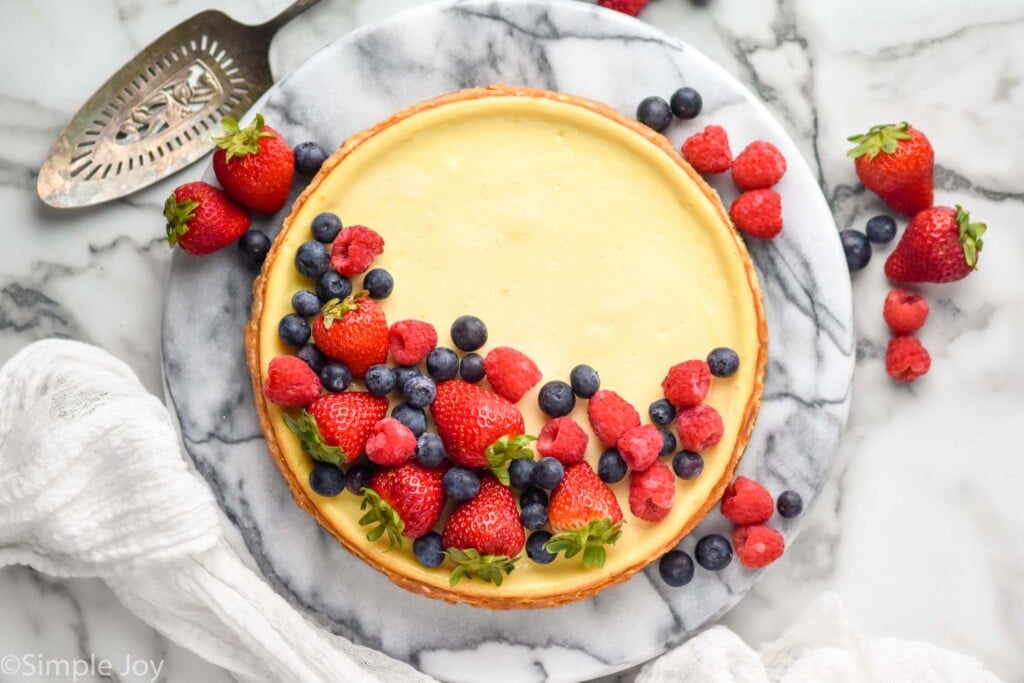
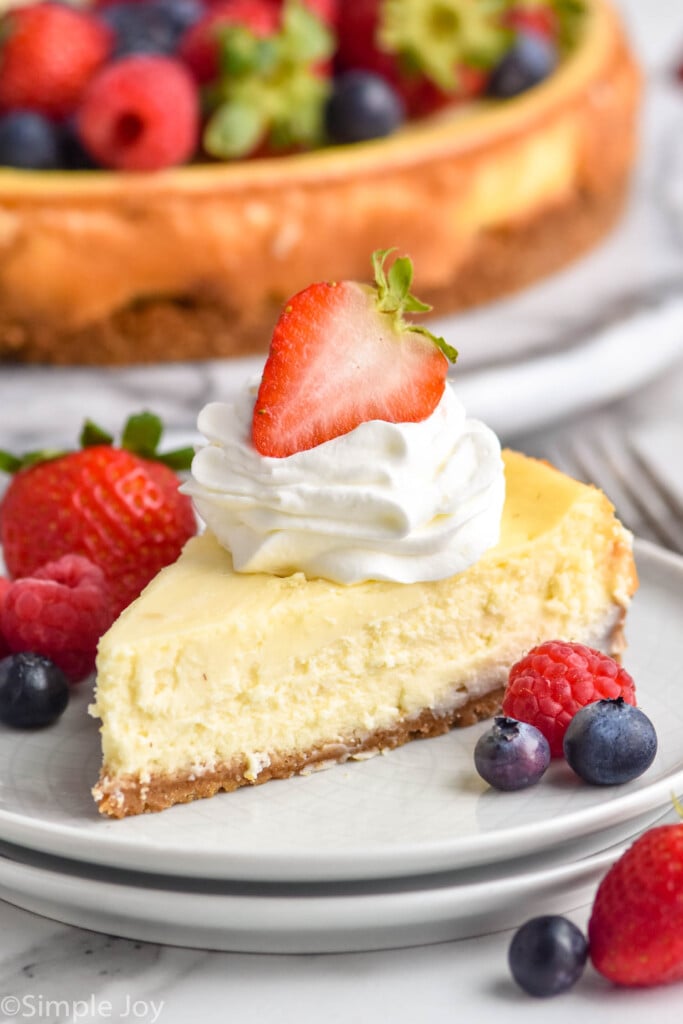
Keep your baked cheesecake in the refrigerator until you are ready to enjoy it. When you are ready to serve it, remove the sides of the springform pan and cut into slices.
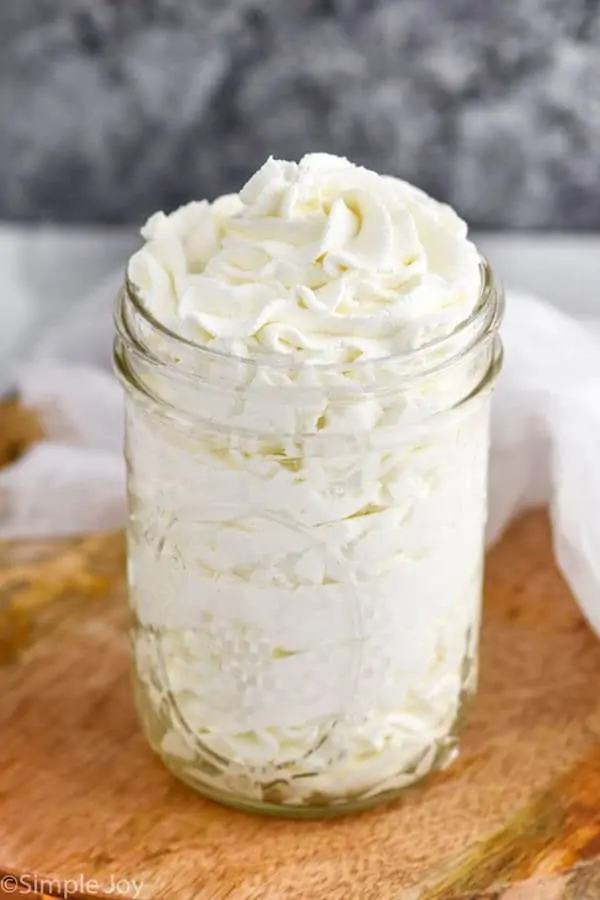
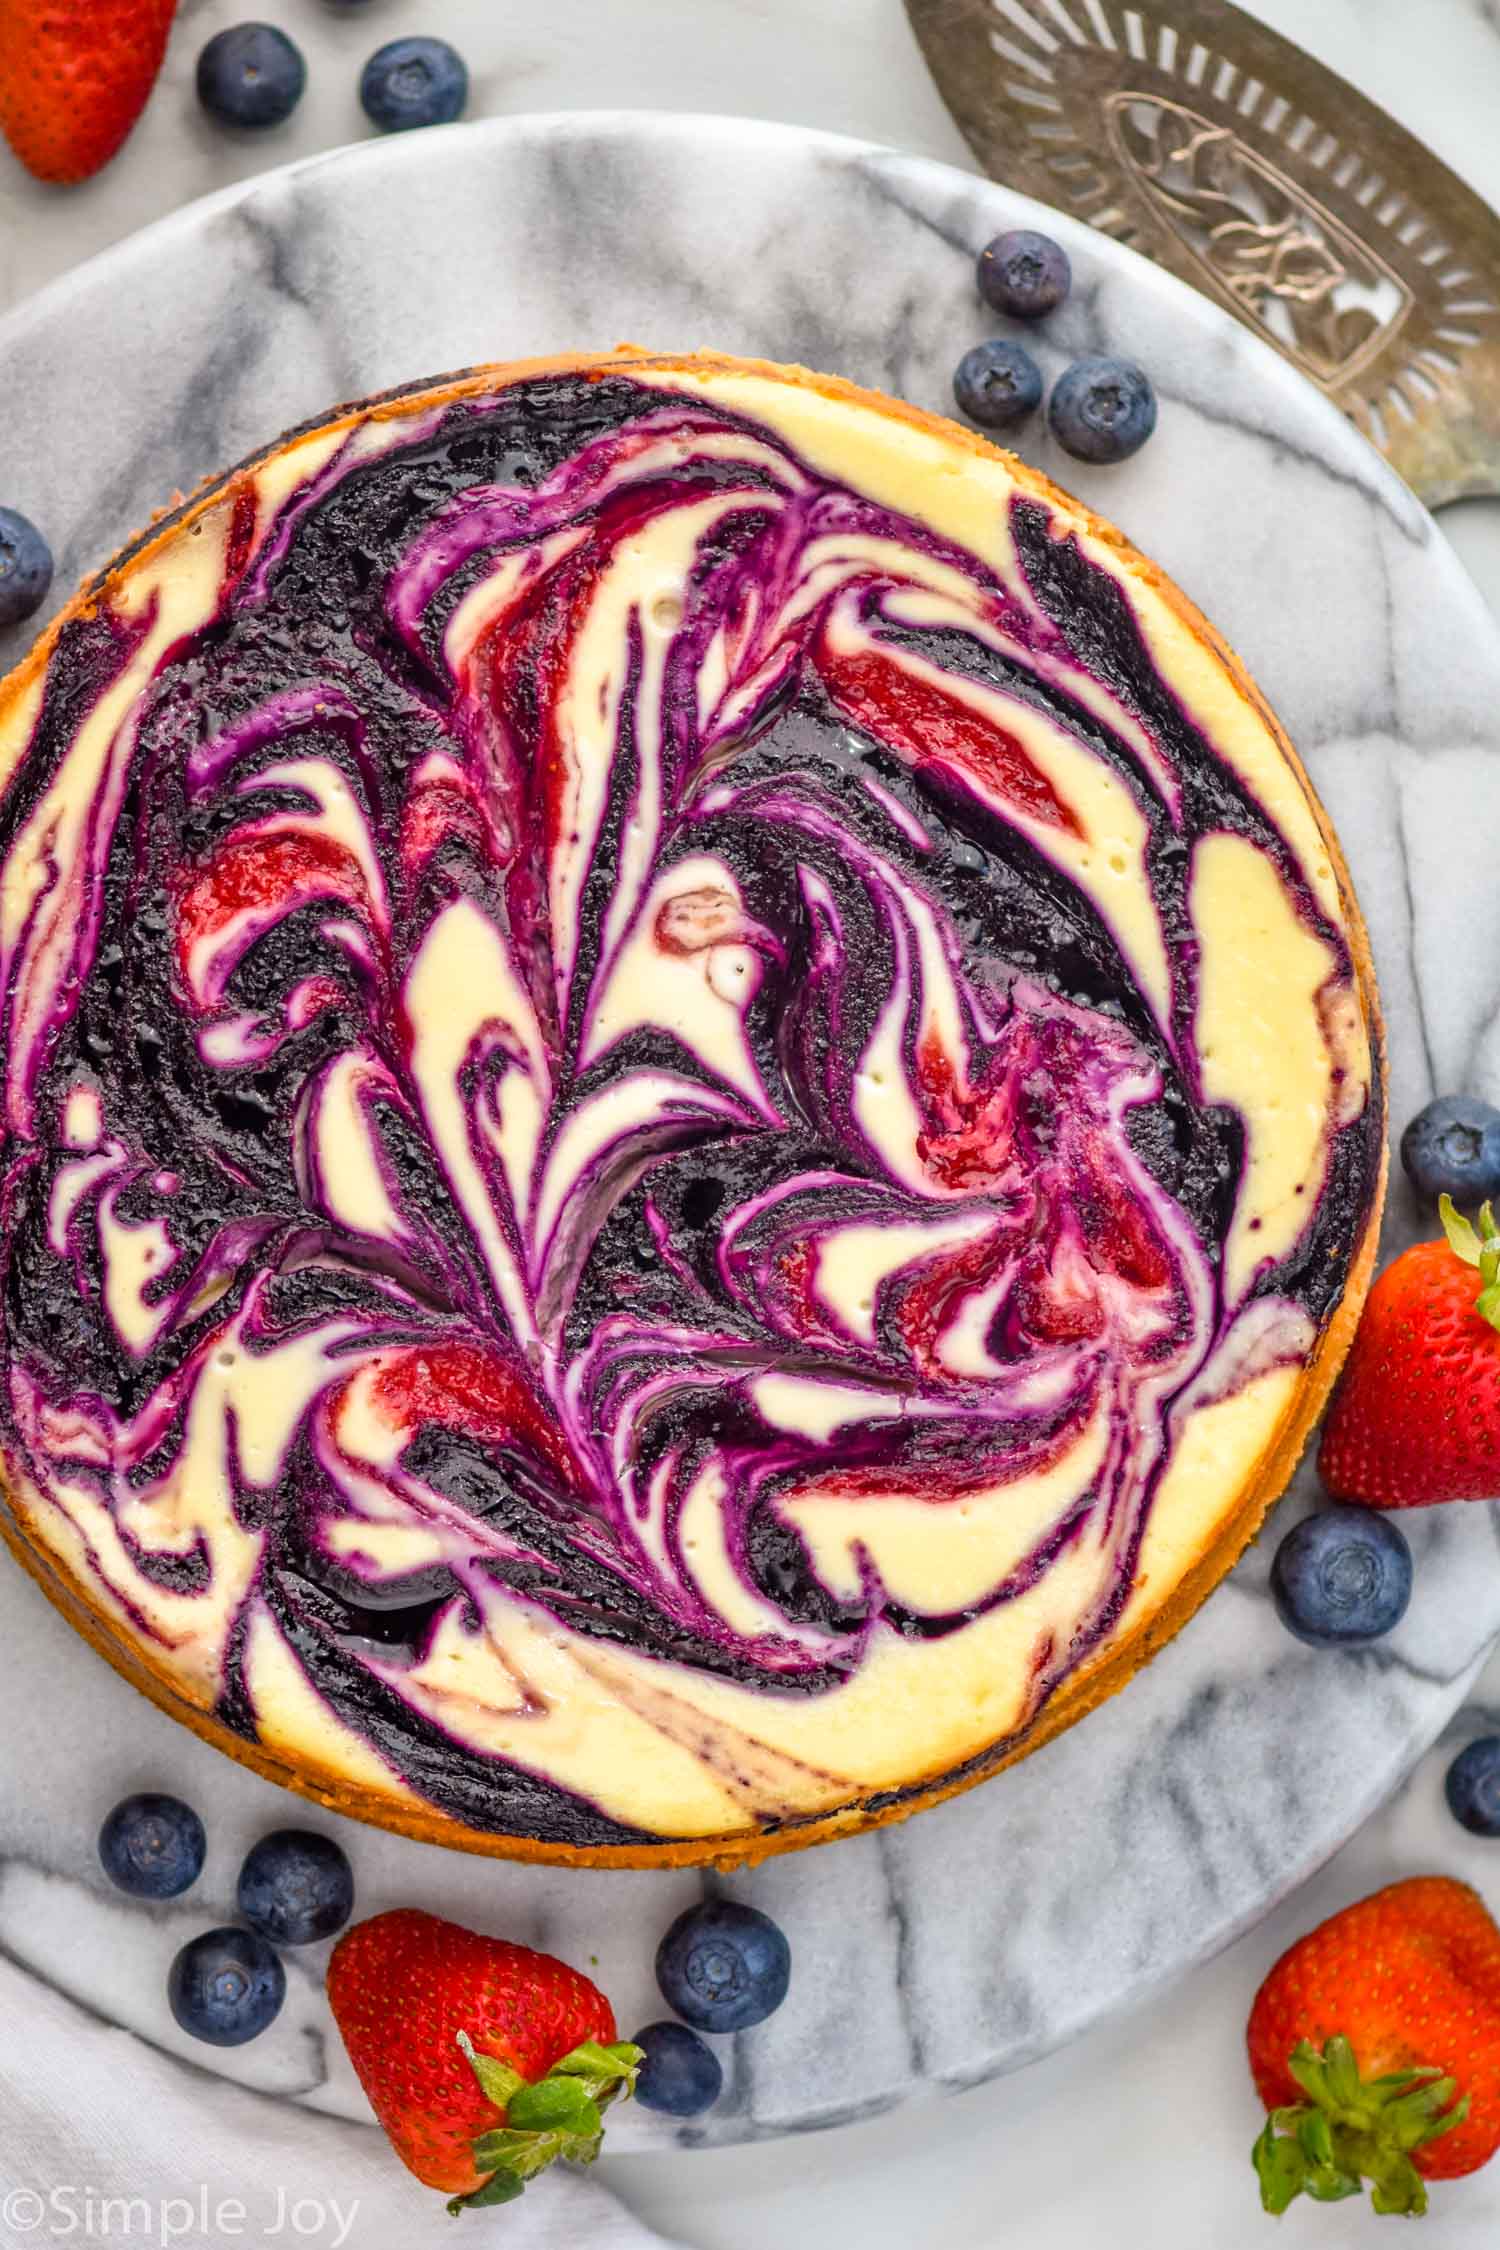
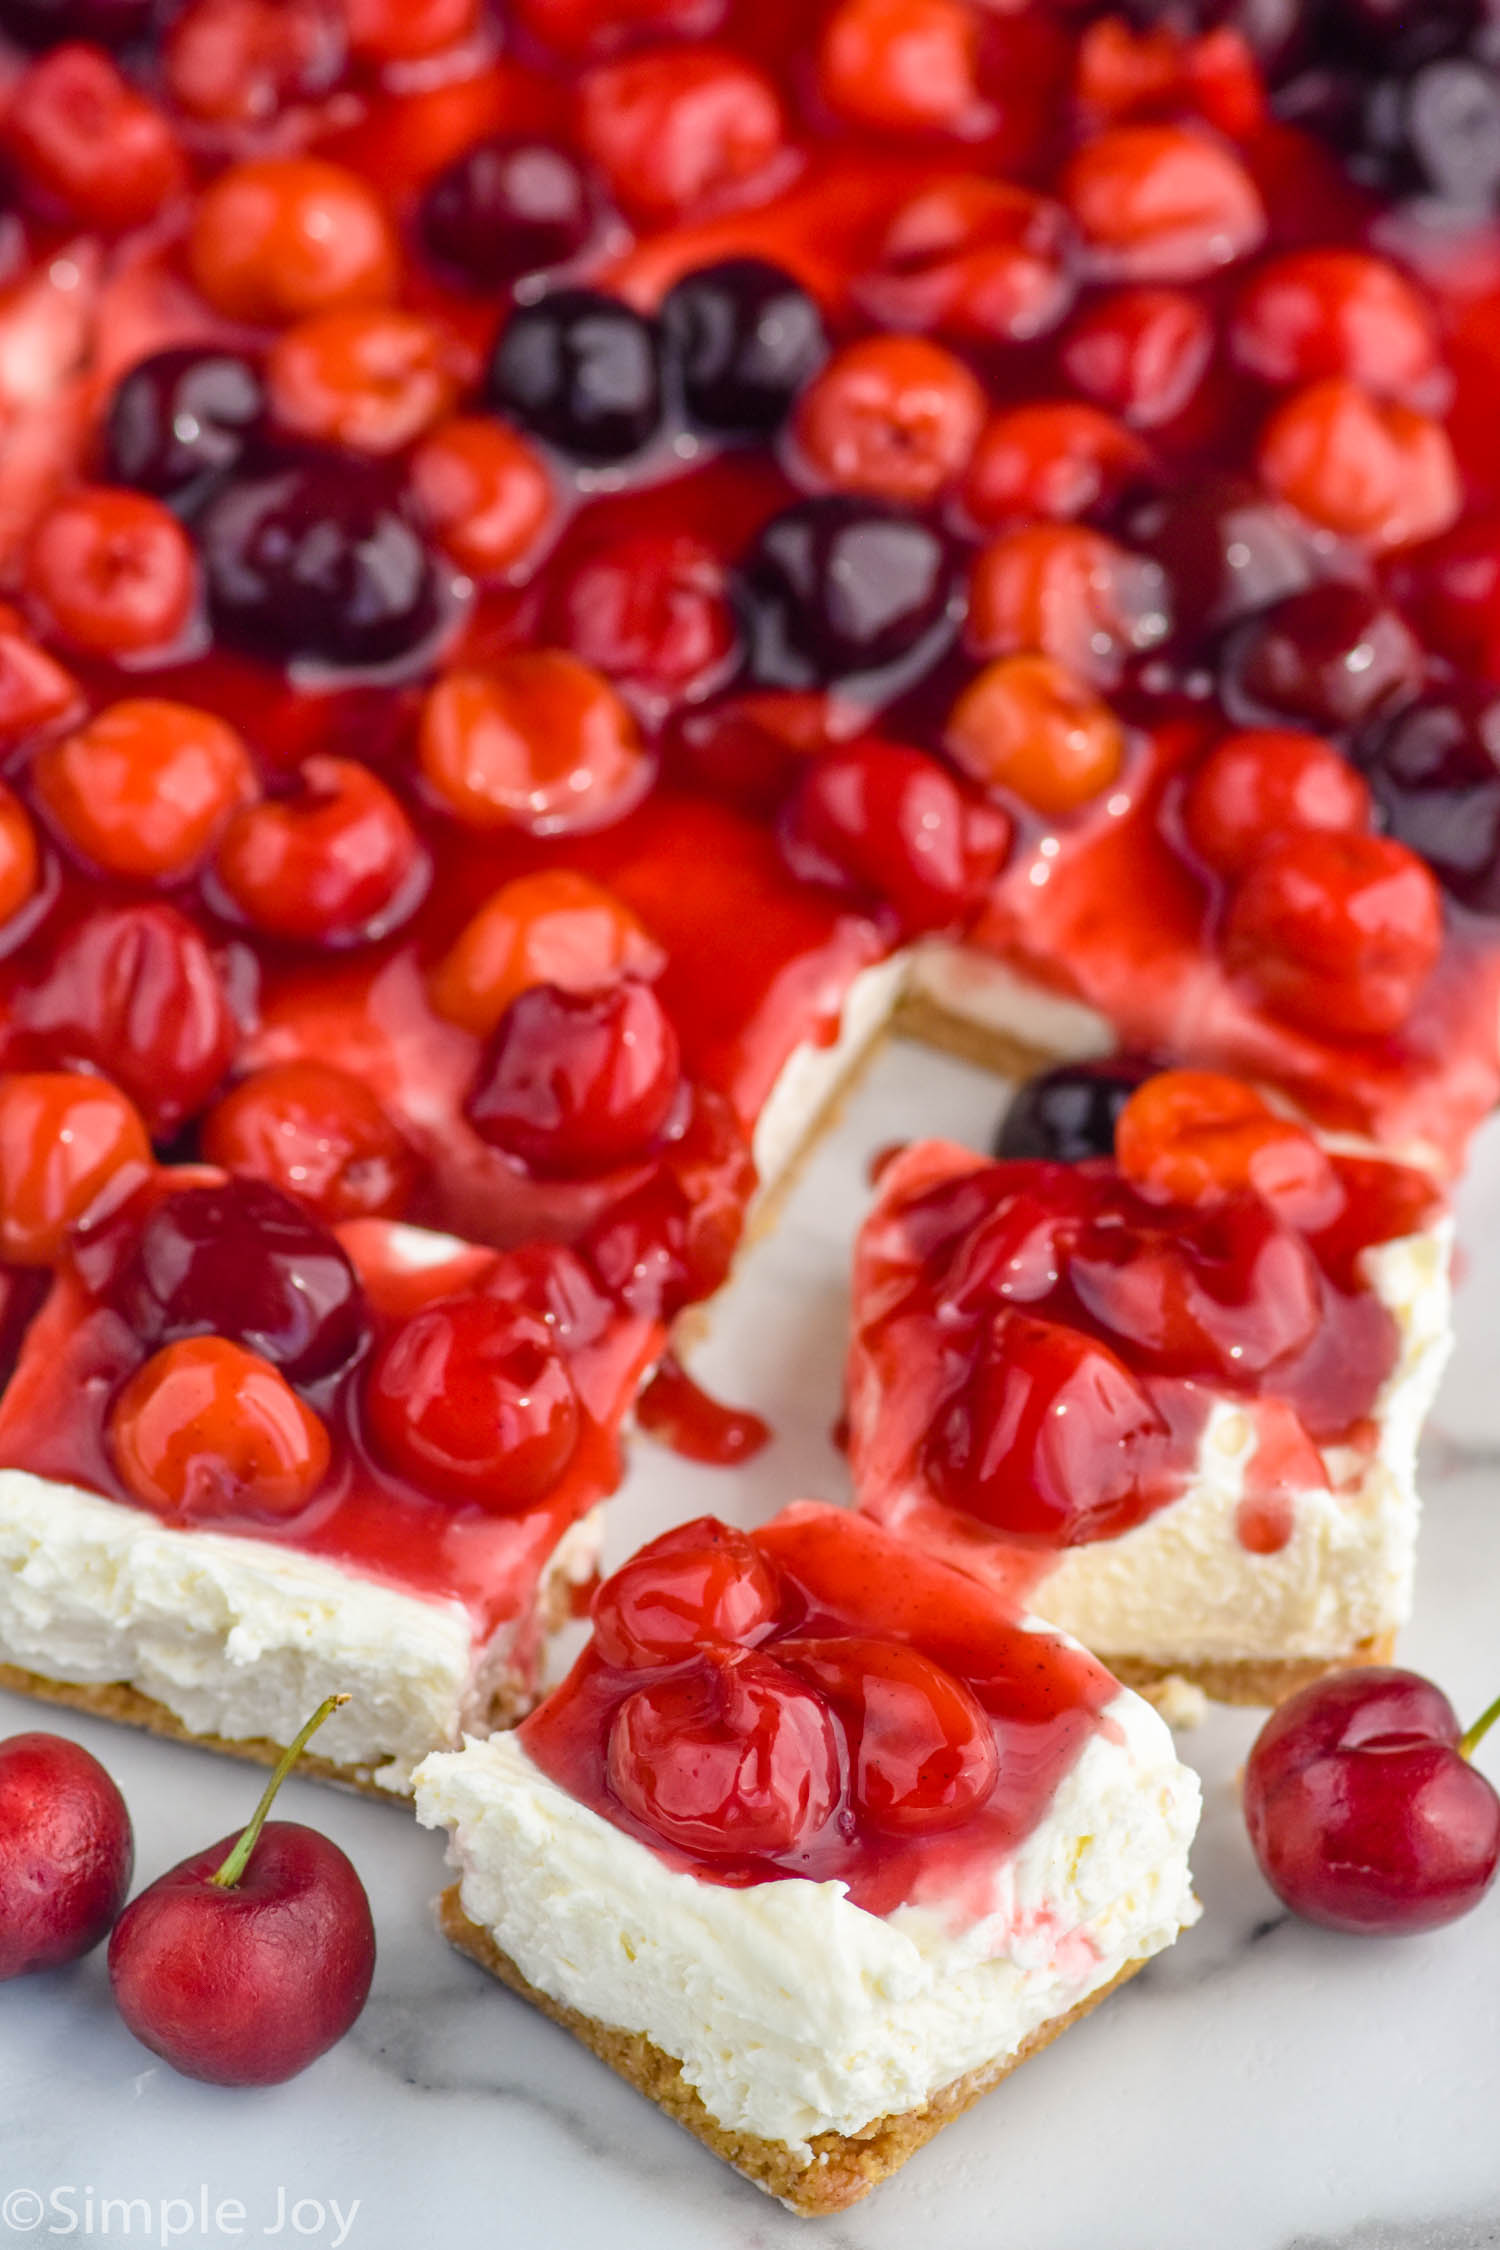
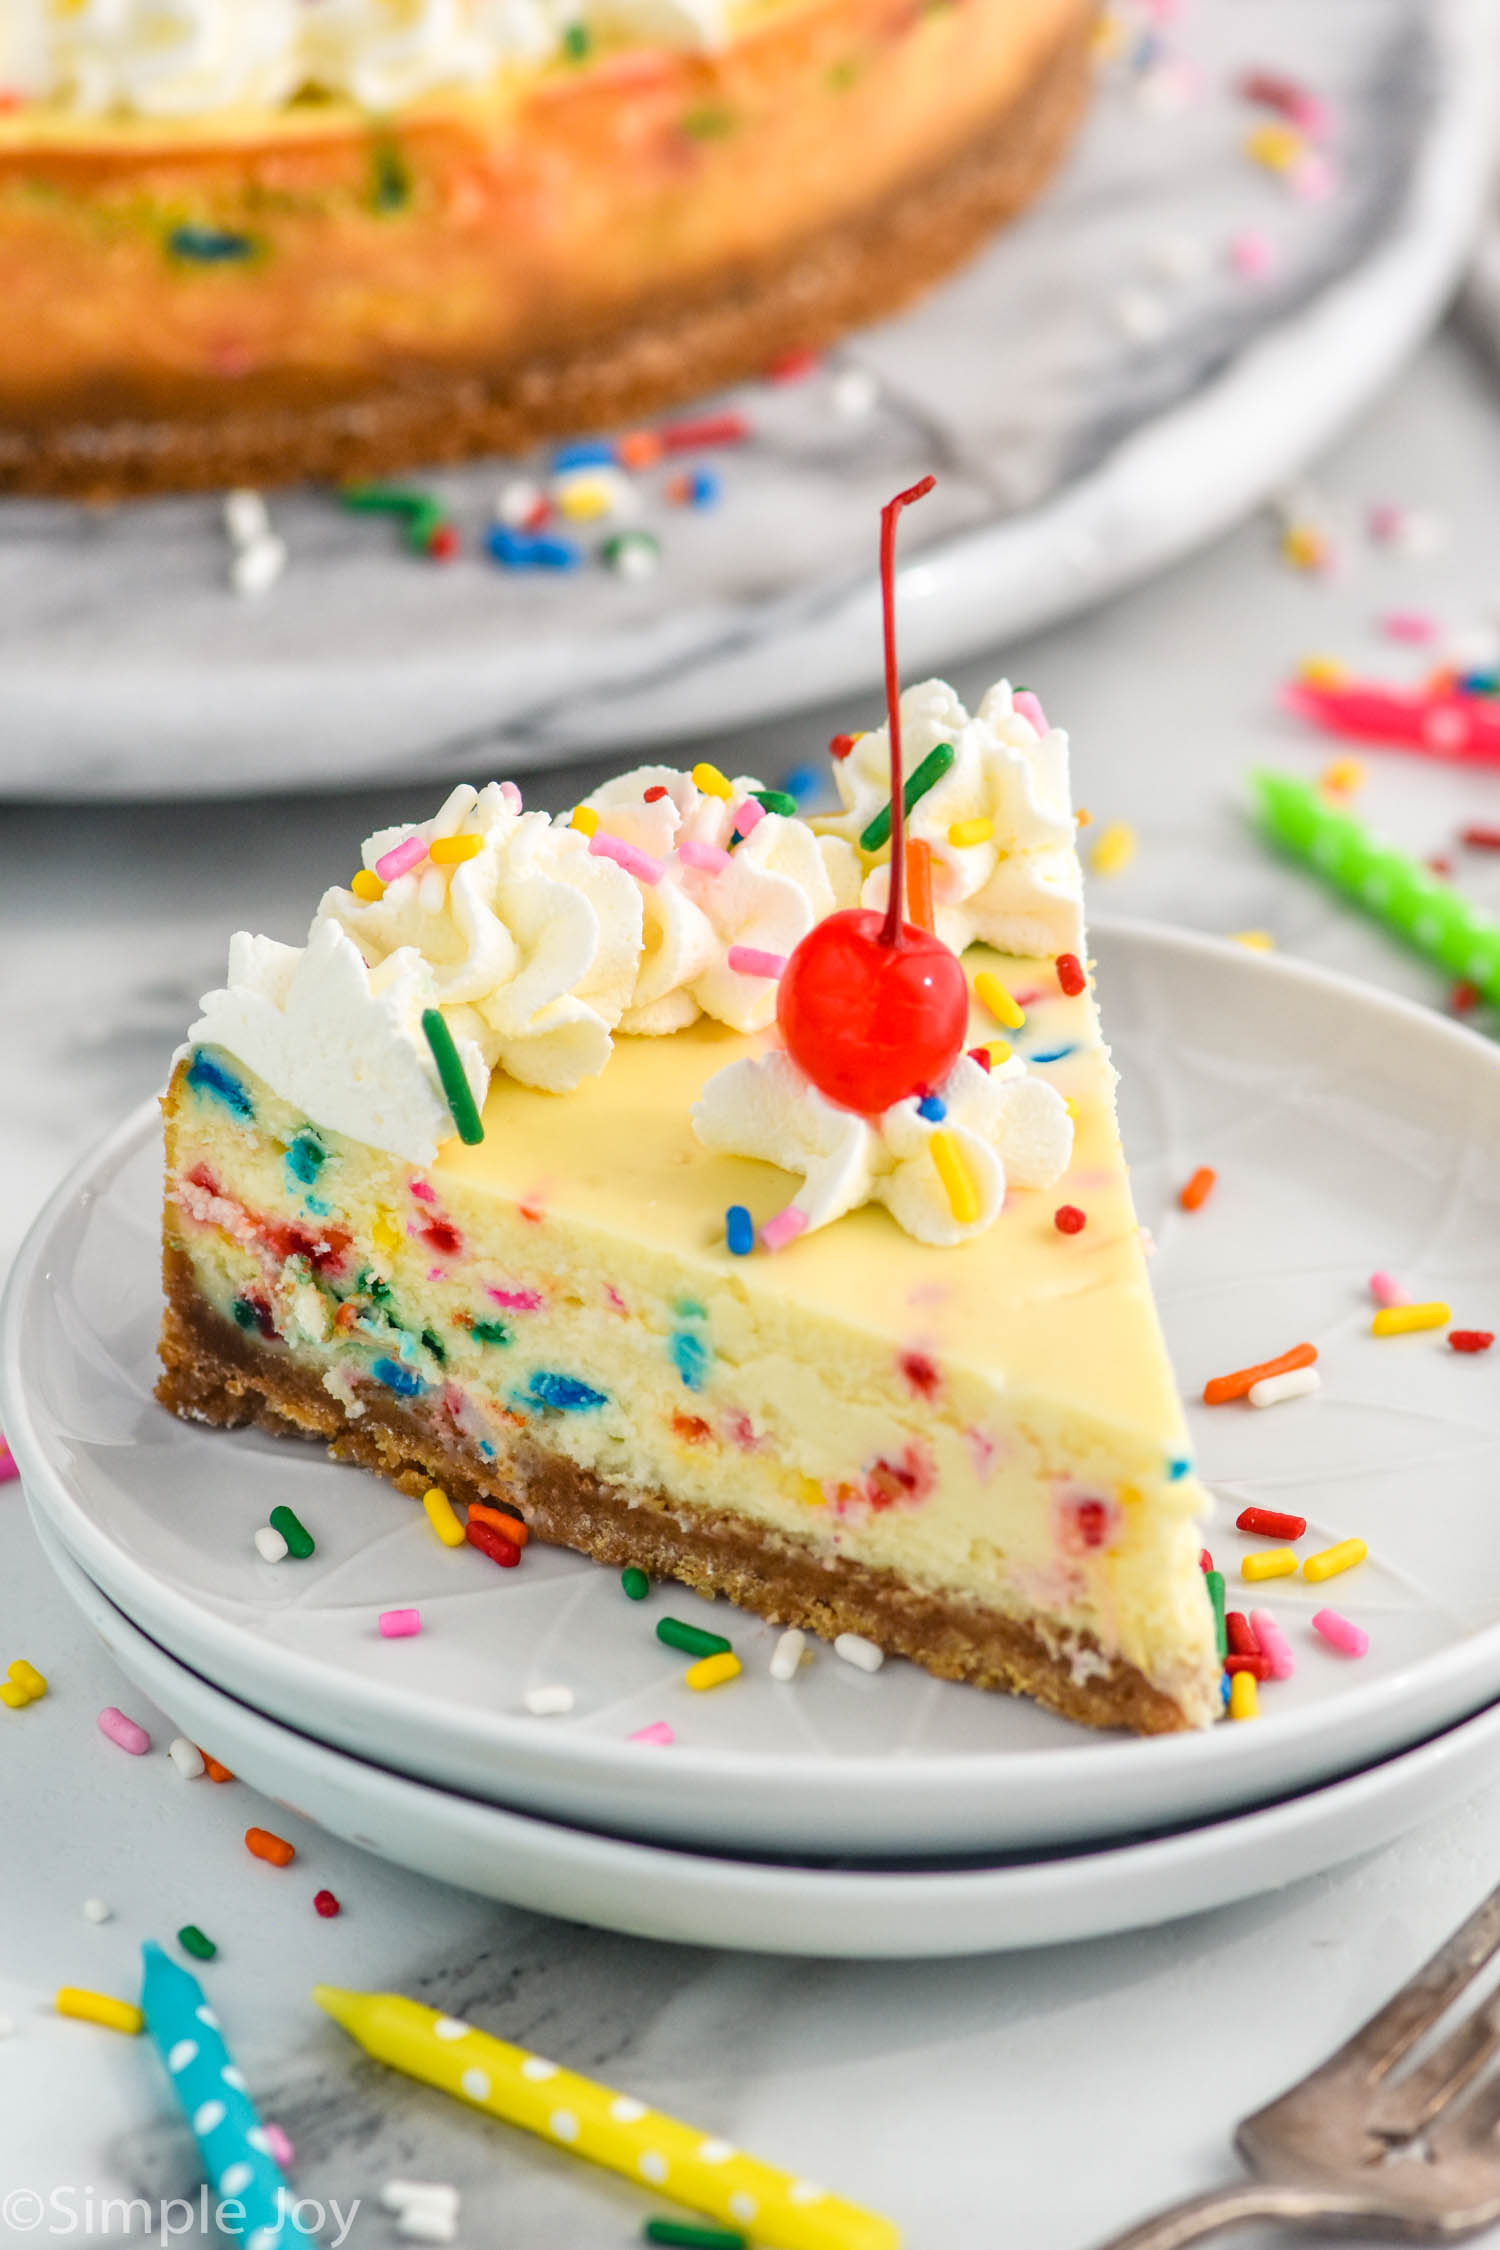
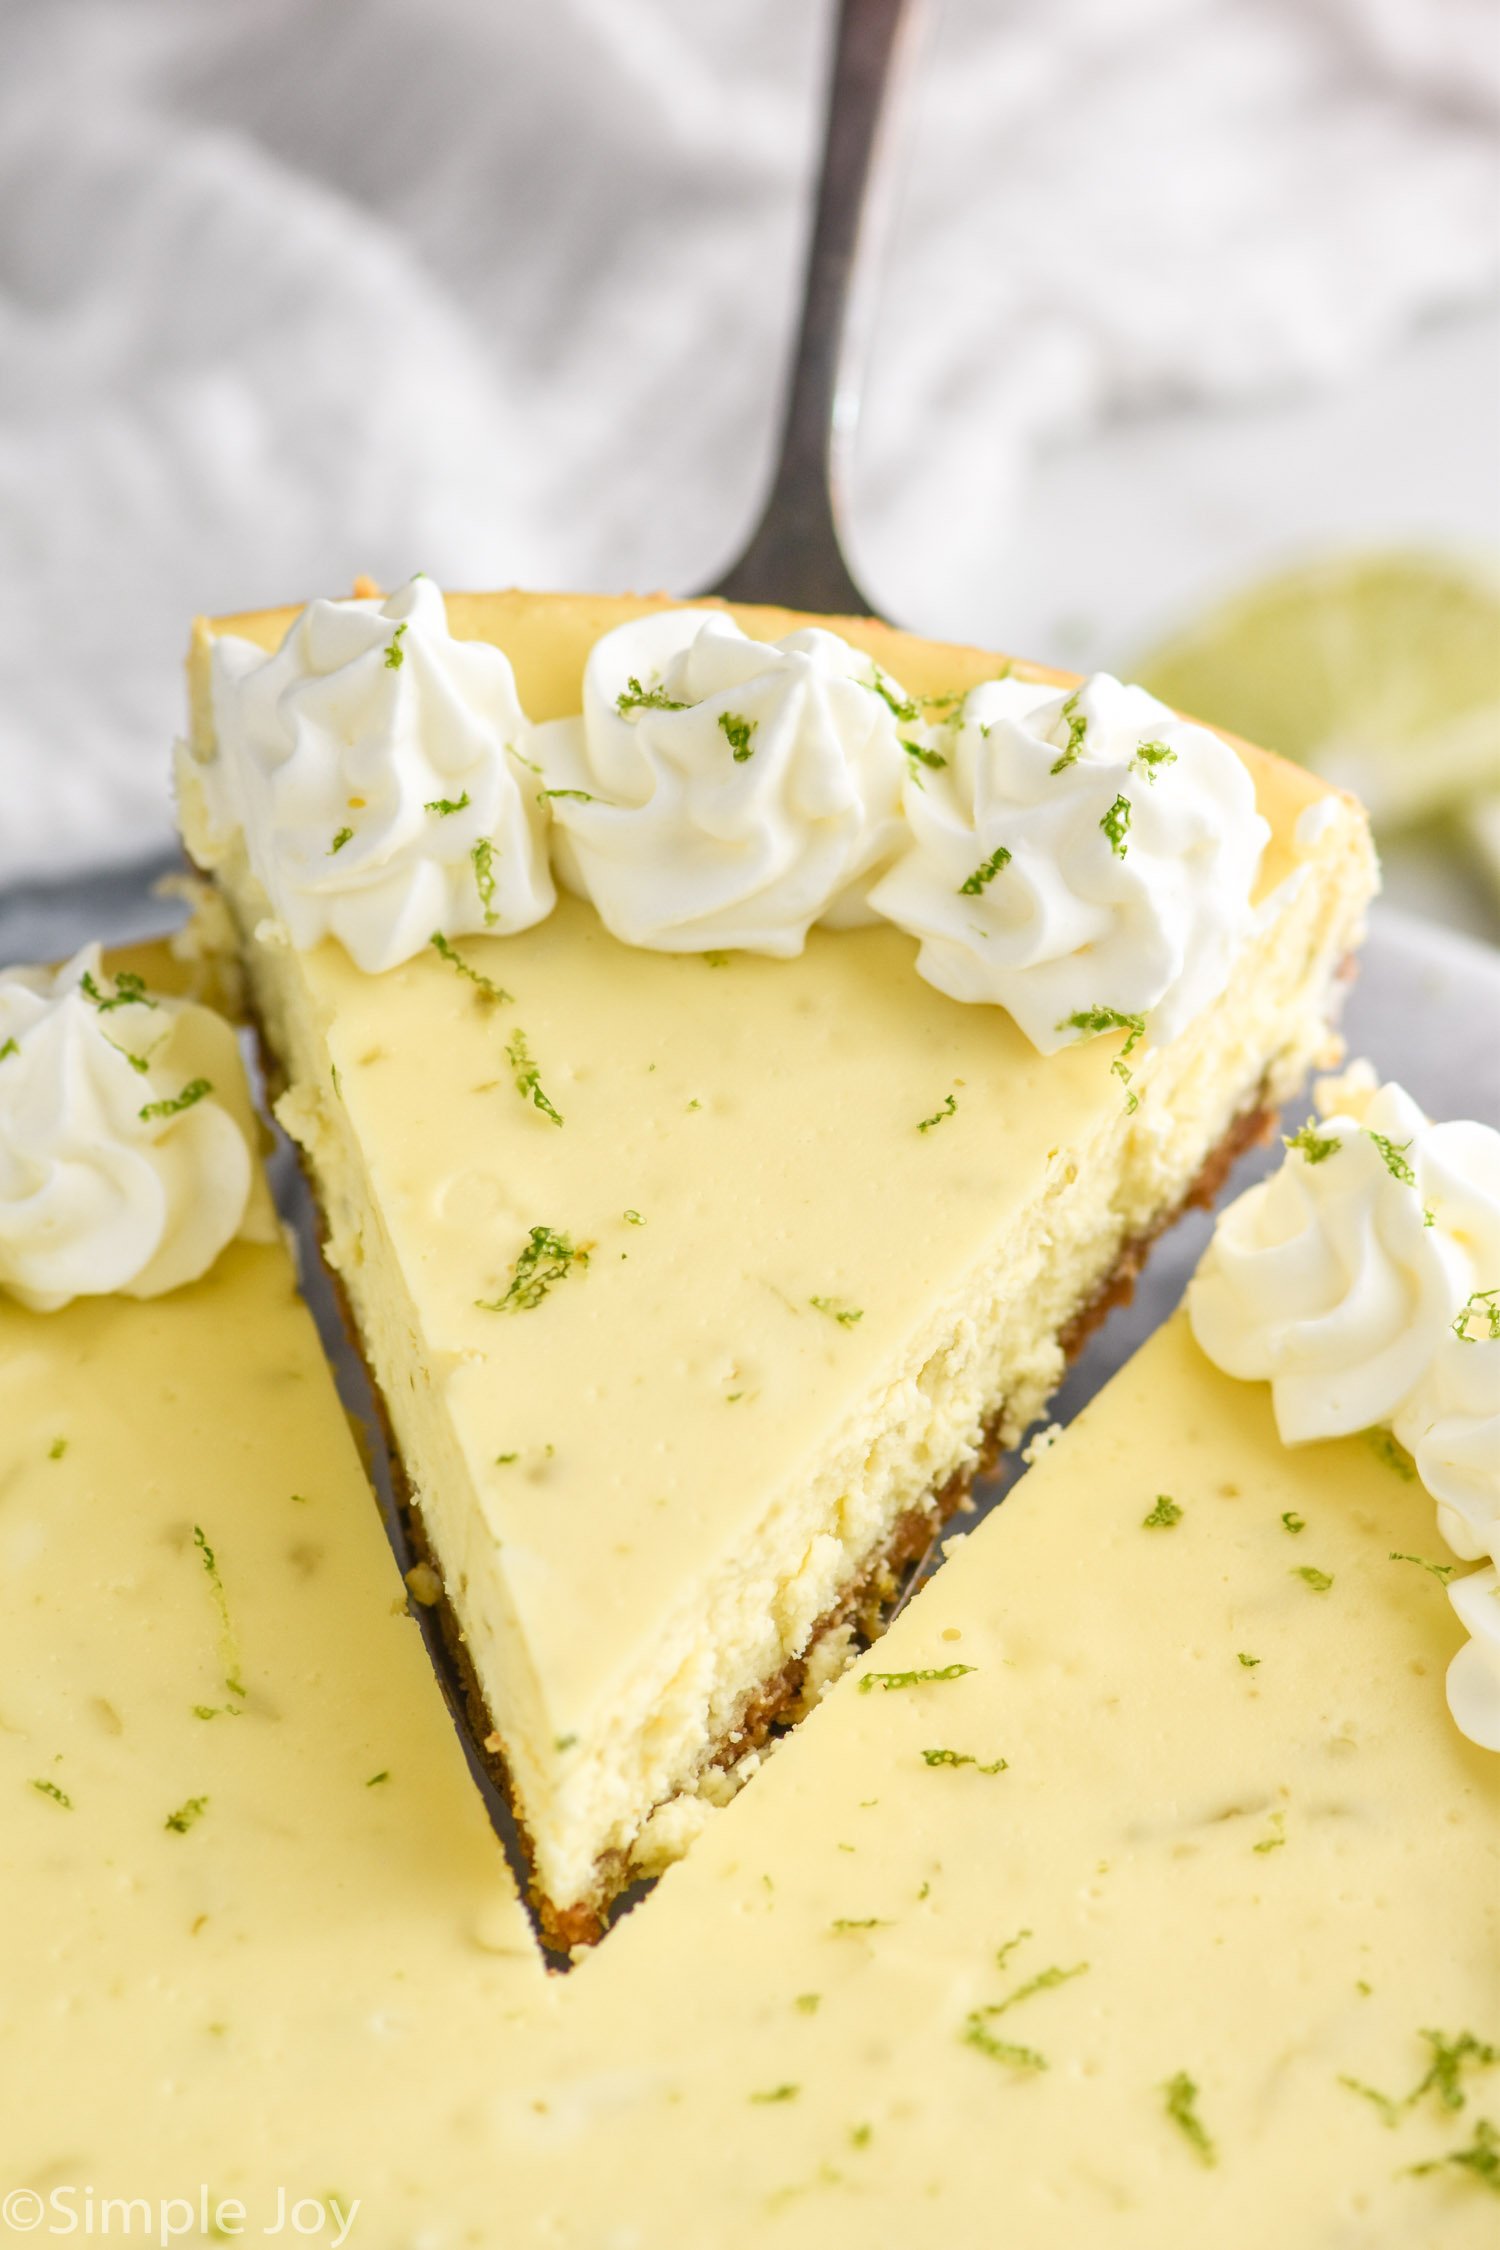
This simple cheesecake can be enjoyed as is or dressed up many different ways. You can add raspberries, blueberries, and strawberries like in the photos, or pipe some stabilized whipped cream. While regular whipped cream will fall relatively quickly, while stabilized whipped cream will hold its shape. You could also add cherry pie filling, lemon curd, fudge, or caramel sauce.
Stabilized Whipped Cream
FAQ
This cheesecake can be stored in the refrigerator for up to four days.
Yes! See my steps below for freezing cheesecake.
Because this recipe uses flour in the filling to prevent it from cracking it is not gluten free. I have not tested this recipe with a gluten-free flour alternative.
Storing Cheesecake
Keep your cheesecake, covered, in the refrigerator for up to four days. I prefer to keep it in the springform pan it is cooked in and just cover the top with foil to keep it from drying out. Like I said above, I recommend making the cheesecake the day before you plan to serve it so that you don’t have to rush any of the steps.
This vanilla cheesecake can be frozen as a whole or as individual slices. Once it has cooled completely, cover the cheesecake or slices tightly with foil and plastic wrap. Keep it in the freezer for up to three months and allow to thaw in the refrigerator before eating.
Other Cheesecake Recipes
- This Lemon Cheesecake has the perfect lemony flavor.
- This No Bake Pumpkin Cheesecake doesn’t require any time in the oven.
- For another no bake cheesecake recipe, try this Cherry Cheesecake!
If you try this baked cheesecake recipe or any of my other recipes, I’d love to know what you think! Leave a comment and let me know.
Easy Cheesecake Recipe
Ingredients
Graham Cracker Crust
- 1 3/4 cups graham cracker crumbs 13 sheets (200 grams)
- 1/3 cup granulated sugar (66 grams)
- 8 tablespoons unsalted butter melted (113 grams)
Cheesecake
- 24 ounces cream cheese room temperature (678 grams)
- 3/4 cup granulated sugar (148.5 grams)
- 3 large eggs room temperature
- 2 tablespoons flour
- 2 teaspoons vanilla extract
Instructions
Graham Cracker Crust
- Preheat your oven to 375 degrees Fahrenheit. Cut a circle of parchment paper to match the bottom of a 9 inch spring form cake pan. Spray the sides of the pan with cooking spray. Set aside.
- Combine the graham cracker crumbs, sugar, and butter. It should resemble wet sand. I like to crush the crackers in a food processor and then add the sugar and butter right to that to combine.1 3/4 cups graham cracker crumbs, 1/3 cup granulated sugar, 8 tablespoons unsalted butter
- Bake the crust for 6 to 8 minutes or until the edges begin to turn golden brown. When you take the crust out of the oven, lower the temperature to 325 degrees Fahrenheit.
Cheesecake
- While the crust is baking, beat the cream cheese in a large mixing bowl with a hand mixer or in the bowl of a stand mixer with the paddle attachment. Beat until smooth, scraping down the sides of the mixing bowl with a rubber spatula as needed.24 ounces cream cheese
- Beat in the sugar. Then beat in the eggs, one at a time. Beat in the flour. Finally, beat in the vanilla extract. Beat until smooth.3/4 cup granulated sugar, 3 large eggs, 2 teaspoons vanilla extract, 2 tablespoons flour
- Pour the batter over the hot crust. Double-check that your oven has been reduced to 325 degrees Fahrenheit. Bake for 35 minutes. Turn the oven off (do not open the door) and leave the cheesecake in the oven for 1 hour. Remove from the oven and let cool on the counter for at least another hour, being careful not to move it to the refrigerator too quickly. The slower the cheesecake cools, the less likely it will be to crack. Cool in the refrigerator for at least 4 hours.
- Before serving, make some stabilized whipped cream. Run a small sharp knife around the edges of the cheesecake before removing the side piece of the spring form pan. Then pipe the whipped cream onto the cheesecake.







Aimee @ ShugarySweets says
So many cheesecakes, so little time. LOVE this! PINNED :)
Dorothy @ Crazy for Crust says
Yes, room temperature cream cheese. Oh my gosh it’s the worst when I forget to leave it out. Otherwise it’s a lumpy mess! Love your tips and this cheesecake is SO gorgeous!
Cate @ Chez CateyLou says
Thank goodness we have blogging to introduce us to these awesome holidays! How did we live before we knew about National Cheesecake Day?! Yours looks delicious – I love the cherries too, so pretty! Pinning! Happy Cheesecake Day!
Liz says
Of all the cheesecakes today, this is the one my daughter would choose. Simple perfection!
Ashton says
Gorgeous, gorgeous, gorgeous!! And I’m totally with you— I will not be making a bath for my cheesecake, like ever. Any cheesecake you see on Something Swanky will have a gigantic, thick layer of Cool Whip on top covering all the cracks!! :) But I’m glad to know of all these great tips, and they must work, because yours looks flawless!
Julianne @ Beyond Frosting says
The thought of baking a cheesecake has always been daunting to me! I finally made my first one this weekend! Your is pretty DANG gorgeous!
Denise Browning@From Brazil To You says
Vanilla bean makes everything much more special…Your cheesecake looks pretty, Lisa…and also quite tasty.
Tonia says
Super fantastic! I’ve got to try making a baked cheesecake one of these days.